
 Pin it
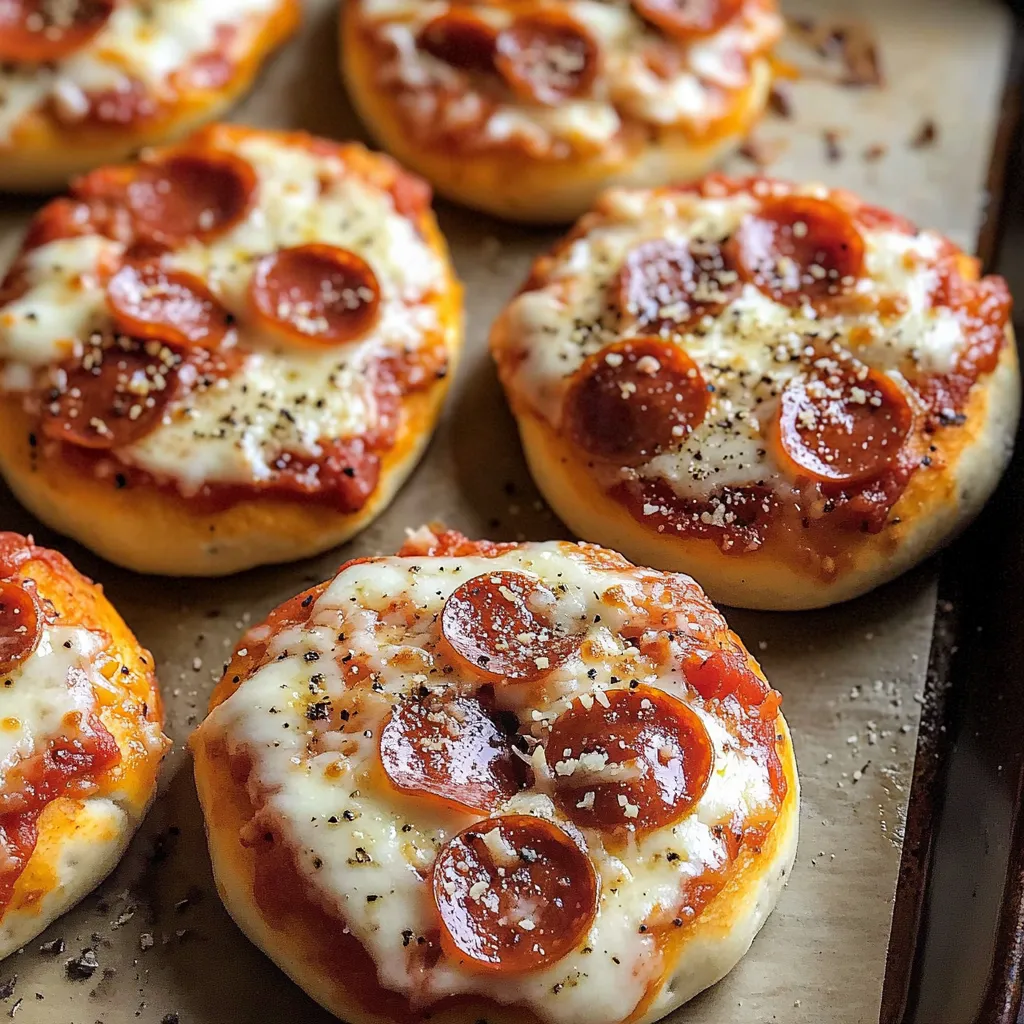
Take plain yogurt dough and turn it into cute little pizzas that fit perfectly in lunchboxes or work as quick snacks. Kids can't get enough of these handheld treats - they'll even want to help make them! The easy two-ingredient base topped with classic pizza flavors makes lunchtime way more exciting.
After packing countless lunches, I've learned that getting the dough right and cutting each pizza the same size really makes these portable bites come out perfectly every time.
Must-Have Ingredients
- Self-Rising Flour: Gives you that nice puff without needing yeast
- Full-Fat Greek Yogurt: Makes the dough extra soft
- Tomato Paste: Packs more flavor than regular sauce
- Shredded Mozzarella: Grate it yourself for better melting
- Mini Pepperoni: The tiny size works great on small pizzas
- Italian Seasoning: Adds flavor to your sauce
Step-By-Step Guide
- 1. Make Your Dough:
- Mix together 2 cups self-rising flour and 1 cup Greek yogurt until you get a rough dough. Dump it onto a floured counter and knead for 5-7 minutes until it feels smooth. If it's too sticky, just add a bit more flour. Let it sit for 5 minutes if it's fighting back when you roll it.
- 2. Cut Your Circles:
- Roll the dough out to ¼-inch thick on a floured surface. Use a 3-inch round cutter or a mug to stamp out circles. Gently gather and re-roll leftover dough for more circles. Put them all on a baking sheet lined with parchment.
- 3. Add Your Toppings:
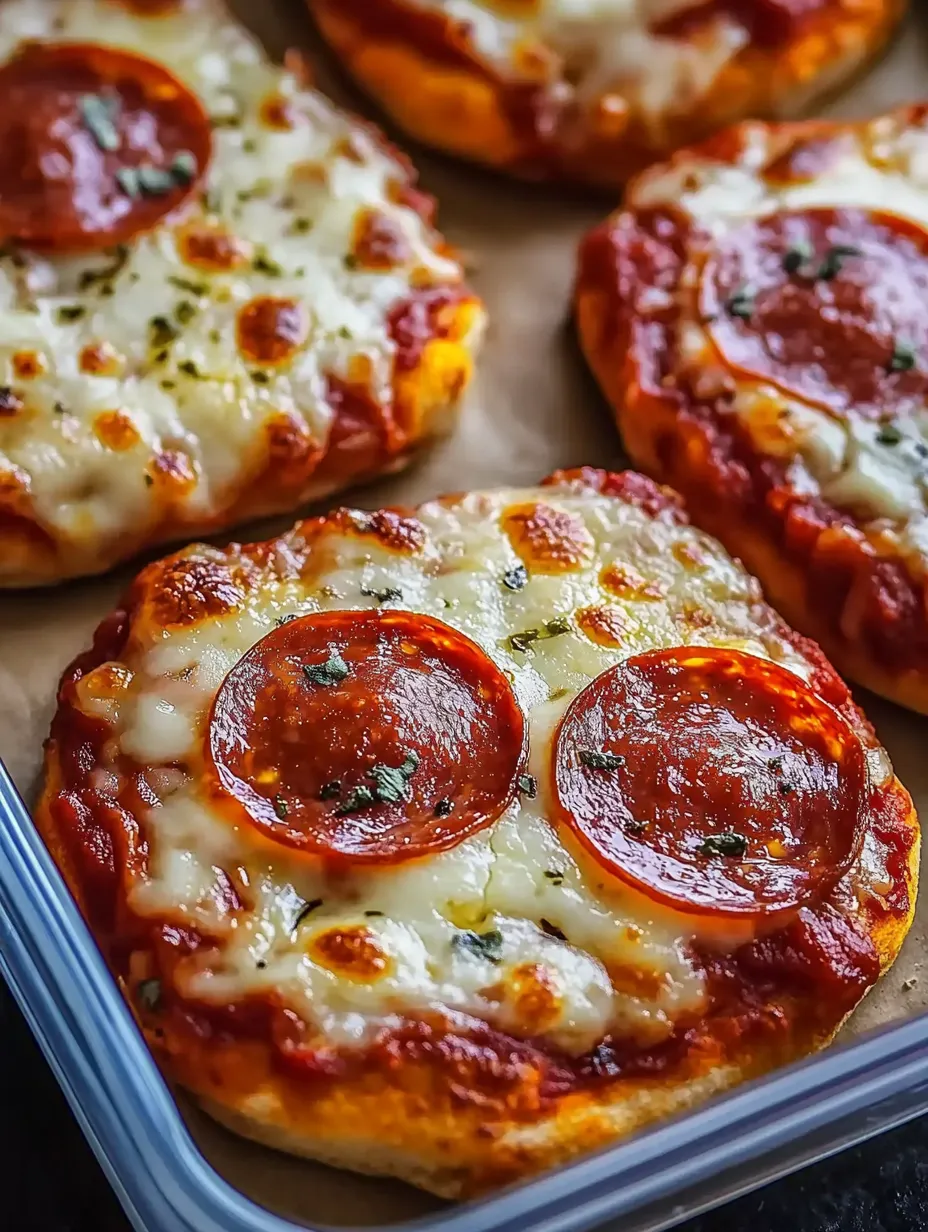
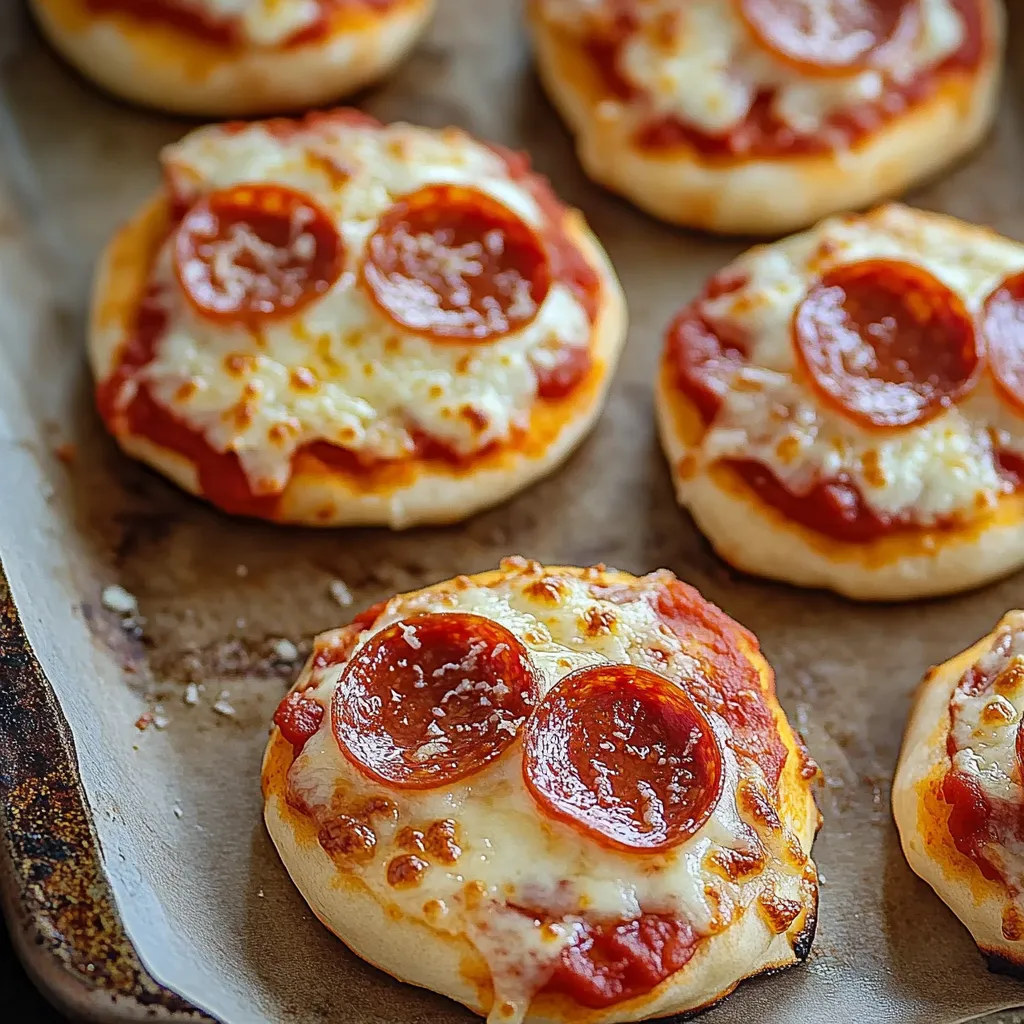
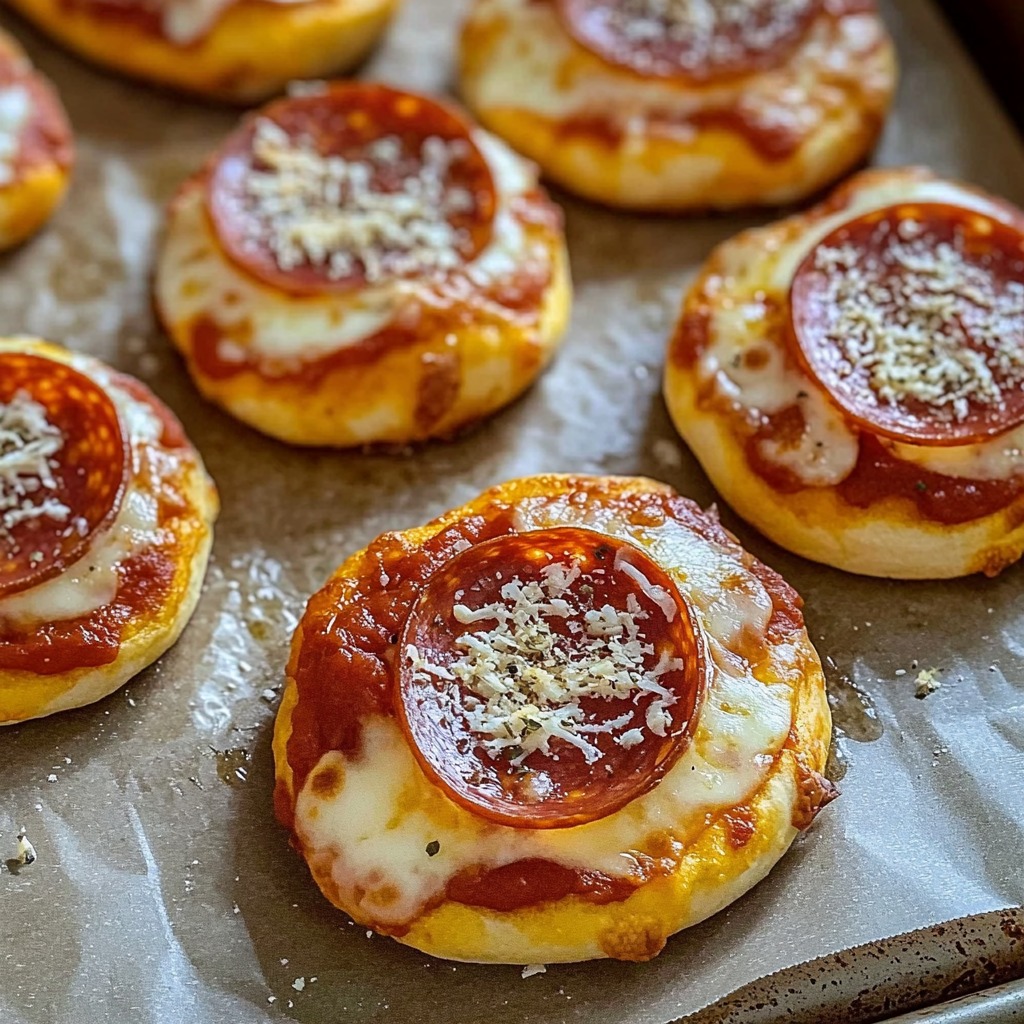
- Spread 1-2 teaspoons tomato paste on each circle, but leave a little edge bare. Sprinkle each with ⅛ teaspoon Italian seasoning. Top with 2 tablespoons mozzarella and 3-4 mini pepperoni pieces.
- 4. Bake Them Up:
- Cook at 400°F for 12-14 minutes until the edges turn golden and cheese gets melty with some light brown spots. Check underneath - they should be crispy and golden brown.
- 5. Cool Them Down:
- Let them sit on the baking sheet for 5 minutes, then move to a wire rack. This stops them from getting soggy bottoms and helps them pack better in lunchboxes.
 Pin it
Keeping And Serving Tips
- 1. For Right Now:
- Make sure pizzas cool all the way before packing in lunchboxes or containers. Put parchment paper between layers so they don't stick together. They'll stay good in the fridge for up to 3 days. Always pack with an ice pack if they'll be sitting out until lunchtime.
- 2. For Later On:
- Place cooled pizzas on a baking sheet without touching, freeze for about 2 hours until hard. Move them to freezer bags and push out as much air as you can. Write the date on the bag. They'll be good frozen for up to 3 months. You can thaw them overnight in the fridge or heat them straight from frozen.
 Pin it
Great Sides To Add
- Sliced veggies
- Cut-up fruit or berries
- Greek yogurt
- Nut and dried fruit mix
- Baby carrots
- Cherry tomatoes
- String cheese
- Hummus for dipping
Tasty Twists
- BBQ chicken with cheddar cheese
- Fresh tomato and basil
- Loaded vegetable mix
- Ham and pineapple
- Taco seasoned beef
- Green pesto with mozzarella
- Creamy ricotta white pizza
 Pin it
These tiny pizzas show that homemade lunch options can be fun and healthy too. They'll quickly become a go-to for school lunches or afternoon snacks. Just remember to cut them all the same size and let them cool properly for the best portable snack experience.
Frequently Asked Questions
- → Can I prepare and freeze these ahead of time?
- Absolutely! Once baked, store them in the freezer for up to 3 months. Heat them up in the oven or microwave when needed.
- → What other toppings could I try?
- Add veggies, ham, various cheeses, or go all-cheese for a vegetarian version.
- → What makes the yogurt dough better?
- The Greek yogurt keeps the dough soft and flaky without needing yeast or time to rise.
- → Is it okay to make the dough ahead?
- Yes, just wrap it up and refrigerate for no more than 24 hours before using.
- → How do I keep the base from being soggy?
- Avoid too much tomato paste and make sure your oven is properly hot before baking.