
 Pin it
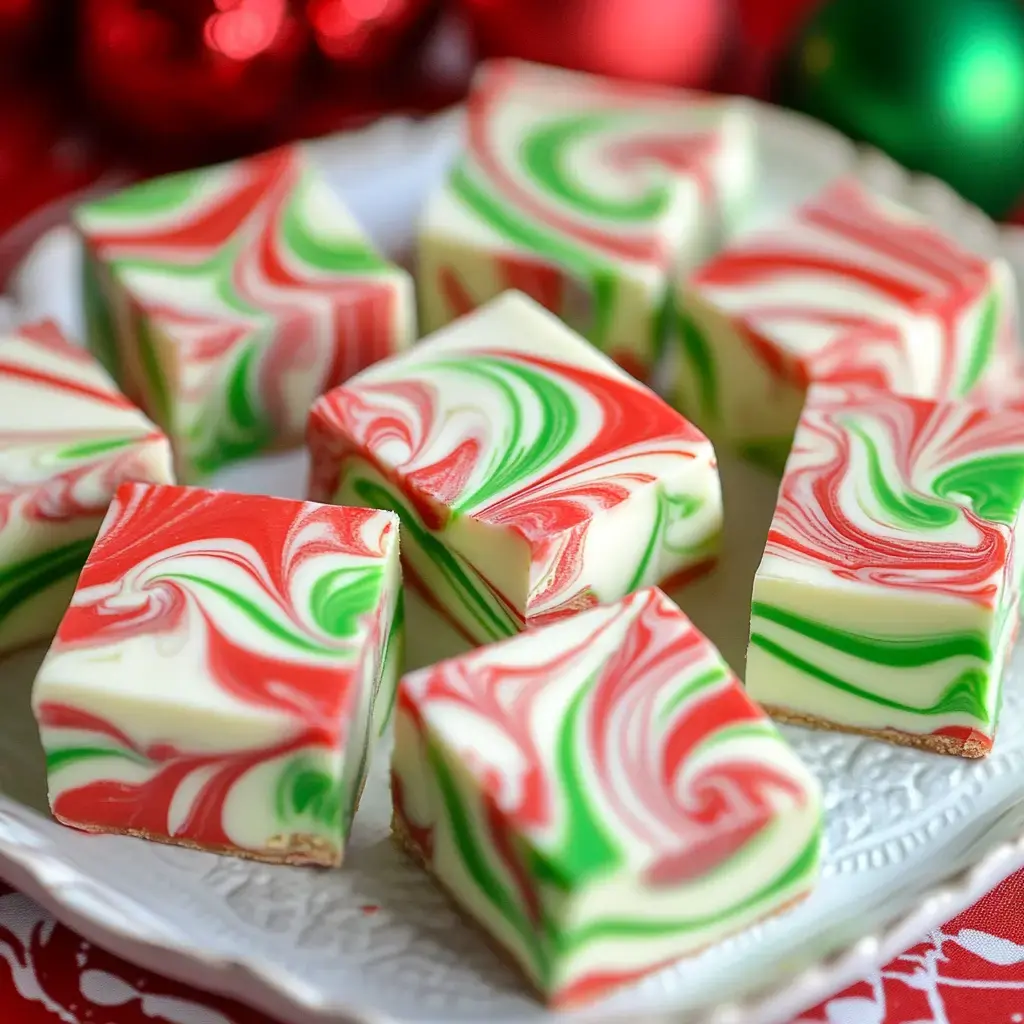
I whipped up this holiday fudge when I needed something cool for the kids' Christmas fair. My first attempt was a total color explosion - red and green everywhere, including my fingers for nearly a week! These days I've nailed it, creating those wavy patterns my children swear look just like the twisted candy in Santa's workshop. My super critical mother keeps grabbing pieces when she thinks no one's watching!
What Makes This Fudge Special
- No fancy candy equipment needed
- Crazy eye-catching results with minimal effort
- Stands out from the usual cookie platters
- Little ones can join in making patterns
- Wraps up beautifully for presents
- Skip the candy thermometer worries
- Keeps well if you can hide it from snackers
Ingredients You'll Need
- The Core Items:
- Premium white chocolate as bargain brands turn gritty
- Sweetened condensed milk in a tin
- Gel food coloring in red and green for better results
- Tools Needed:
- Microwave-safe mixing bowl
- Foil or parchment paper
- Square 8x8 baking dish
- Good knife for clean cuts
Creating Your Colorful Treat
- Prep Work
- Cover your pan with parchment, leaving extra hanging off for easy removal later. Break chocolate into small bits for better melting - I skipped this once and got chunks throughout!
- Melt Everything
- Mix your chocolate with condensed milk, heat for 30 seconds, then stir. Repeat until it's completely smooth. Don't rush or you'll burn it all.
- Add Your Colors
- Divide your mix into three portions - one stays white. Color one red, one green. My kids love this step but watch out - I ruined my favorite top from gel color splashes.
- Create Patterns
- Drop spoonfuls of each color across your pan in a random design. Run a toothpick or knife through to create swirls. Don't overdo it or you'll just get brown mush!
- Cooling Off
- Stick it in the fridge for a few hours. The toughest challenge is keeping everyone away until it's ready!
 Pin it
Handy Kitchen Secrets
Use ingredients at room temperature for smoother melting. Keep all utensils completely dry since water makes chocolate harden instantly - I wasted an entire batch that way. Start with small amounts of coloring and add gradually. I once made my fudge so intensely red it looked like it belonged on Valentine's Day!
Try Different Versions
I've played with lots of color combinations. White and blue gives you a snowy theme. Go with orange and black for Halloween treats. Sometimes I toss sprinkles on top before it hardens - the kids go wild. I even mixed in smashed candy canes once - it got a bit sticky but tasted fantastic!
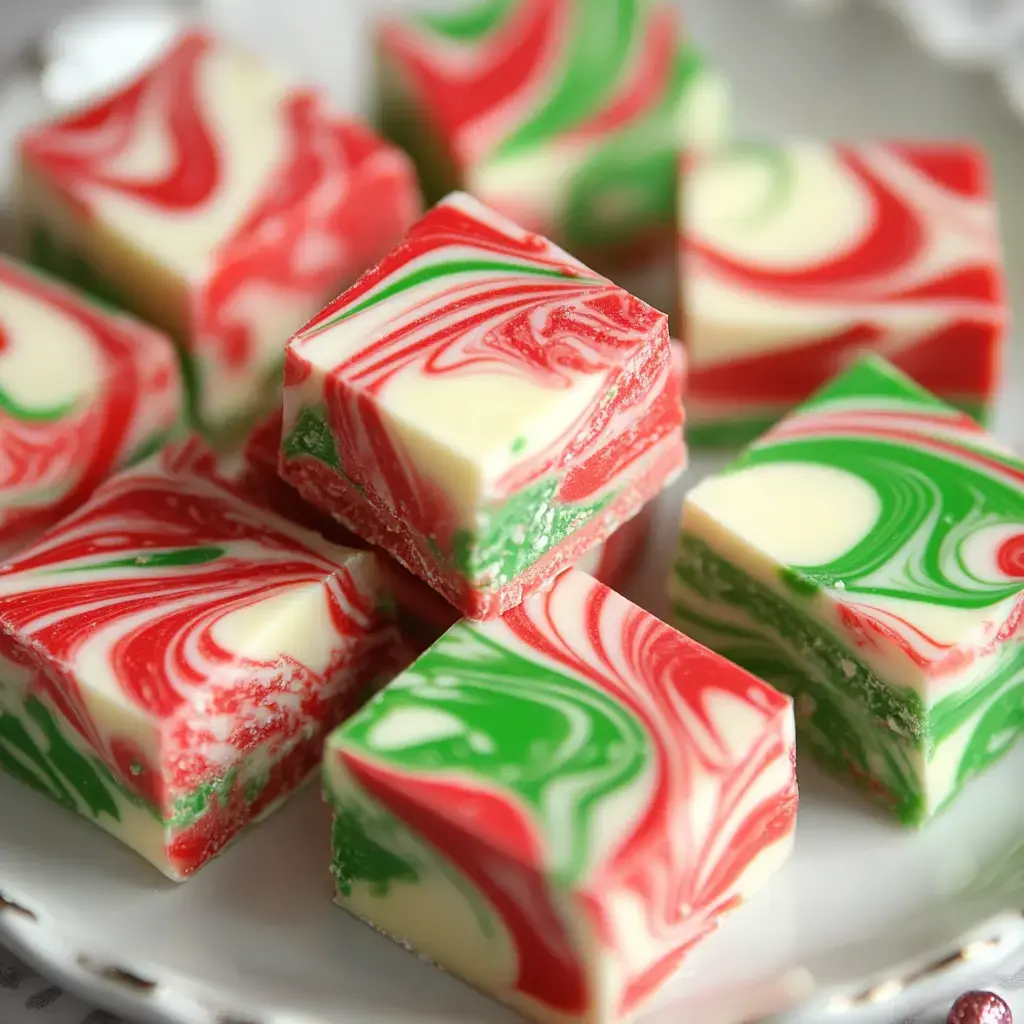
Keeping And Giving
Slice it when fully chilled using a knife dipped in hot water between cuts for tidy edges. They look gorgeous on festive dishes. This stuff lasts about two weeks in the fridge if nobody finds your hiding spot! For gifts, wrap pieces in wax paper, tuck into a cute container, tie with a bow and you've got a homemade present that'll wow everyone.
Frequently Asked Questions
- → Why is gel coloring better?
It’s thicker and packs more color without thinning the mix. Liquid dyes can mess up the texture and may not look as bright.
- → What's the trick for swirls?
Just lightly drag a knife around the colors. If you overdo it, you'll lose the design and it’ll all blend together.
- → Why does chocolate clump up?
Moisture or overheating is the usual culprit for clumping. Heat carefully in short bursts, and be sure everything is completely dry.
- → Can I use other colors?
Absolutely! Choose gel colors to match your occasion, but make sure the amounts are balanced for an even mix.
- → What's the point of chilling?
Keeping it cold helps it firm up and keeps the designs clear. Leaving it out might make it take too long to set up.