
 Pin it
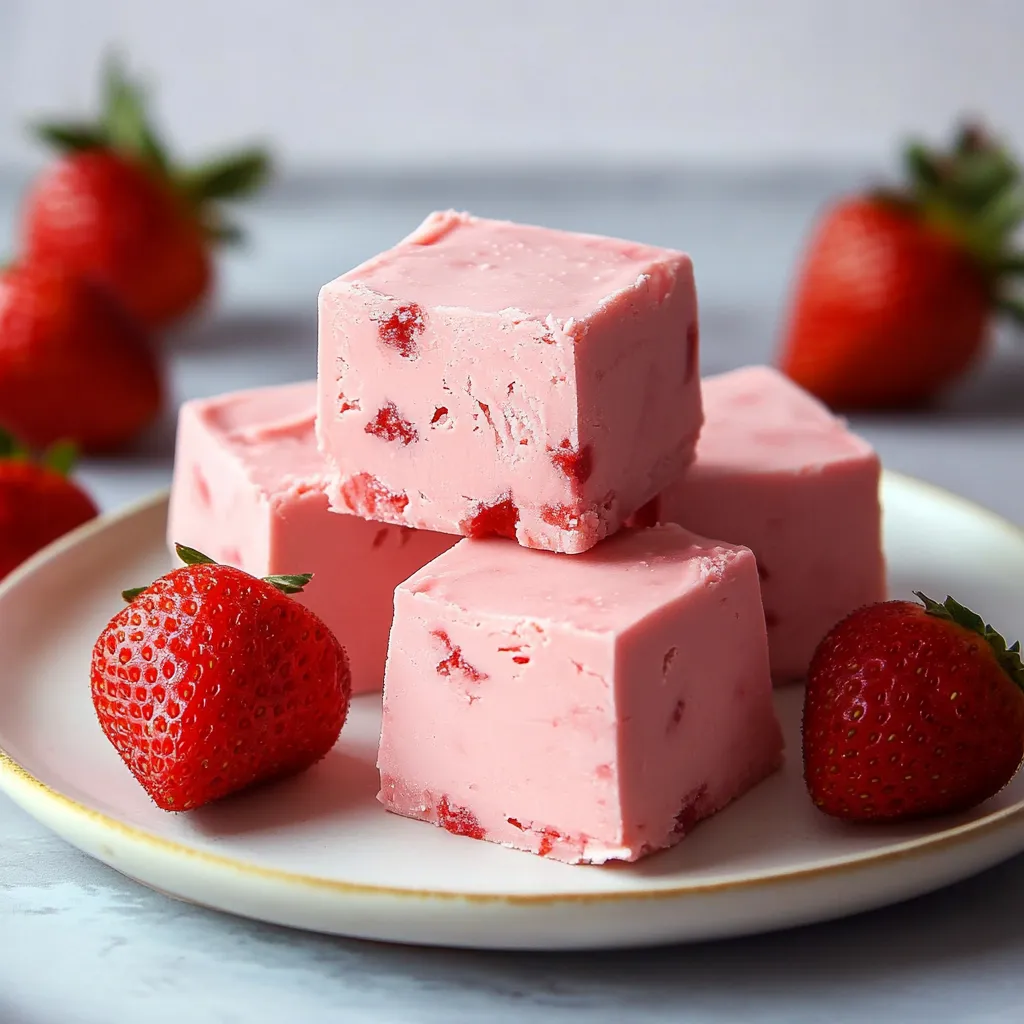
This quick two-ingredient strawberry fudge brings together sweet convenience and homemade charm. Mix strawberry frosting with candy melts to whip up smooth, pink treats that look fancy but take almost no effort. Your kitchen will smell amazing as you put together these sweet bites - they're perfect for giving as gifts or enjoying whenever you want something sweet.
I first made this fudge when I needed something quick for a school bake sale. That rushed creation turned into something my family now asks for whenever we celebrate anything. I love how it always turns out great, no matter what.
Key Ingredients and Shopping Advice
- Strawberry frosting: Go for premium brands since they mix better - cheaper options might not give the same results
- Strawberry candy melts: Make sure to buy newer packages as older ones don't melt as well
- Optional garnishes: Try adding dried strawberries, a white chocolate drizzle, or fun sprinkles on top
- Parchment paper: Don't skip this or try using wax paper instead - you'll regret it when removing the fudge
Step-by-Step Making Process
- Let frosting reach room temperature
- Take it out at least 30 minutes before you start cooking or it won't blend properly and could ruin your texture
- Pick a deep microwave bowl for melting the candy
- This stops any overflow and helps heat spread better. Always pause to stir every 20 seconds, even when they don't seem totally melted yet
- Mixing makes or breaks your fudge
- A rubber spatula works best to fold everything together until completely blended. Spend about 2-3 minutes mixing gently but thoroughly
- Start pouring from the middle of your prepared pan and let the mixture flow outward to the edges on its own
- This helps get rid of air bubbles
- Bang the pan on your counter 5-6 times
- You'll notice tiny bubbles coming up - this trick gives you that smooth, professional look
- Cool at room temperature for 10 minutes before putting in the fridge
- This extra step lets any last air bubbles rise up naturally
 Pin it
Slicing Beautiful Fudge Portions
For picture-perfect fudge squares, run your knife under hot water and wipe it dry between cuts. This simple trick gives you those clean edges that make homemade fudge look store-bought.
Keeping Your Fudge Fresh
I've learned to layer fudge pieces with sheets of parchment paper so they don't stick together. Store them in an airtight container and keep away from foods with strong smells in your fridge.
Wrapping It Up As Presents
This fudge has become what everyone expects from me during the holidays. Wrapped in cute boxes with ribbons, it always gets big smiles from everyone who receives it.
My kid found out that warming a piece slightly makes it super soft and creamy - it tastes just like fresh strawberry cream that way. Now we can't enjoy it any other way.
I've made tons of batches now, and I've noticed this simple recipe makes people just as happy as fancy desserts that take hours. It shows that sometimes the easiest treats become the ones we love most.
 Pin it
How Cooling Works Its Magic
Getting fudge just right depends a lot on temperature. If it's too warm, your fudge stays soft; if it's too cold, it gets too hard to enjoy. During those 4 hours in the fridge, something amazing happens as the mixture slowly firms up to that perfect creamy bite.
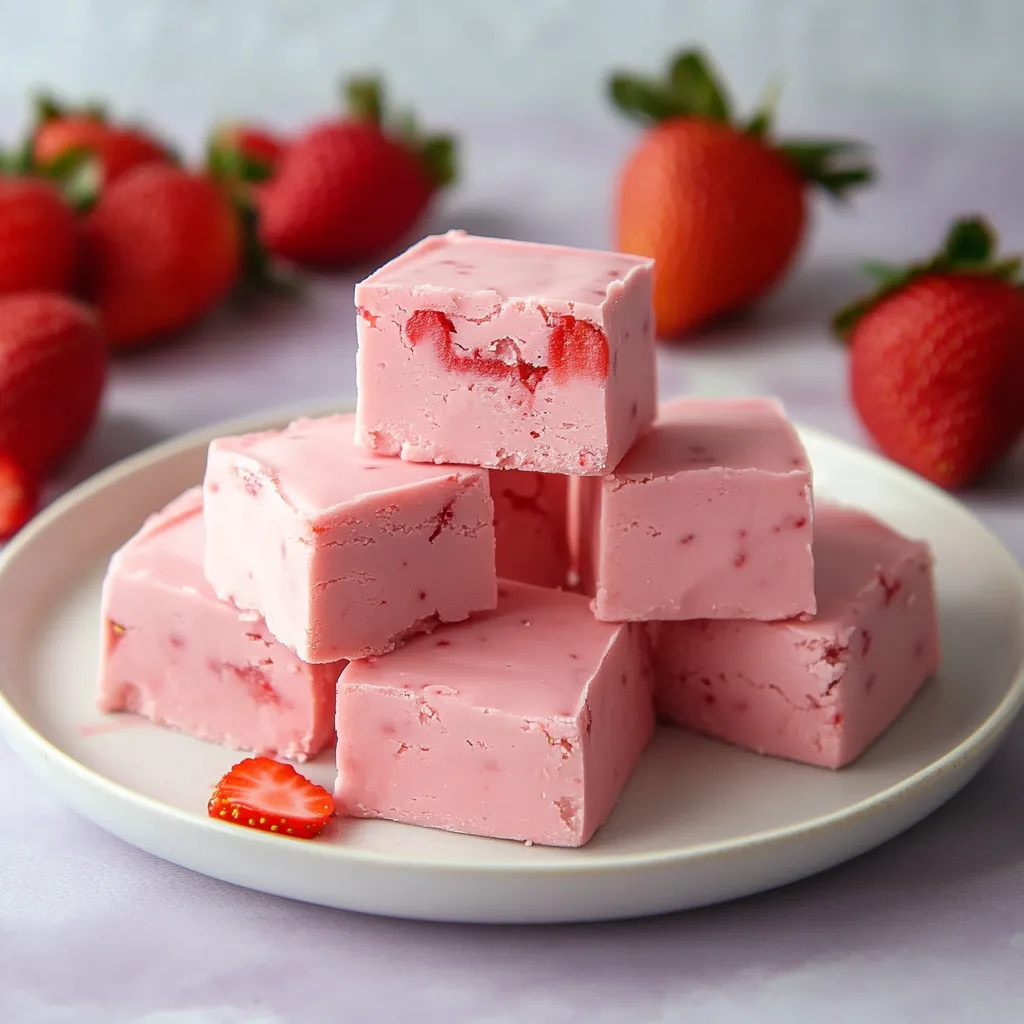
Eye-Catching Pink Treats
The natural pink color makes this strawberry fudge so pretty. For special events, I've tried swirling in some white candy melts or sprinkling edible pearl dust on top for shine. These little touches turn simple fudge into fancy candy that looks perfect for celebrations.
Fixing Common Problems
After making countless batches, I've run into and fixed several issues:
- If your fudge feels too soft, it probably just needs more time to chill
- Grainy texture usually means you overheated the candy melts
- Seeing color streaks means you should mix more thoroughly next time
Changing With The Seasons
Though this works year-round, I enjoy tweaking it for different times of year:
- For spring: Add bits of dried strawberry and light colored sprinkles
- During summer: Mix in crushed graham crackers for a strawberry shortcake feel
- In fall: Throw in white chocolate chips with fall-colored sprinkles
- Winter holidays: Sprinkle crushed candy canes on top
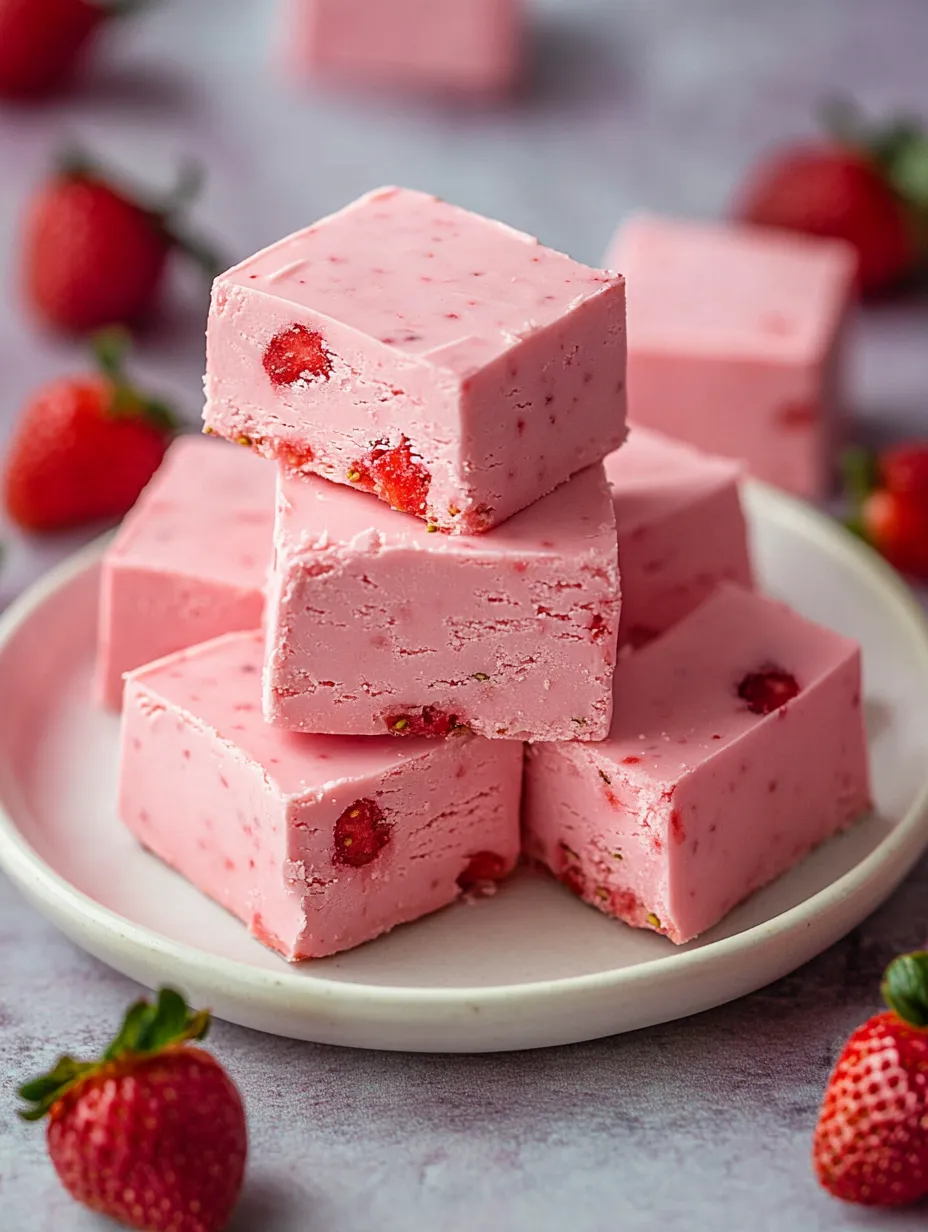
Getting The Size Just Right
I love how easily you can cut this fudge into exact sizes. I usually make 16 squares, but you can go smaller for parties or bigger for treats. Using a ruler while cutting helps get perfectly even pieces that look like they came from a candy shop.
 Pin it
Packaging For Presents
This fudge has become my favorite thing to make for friends. I've found that small clear bags tied with ribbon look really nice. Adding a little handwritten note with storing tips makes it feel special, and people always appreciate that extra touch.
Lighter Options To Try
While this is definitely a treat, you can make some tweaks:
- Try sugar-free frosting and candy melts to cut down on sugar
- Make tiny pieces so you don't eat too much at once
- Mix in some chopped nuts for protein and good fats
Making this strawberry fudge taught me that easy recipes often bring the most happiness. Whether you're making it just for yourself or sharing with friends, it shows that tasty doesn't need to be complicated. Every batch reminds me how a bit of creativity and patience can turn simple ingredients into something really special.
Frequently Asked Questions
- → Can I switch out the frosting flavor?
- Definitely! Any canned frosting works great—give chocolate, vanilla, or other favorites a try for fun twists.
- → How do I keep this fudge fresh?
- Pop it in an airtight container in the fridge—it'll stay good for a week. Or freeze it and enjoy up to three months later.
- → What if my fudge doesn’t firm up?
- Be sure both ingredients are fully melted and mixed well. Also, give it the full 4 hours in the fridge to set properly.
- → Is it okay to toss in extra ingredients?
- Of course! Stir in sprinkles, chopped nuts, or tiny chocolate chips before it sets to add flavor and crunch.
- → How long does this take start to finish?
- Prep is just 15 minutes of hands-on time, but don’t forget the 4 hours it needs in the fridge to set.