
 Pin it
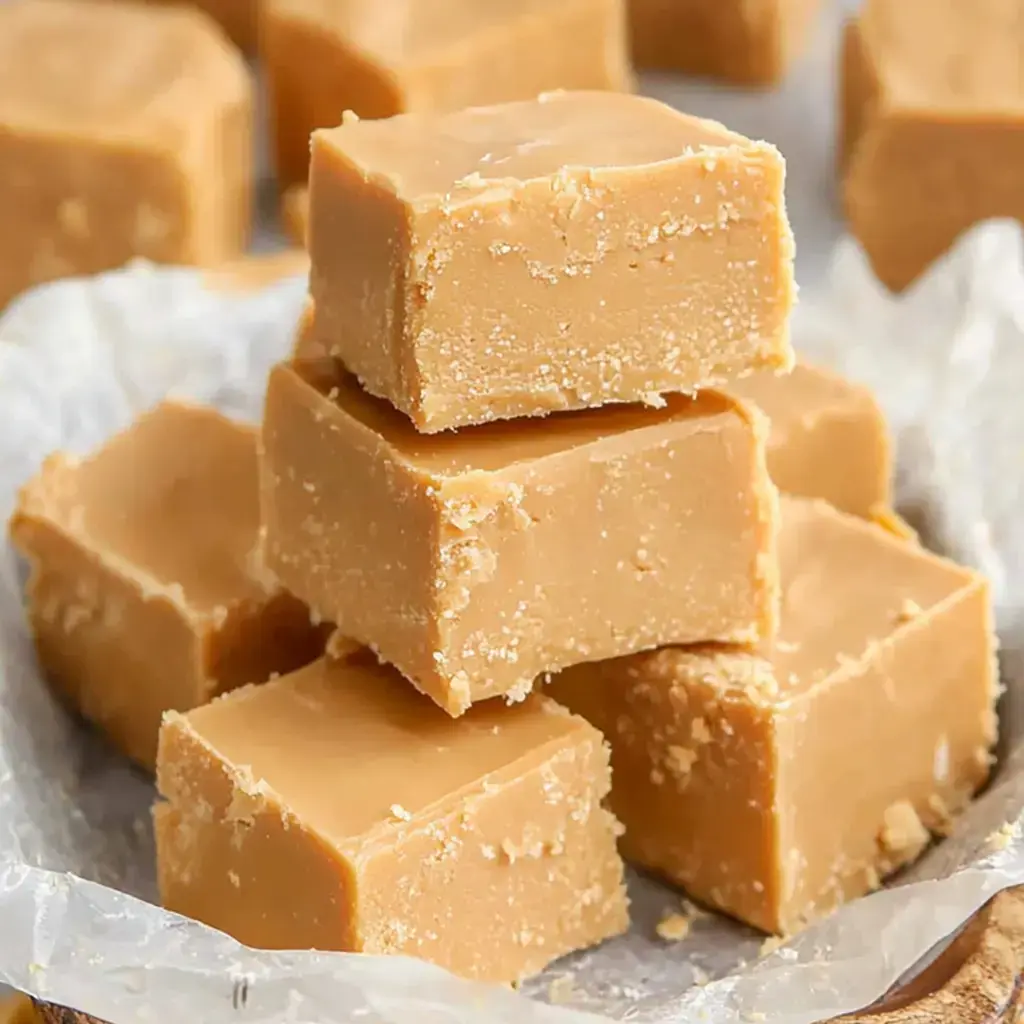
Whip up this basic peanut butter fudge at home using just a handful of everyday ingredients. It's so fast, simple, and comes out great every single time. You'll keep coming back to this recipe once you've given it a try.
Why This Creamy Peanut Butter Fudge Stands Out
This fudge requires only four ingredients and can be thrown together in just minutes. It's velvety, rich, and will transport you straight to an old-time candy shop. It makes a wonderful gift that anyone would be thrilled to receive. The microwave method means even kids can join in the fun. Toss in whatever mix-ins you fancy to customize it completely.
Ingredients Needed
- Butter: Unsalted butter works best for clean flavor. No butter on hand? Go with margarine or coconut oil as substitutes.
- Smooth Peanut Butter: Any brand of creamy peanut butter will do. For something different, swap in almond butter or sunflower seed butter.
- Vanilla: Enhances the overall taste. Both pure and artificial vanilla extract work just fine.
- Powdered Sugar: Creates that smooth, sweet texture. If you run out, blend some regular sugar with a tiny bit of cornstarch as a quick fix.
Step-By-Step Instructions
- Combine and Warm:
- Find a microwave-safe glass container and add your peanut butter, butter, and a dash of vanilla. Microwave for around 90 seconds. After taking it out, stir thoroughly until completely blended and glossy. For any remaining chunks, just pop it back in for a few more seconds – you're aiming for a silky consistency.
- Mix in Sugar:
- Here comes the tricky bit – working in the powdered sugar. Add it gradually, one cup at a time, mixing well between additions. The mixture will gradually thicken, and you might feel your arm getting sore, but don't give up. You want to end up with a thick, moldable dough that sticks together when pressed.
- Prepare Pan:
- Take an 8 or 9 inch baking dish and either coat it with butter or cover it with parchment (this helps for easy removal later). Transfer your mixture into the pan and smooth it flat. Use a spoon back or your fingers to press it down firmly, which helps it stay intact when sliced later.
- Rest and Slice:
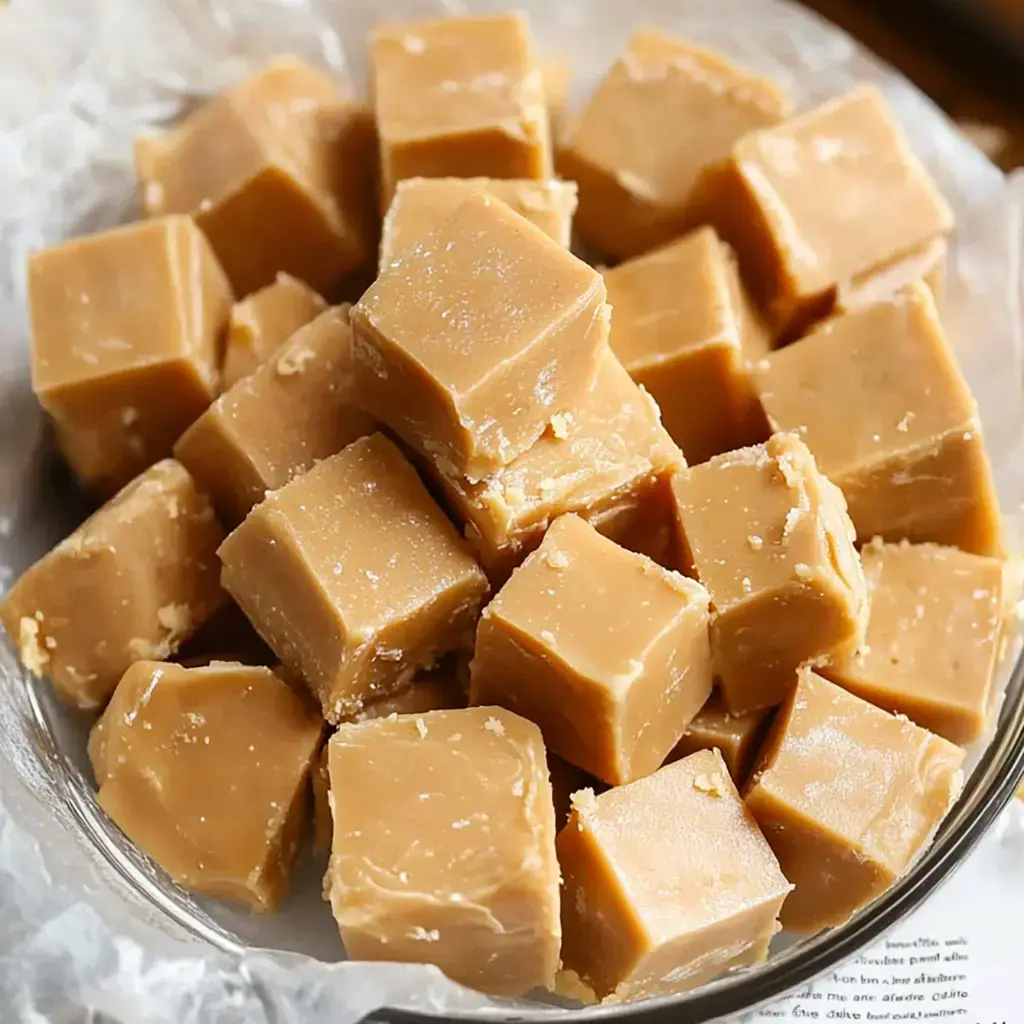
- Now comes the waiting game! Stick your pan in the refrigerator and let it set for at least 4 hours. You'll know it's ready when it feels firm to touch. Once set, slice into squares of whatever size you prefer. Keep these sweet treats in a sealed container in your fridge, if they don't vanish first!
- Stovetop Method:
- Got no microwave? That's totally fine! Just use a saucepan to warm the peanut butter, butter, and vanilla over medium-low flame. Stir constantly to avoid burning. Once fully melted and combined, remove from heat and stir in your sugar just like in the microwave version. The results are equally delicious!
 Pin it
Nostalgic Treats
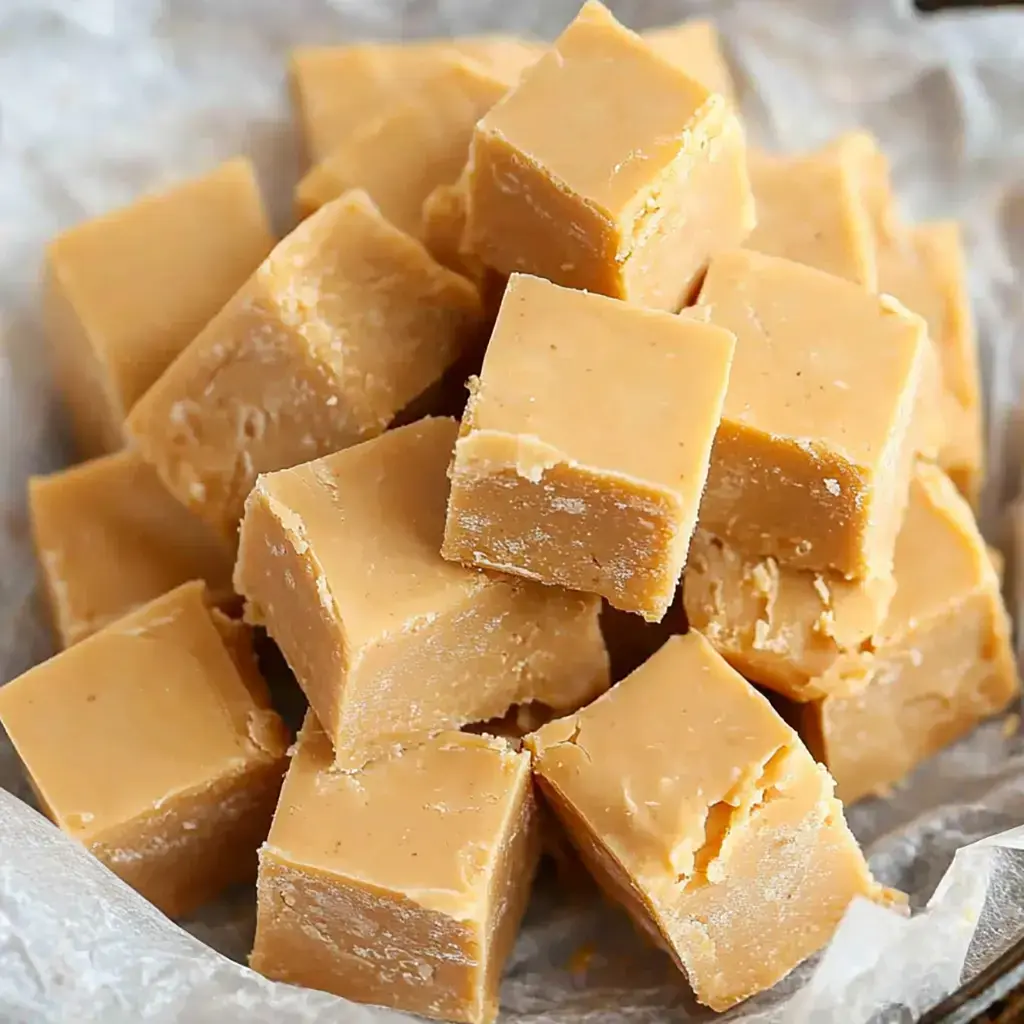
This fudge brings back childhood memories of staring at candy shop displays. Everyone who samples it always wants the recipe. There's something magical about its simplicity – that perfect blend of sweet, salty, and smooth textures.
Powdered Sugar Magic
The powdered sugar is what gives this fudge its incredible texture. Unlike granulated sugar, it blends in completely without leaving any graininess behind. That's why every bite feels so luxuriously smooth.
Customization Ideas
Mix in some chocolate ribbons, sprinkle some flaky sea salt, or toss in crushed nuts. You can even add a caramel drizzle on top. Experiment with different add-ins until you create your perfect version.
Perfect Presents
Looking for a quick holiday gift? Put some fudge squares in a cute container with a bow. Handmade treats always impress folks, and nobody will guess you spent barely any time making it. It shows thoughtfulness without draining your wallet or schedule.
Perfect Moments to Enjoy
Savor a piece with your morning brew, afternoon cup of tea, or as an after-dinner treat. It's wonderful for family gatherings around the fireplace. Pair it with your favorite drink – this fudge tastes good with practically anything.
 Pin it
Frequently Asked Questions
- → How long does it need to cool?
A minimum of four hours is best, but leaving it overnight gives a firmer texture. Give it the time it needs to chill fully.
- → Can I use crunchy peanut butter?
While smooth works better, crunchy adds texture. Just expect a thicker mix and stir more. It’s still super tasty.
- → What’s the best pan?
A square 8-inch pan is ideal, though 9-inch makes thinner bars. Line it with paper for easy lifting. Sides should be firm too.
- → Can I make it on the stovetop?
Sure! Use low heat and mix constantly to avoid burning. It might take a little longer, but it works well.
- → How do I make it plant-friendly?
Easy—swap regular butter for dairy-free options. Most types of nut butter will do the trick; just ensure it melts nicely. It’ll set up just fine.
- → Why is it coming out soft?
Add a touch more sugar next time and keep things chilled. Make sure your butter isn’t too warm before mixing.
- → How do I pack it for travel?
Use a sturdy container, and keep it cool. Slice it where you’re headed if possible. Place paper layers between pieces and avoid stacking too high.
- → Can I speed up chilling?
You can put it in the freezer for a little while to save time. Start with a cooled pan and don’t skip prep work—it still needs to chill properly.
- → How do I double the amount?
Doubling the mix works well, but you’ll need a bigger pan and more time to combine everything evenly. Allow extra time to cool completely.
- → Can I make it more flavorful?
Add a pinch of salt, a splash of vanilla, or swirl in a second nut butter. Even honey can work. Just avoid adding any extra liquid.
- → What if it's too sweet?
Next time, cut back on the sugar or bump up the nut butter. A little salt can balance things, but overly sweet can’t be undone. Aim for balance from the start.
- → Why won’t it cut smoothly?
Let it sit for a couple of minutes to soften slightly. Use a warm knife, clean the blade frequently, and press straight down instead of sawing.
Conclusion
Fan of these? Try no-oven nut bars or nut cookies for more delightful treats. Both are super easy!