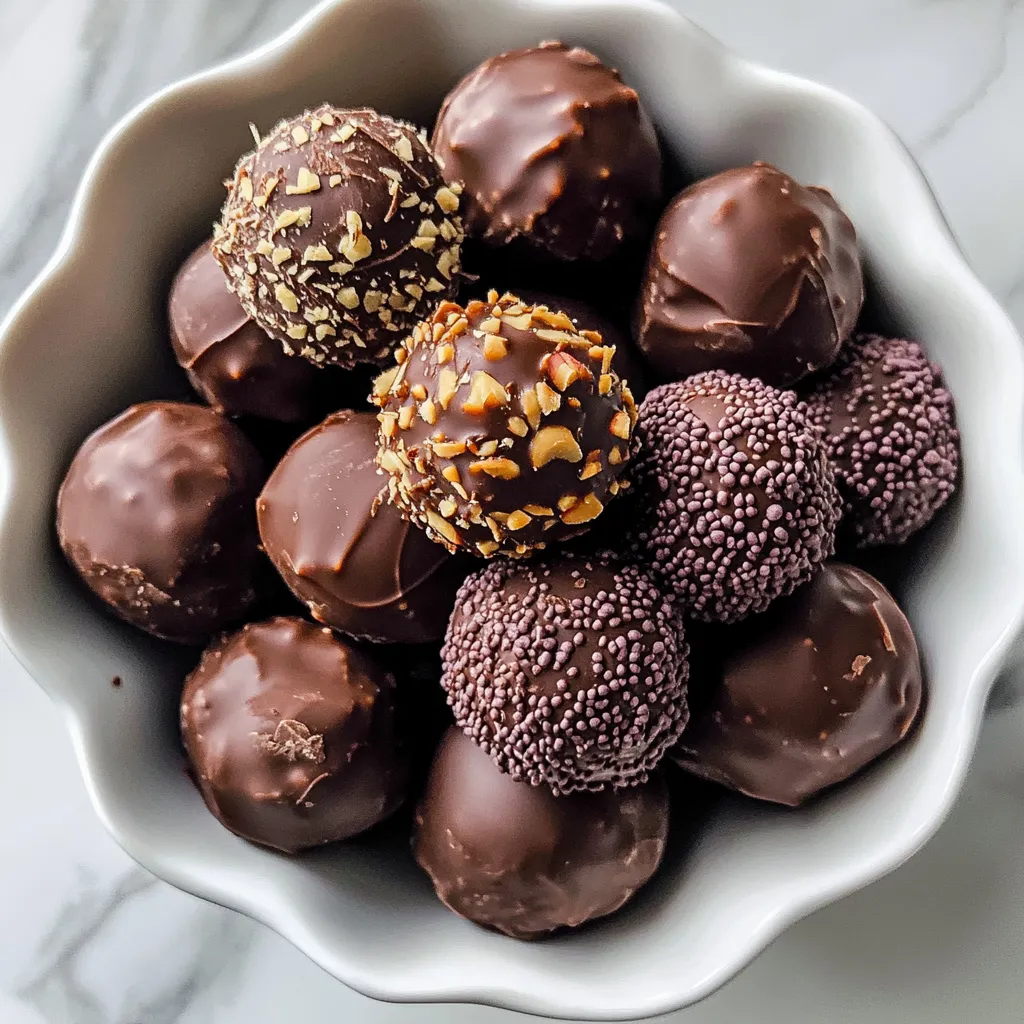
These Valentine chocolate truffles show your affection through a handcrafted sweet. Made from top-notch chocolate and cream, these fancy treats have an amazingly smooth texture that melts right in your mouth, beating anything from expensive shops. The trick to their velvety feel is a bit of butter, while vanilla adds richness. You can play around with love-themed toppings like red sprinkles, cocoa, or white chocolate swirls. Though they look fancy, they're actually easy to make - just melt stuff together, cool it down, and shape into balls. They're great as gifts for your sweetheart or for sharing during a cozy dinner, and you can make them days before. Each little truffle is a tiny bit of chocolate paradise that really shows you care.
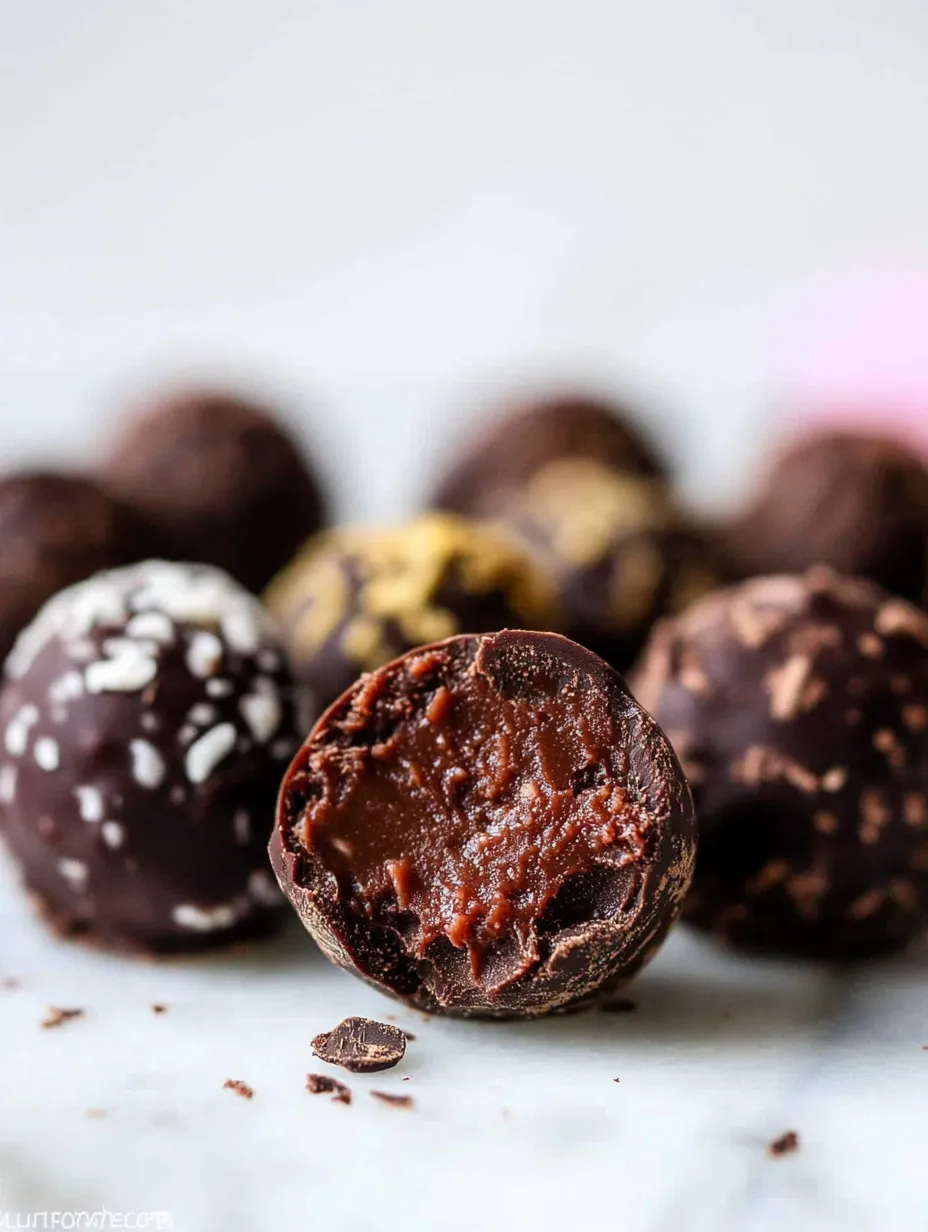
When you take that first bite of a homemade chocolate truffle, everything around you seems to pause. That wonderful crust breaking to show off the super smooth, velvety center – it's like eating a tiny work of chocolate art. In my home, these truffles started as a basic chocolate and cream mix but turned into fancy treats that stand up to anything you'd buy from expensive shops. The trick? Using top-notch chocolate and adding a bit of butter for that extra smooth feel that makes them so hard to resist.
I gave these truffles to my best friends last Valentine's Day. Seeing their surprise when they found out I made them myself – not bought them – made all that careful chocolate work and rolling totally worth it. What's my trick? Taking your time with each part and buying the best stuff you can afford.
Key Ingredients and Shopping Advice
Chocolate: Go for top-quality bars like Lindt or Ghirardelli with 60-70% cocoa. Since chocolate is the main flavor, this is where spending a bit more really counts
Heavy Cream: Make sure it's heavy cream or heavy whipping cream with at least 36% fat. You need this richness to get that perfect smooth center
Butter: Use unsalted butter that's soft at room temp. Even this little bit makes the texture way better
Vanilla Extract: Get the real stuff, not imitation. In such a simple recipe, you'll really taste the difference
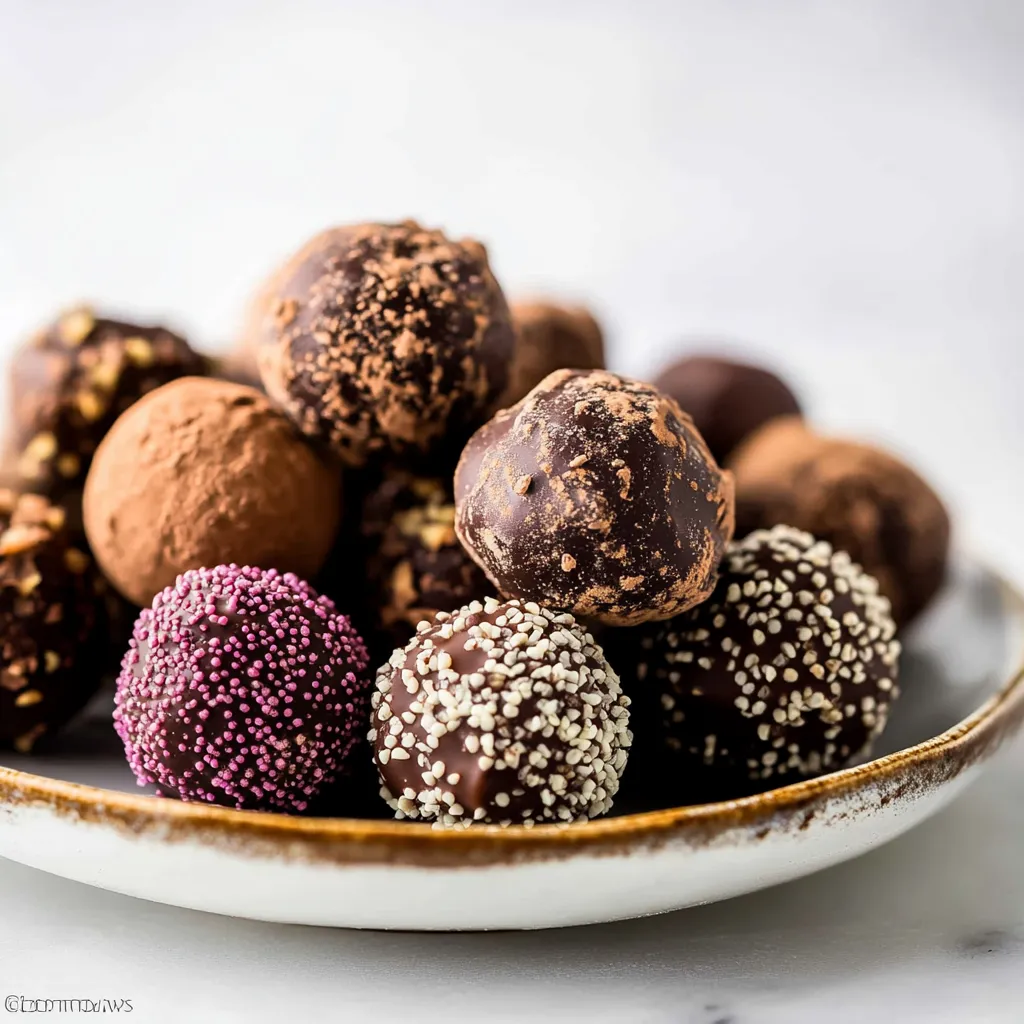
Optional Toppings: Have cocoa powder, smashed nuts, or colorful sprinkles ready for coating. Each one gives a different fun texture
From years of making these chocolates, I've found that taking your time and watching temperatures closely is what makes them turn out great. Every ingredient does something important to create that magic moment when the truffle melts as soon as it hits your tongue.
Step-by-Step Guide
1. Getting Everything Ready
Start your truffle adventure with good prep work. Cut the chocolate into tiny, same-sized bits – think small rocks, not big chunks. This helps it melt evenly for a smooth mix. Have your heat-safe bowl, cream, softened butter, and tools nearby. I've learned that being organized now stops any panic when you're pouring hot cream over chocolate.
2. Warming The Cream
Put your heavy cream in a small, clean pot. Heat it on medium-low, looking for the signs it's ready – tiny bubbles at the edges, steam coming up, and slight movement on top. Don't let it boil; you want it just hot enough to melt chocolate but not burn. This usually takes 3-4 minutes, but trust what you see more than the time.
3. Making The Ganache
Here's where the fun starts. Slowly pour your hot cream over the chopped chocolate, making sure all pieces get covered. Add your room-temp butter now – it'll melt with the chocolate. Now be patient – don't touch anything for 5 whole minutes. The heat slowly melts everything while the butter adds smoothness. Don't rush by stirring too early.
4. Mixing It Together
Begin stirring from the middle with a rubber spatula, moving outward in small circles. Watch how it changes from separate parts into a shiny, combined ganache. When there aren't any streaks left and it looks like liquid silk, add your vanilla. One last gentle stir mixes it in perfectly. If you see any bits of unmelted chocolate, put the bowl over a pan of warm water for half a minute.
5. Letting It Rest
Cover your ganache with plastic wrap, pushing it right onto the surface – this stops that annoying skin from forming. Put it in the fridge for 1-2 hours, until it's firm enough to scoop but still soft. I usually poke mine gently after an hour – you want it to show a fingerprint but not be super hard.
6. Scooping Portions
Put parchment paper on a baking sheet. Using a small cookie scoop or spoon, scoop the cold ganache into 1-inch piles. Don't worry about making perfect balls yet – just focus on making them all about the same size. If the mix starts sticking, put it back in the fridge for 15 minutes. I've found cold ganache is way easier to handle than warm.
7. Shaping The Balls
Now comes the hands-on art part. Working quickly, roll each pile between your palms to make smooth balls. A trick I learned at a chocolate class: keep your hands cold by running them under cool water and drying them fully between every few truffles. This stops the chocolate from melting as you work.
8. Adding The Coating
Set up your coating stations before you start rolling – whether it's cocoa powder, crushed nuts, or melted chocolate. Roll each truffle in your chosen topping right after shaping it. For cocoa-covered truffles, use a fork to gently toss them in the powder – this makes a more even coating than just rolling them.
I started making truffles in my grandma's kitchen, where she showed me that taking your time leads to perfect results. Each batch I've made since has helped me get better, teaching me how tiny changes can really affect how they turn out.
Coating Techniques
After making so many batches, I've found that different coatings need different methods. You should sift cocoa powder so it doesn't have lumps. For chocolate dipping, let it cool a bit before using it to make a thicker shell. Ground nuts should be really small so they stick properly.
Pin itHomemade Chocolate Truffles Recipe | cuisinegenial.com
Keeping Them Fresh
These truffles actually taste better after sitting in the fridge for a day. The centers set perfectly, and the flavors blend together beautifully. They'll stay good for up to three weeks when kept in an airtight container.
Changing Flavors For Different Seasons
What makes this basic truffle recipe so great is how easily you can change it throughout the year. During Christmas, I add peppermint or a splash of spiced rum to the cream before heating it. In spring, I go lighter – maybe orange zest or a hint of lavender. Summer is perfect for mixing in fresh berry flavors, while fall calls for warm spices like cinnamon and nutmeg. The trick is adding these extras when you're heating the cream, so they fully mix into the ganache. After years of playing around, I've learned that subtle flavors work best – they let the chocolate's own complex taste shine through.
Giving Them As Gifts
Handmade truffles deserve to look as good as they taste. I've found that small paper candy cups in nice gift boxes make them look super professional. For special events, I mix different coatings – cocoa, nuts, and chocolate-dipped – in one box, creating a beautiful variety that looks like expensive chocolates. Keep the boxes in the fridge until about 30 minutes before giving them away. I figured out this timing through trial and error – it gets them to just the right temperature for that perfect first bite. Include a little note explaining the flavors and suggesting they be eaten within two weeks (though they rarely last that long!).
Managing Temperature And Environment
Making truffles has taught me how much the room conditions affect chocolate work. During humid summer days, I use a tablespoon less cream and work in air conditioning to make sure they set right. In winter, when my kitchen is cool, I let the ganache sit at room temperature for an extra 10 minutes before rolling, which makes shaping much easier. I've also found that working early in the morning, when the kitchen is coolest, gives the best results. These small adjustments, which I've learned from making countless batches in different seasons, help ensure great-looking truffles all year round.
Pro Maker Tips
Don't try to speed up cooling in the freezer – it makes the texture uneven
If your mixture separates, warm it gently while stirring until it comes back together
Keep a food thermometer nearby to check cream temperature
Wipe your scoop or spoon between each truffle for more even sizes
Making the perfect chocolate truffle is like a careful dance between heat and timing. Each step builds on the last, creating something truly special. Whether you're making them for someone you care about or just treating yourself, these truffles show us that sometimes the simplest combinations make the most amazing results. The joy of creating something so fancy from just a few ingredients makes all the careful work totally worth it.
Frequently Asked Questions
→ Can I prepare these truffles in advance for Valentine's Day?
Absolutely! They stay fresh for 3-4 days out of the fridge or up to 2 weeks refrigerated. Great for making before Valentine's arrives.
→ How do I make these truffles more Valentine-themed?
Try adding red or pink sprinkles, little heart decorations, or some pink-colored white chocolate drizzled on top for a loving feel.
→ What chocolate works best for making truffles?
Go for premium baking chocolate bars such as Ghirardelli or Baker's - don't use chocolate chips - for the creamiest, most divine truffles.
→ Can I mix in other flavors for some variety?
Definitely! Try adding raspberry or strawberry extract for a romantic touch, or splash in your favorite liqueur for grown-up versions.
→ Why are my truffles melting when I try to roll them?
If they're turning mushy, stick them back in the fridge for 15-20 minutes. Cold truffle mixture is way easier to shape and roll.
Chocolate Truffles for Valentine
Velvety handcrafted chocolate truffles ideal for Valentine's Day - a heartfelt sweet that's handmade with care and will definitely wow your loved one.

 Pin it
 Pin it
 Pin it