
 Pin it
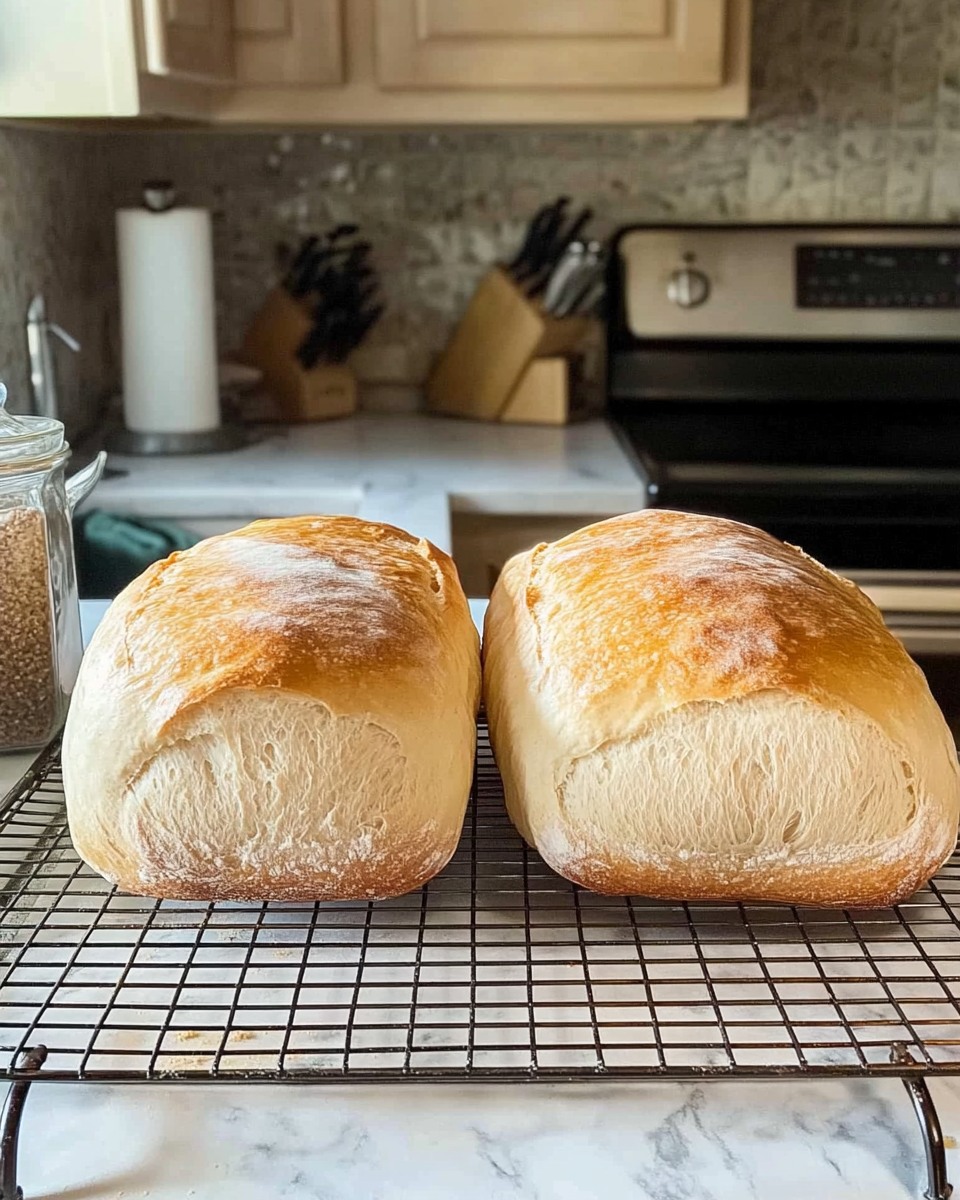
This rustic homemade bread has become my weekend ritual, filling my home with that irresistible fresh-baked aroma while requiring minimal effort. The recipe strikes the perfect balance between simplicity and satisfaction, proving that delicious bread doesn't require professional baking skills.
I first tried this recipe during a snowstorm when I couldn't get to the store, and my family was so impressed they insisted it replace our store-bought bread entirely. Now my teenagers actually emerge from their rooms when they smell it baking.
Ingredients
- Active dry yeast: Ensures proper rising and that classic bread texture. Look for packets within their expiration date for best results
- Sugar: Feeds the yeast and enhances browning. Regular granulated works perfectly
- Warm water: Activates the yeast without killing it. Aim for the temperature to feel like warm bathwater on your wrist
- All-purpose flour: Creates a balanced texture. Unbleached provides slightly better flavor
- Salt: Enhances flavor and controls yeast activity. I prefer kosher salt for its clean taste
- Vegetable oil: Adds moisture and tenderness. Choose a neutral-flavored variety
Step-by-Step Instructions
- Activate the Yeast:
- This crucial first step creates the foundation for successful bread. Dissolve the sugar completely in warm water before sprinkling yeast on top. Wait patiently for 5-10 minutes until the mixture becomes noticeably frothy and aromatic. If your yeast doesn't foam, it may be expired, or your water might be too hot or cold.
- Combine Ingredients:
- Add salt and oil to the frothy yeast mixture, then incorporate 2 cups of flour gradually. Mix until you see a rough, shaggy texture forming. Continue adding the remaining flour bit by bit until your dough feels cohesive and slightly tacky but not overly sticky on your fingers.
- Knead the Dough:
- Turn your dough onto a lightly floured surface and fold it over repeatedly, pushing with the heel of your hand. Continue this rhythmic motion for a full 5-7 minutes until the dough becomes smooth, springy, and elastic. When properly kneaded, the dough should bounce back slowly when poked.
- First Rise:
- Place your kneaded dough in a bowl lightly coated with oil. Turn the dough once to ensure its surface is oiled, preventing it from drying out. Cover with a clean kitchen towel and place in a warm, draft-free spot. Allow a full hour for the dough to double in size, which develops flavor and texture.
- Shape and Second Rise:
- Gently punch down the risen dough to release air bubbles. Shape into a loaf by folding the sides toward the center and rolling into a cylindrical shape. Place seam-side down in your greased loaf pan. Cover again and let rise until it crowns approximately one inch above the pan edge.
- Bake:
- Slide your risen loaf into a properly preheated 375°F oven. The bread needs 25-30 minutes to develop a golden crust and fully cook through. You will know it's done when tapping the bottom produces a hollow sound, indicating all moisture has been properly baked out.
- Cool and Serve:
- Allow your freshly baked loaf to cool in the pan for 5 minutes before transferring to a wire rack. Resist the temptation to slice immediately. Letting the bread cool for at least 30 minutes allows the interior structure to set properly, preventing a gummy texture.
The warm water temperature is something I obsess over because I've ruined many batches with water that was too hot. My grandmother taught me the wrist test—if it feels comfortably warm on your inner wrist without burning, it's perfect for yeast. That simple trick transformed my bread-making success rate.
Perfect Timing Matters
Proper rising time dramatically affects your bread's texture and flavor. While the recipe suggests specific timeframes, the visual cues are more important than the clock. Your dough should genuinely double in size during the first rise, regardless of whether that takes 45 minutes or 90 minutes in your kitchen. Environmental factors like room temperature and humidity affect rising times significantly. On cold winter days, I place my dough near a sunny window or on top of my preheating oven to create an ideal environment.
Troubleshooting Common Issues
Dense or heavy bread usually indicates insufficient rising time or improper yeast activation. Ensure your yeast is fresh and your water is the correct temperature. If your bread develops large air holes, you likely allowed it to rise too long before baking. Cracks along the top are actually desirable and show proper oven spring. If your crust browns too quickly while the inside remains doughy, tent the bread with aluminum foil for the remaining bake time to prevent over-browning while allowing the interior to finish cooking.
Delicious Variations
Transform this base recipe into something special with simple additions. Fold in herbs like rosemary and thyme during the kneading process for an aromatic herb bread. Add a handful of grated cheese and cracked black pepper for a savory twist perfect alongside soups. For a breakfast-friendly version, incorporate cinnamon and raisins during the final kneading, then drizzle with a simple glaze after baking. The possibilities are nearly endless without changing the fundamental technique.
This rustic bread recipe shows how simple steps can create an extraordinary outcome. Enjoy baking!
Frequently Asked Questions
- → How do I know if my yeast is active?
Active yeast should bubble and foam within 5-10 minutes of being combined with warm water and sugar. If it doesn’t, your yeast may be expired or the water temperature might be incorrect.
- → Can I use bread flour instead of all-purpose flour?
Yes, bread flour can be used for fluffier and slightly sturdier bread due to its higher protein content. Adjust liquids slightly if needed.
- → Why is my bread dense or heavy?
This may occur if the dough is not kneaded enough, doesn’t proof properly, or the yeast wasn’t active. Ensure proper rising time and knead until smooth and elastic.
- → Can I make this bread ahead of time?
Yes, you can prepare the dough and refrigerate it after the first rise. Allow it to come to room temperature before shaping and proceeding with the second rise and baking.
- → What’s the ideal water temperature for yeast activation?
The water should be between 100°F and 110°F (37°C to 43°C). Cooler water may not activate the yeast, while hotter water could kill it.
- → How can I store homemade bread?
Once cooled, store your bread in an airtight container or a bread bag at room temperature for up to 2-3 days. For longer storage, slice and freeze it, then thaw as needed.