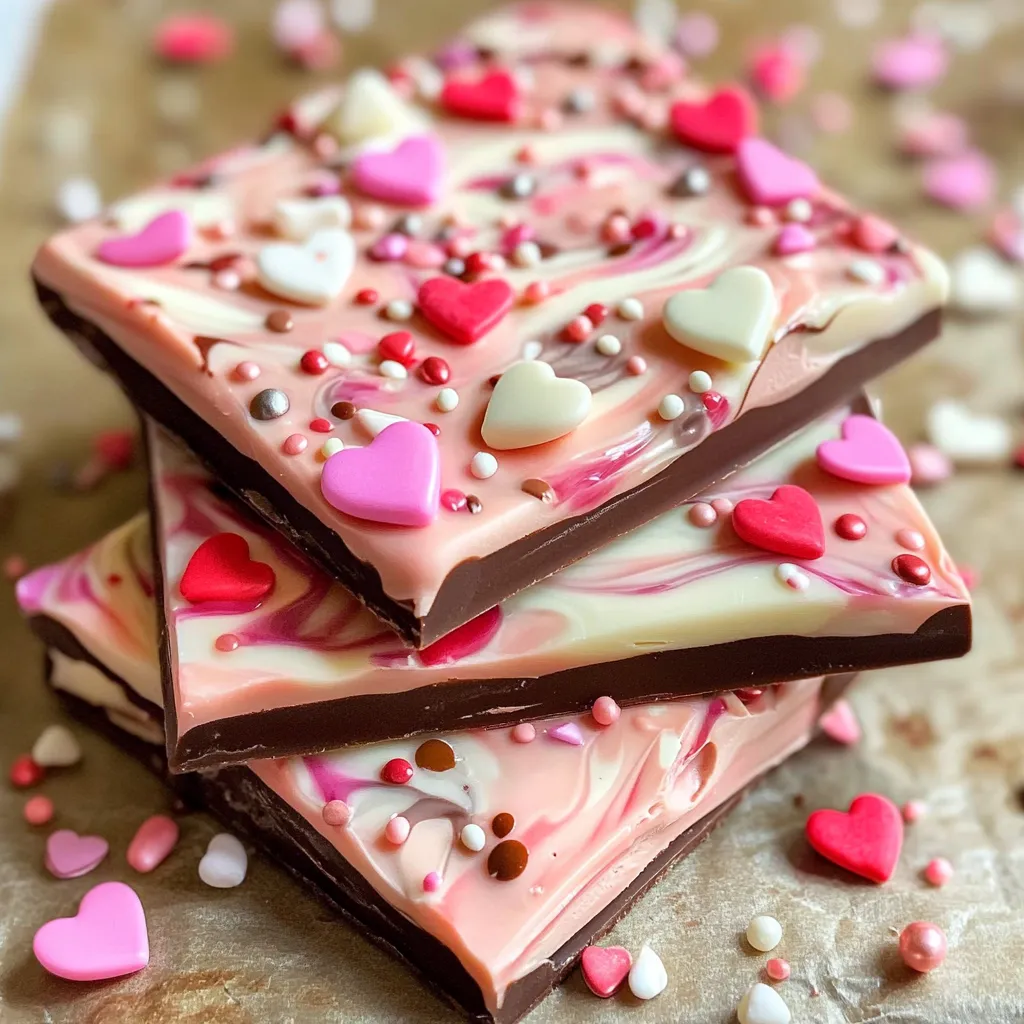
This Valentine's chocolate bark looks fancy but couldn't be easier to make. The cool pattern comes from mixing dark chocolate with white and pink candy melts, creating a pretty marble look that catches everyone's eye. Adding conversation hearts and fun sprinkles makes it perfect for Valentine's Day. What's great about this treat is how simple it is - just melt stuff, swirl it around, and add toppings. Anyone can make it look store-bought with minimal effort. You can snap it into tiny pieces or big chunks, making it great for wrapping up as presents or putting out at get-togethers. And it stays fresh for two whole weeks, so you can make it way before your Valentine's celebration.
Pin itValentine's Day Chocolate Bark | cuisinegenial.com
Combining the dazzling visual beauty and mouthwatering flavor of chocolate makes Valentine's Day bark truly special. The magic happens when smooth dark chocolate blends with swirls of rosy white chocolate, creating a knockout treat that seems complex but comes together easily. This has become my family's February tradition, making sweet memories while crafting something from the heart for people we care about.
When I brought several batches to my kids' school last Valentine's, their teachers couldn't stop smiling at those pink swirls and cute candy hearts. All that careful chocolate work definitely paid off. The key is hitting the right chocolate temperature and adding those signature swirls just when the chocolate's ready.
Key Ingredients and Smart Shopping Advice
Semi-sweet Chocolate: Go for high-quality bars from Lindt or Ghirardelli instead of chips. Better chocolate means tastier bark
White Chocolate: Always pick genuine white chocolate containing actual cocoa butter. Check that ingredient list carefully
Pink Candy Melts: They give that perfect Valentine's color, but white chocolate with a tiny bit of red food coloring works too
Candy Hearts: The classic conversation hearts add a sweet nostalgic touch
Sprinkles: Little heart-shaped ones really boost the Valentine's vibe
Parchment Paper: You'll need this for easy bark removal and quick cleanup
Step-by-Step Cooking Method
1. Getting Everything Ready
Start by setting up your area like a pro chocolate maker. Get your baking sheet covered with smooth, flat parchment paper. Cut all your chocolate into similar-sized pieces so they'll melt evenly. Having everything prepped beforehand matters a lot - once your chocolate hits the right temperature, you'll need to move fast.
2. Melting Your Chocolate
Set up two makeshift double boilers using heat-safe bowls over pots with gently steaming water. Keep water low enough that it won't touch the bowls. Put dark chocolate in one bowl and mix white chocolate with candy melts in the other. Stir gently while they melt, watching temperatures closely - dark chocolate shouldn't go over 115°F, and white should stay under 110°F.
3. Creating Your Foundation
When your dark chocolate has melted completely, take it off the heat and stir until it cools to 88-90°F. Pour it onto your parchment paper and use an offset spatula to spread it into a 1/4-inch thick rectangle. Work quickly but carefully - the thickness affects both how it looks and how it breaks.
4. Making Beautiful Patterns
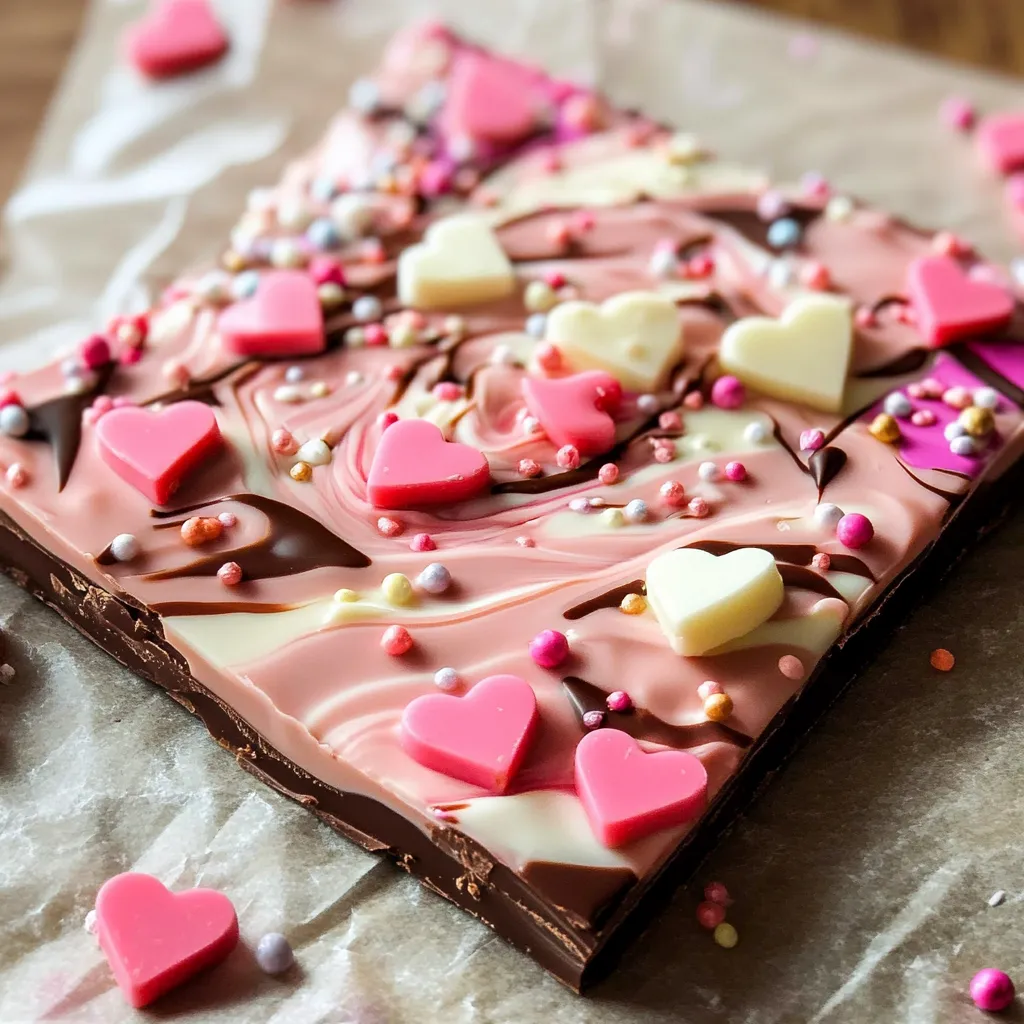
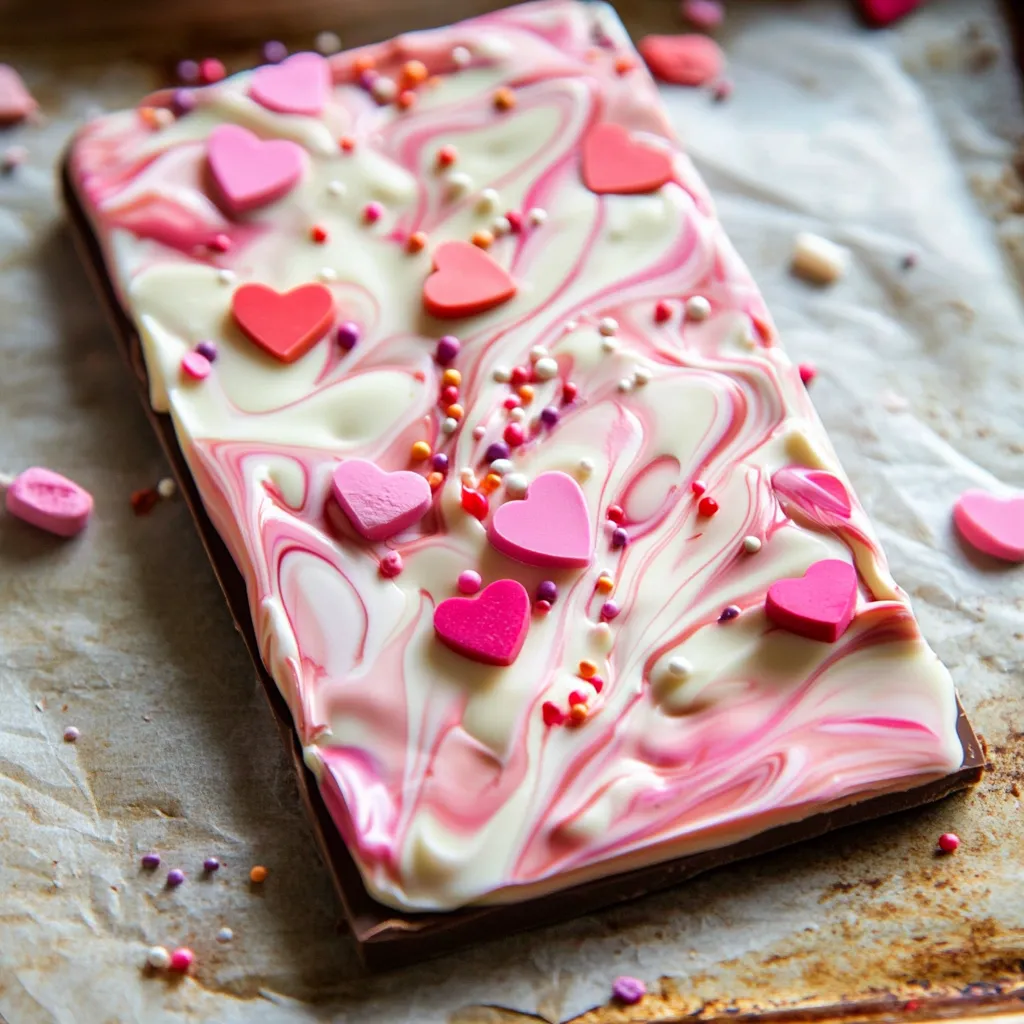
While the dark chocolate's still wet, drizzle your pink mixture in parallel lines across the surface. Don't stress about making it perfect - natural patterns usually look better anyway. Now for the fun part: grab a toothpick and drag it across your drizzle lines to create swirls. Don't overdo it - too many swirls can blur your design.
5. Adding Decorations
Before the chocolate starts hardening, scatter your candy hearts and sprinkles across the top. Push them in slightly so they'll stick. Move fast but think about placement - how you arrange decorations changes the final look. Let everything set fully at room temperature (about 2 hours) or pop it in the fridge (30-45 minutes).
Pin itValentine's Day Chocolate Bark Recipe | cuisinegenial.com
The first time I tried making marbled bark as a Valentine's gift for my husband, the swirls weren't exactly magazine-worthy. But his smile when he saw I'd made something by hand reminded me that sometimes the little flaws make things more special.
Mastering Beautiful Swirls
Getting gorgeous swirls isn't just about technique—you've got to nail the timing too. I've found that waiting just a couple seconds after adding the pink drizzles gives you cleaner, sharper patterns. Honestly, some of my prettiest designs happened when I wasn't trying so hard to control every little detail.
Getting Temperatures Just Right
After making tons of batches, I've learned that chocolate temperature is absolutely everything. Your dark chocolate base needs to be around 88-90°F when you spread it out, while the pink mixture works better slightly warmer so it flows smoothly when you drizzle it.
Different Holiday Adaptations
This method works beautifully year-round, not just for Valentine's Day. Try red and green swirls for Christmas, or soft pastels for Easter celebrations. I've even made custom-colored versions as wedding favors. The simple approach adapts perfectly to whatever colors fit your special occasion.
Creative Packaging Ideas
How you package this bark can make it extra special. I love using clear cellophane bags with matching ribbons that show off those pretty swirls while keeping everything protected. For fancier gifts, I'll stack pieces between parchment paper in cute tins or boxes. A little handwritten note with storage tips makes it a really thoughtful homemade present.
Working With Your Kitchen Environment
Your kitchen conditions really matter when working with chocolate. In summer, I cool down the room first and work early before it heats up. During winter, letting the bark set naturally instead of refrigerating it gives the best shine. These small adjustments, which I've picked up over time, help you get great results no matter when you're making bark.
Pin itEasy Valentine's Day Chocolate Bark Recipe | cuisinegenial.com
Valuable Pro Secrets
A chocolate thermometer helps you hit those exact temperatures
Make sure all tools are completely dry - even tiny water drops will ruin chocolate
Aim for thin, consistent layers for the best texture when it breaks
Serve the bark at room temperature for the fullest flavor
Wrapping Up
Valentine's bark isn't just candy - it's like an edible art project that shows thoughtfulness and creativity. Every batch has its own unique swirls and patterns, making each piece one-of-a-kind. Whether you're giving it as a gift or sharing with family, these personal touches bring something special to your celebrations.
Frequently Asked Questions
→ Can I swap in chocolate chips for the chocolate bars?
Sadly no, stick with pure chocolate bars like Ghirardelli or Baker's for the best outcome. Regular chips won't melt right for this job.
→ What can I do if pink candy melts aren't available?
Try using white chocolate with a tiny bit of red food coloring as a quick fix when you can't find pink candy melts.
→ How long will it take for the bark to harden?
It'll firm up in about 45 minutes if you pop it in the fridge, or you can let it sit somewhere cool at room temp.
→ Is it okay to make this bark days before needed?
Absolutely! It stays good for a week just sitting out or up to 2 weeks if you keep it in the fridge.
→ What's the best way to break up the finished bark?
After it's completely hardened, just use your hands to break it into whatever size pieces you want.
Valentine Pink Chocolate Bark
A charming Valentine's treat featuring swirls of dark and pink chocolate, sprinkled with heart candies - a quick homemade gift anyone will love.

 Pin it
 Pin it
 Pin it