
 Pin it
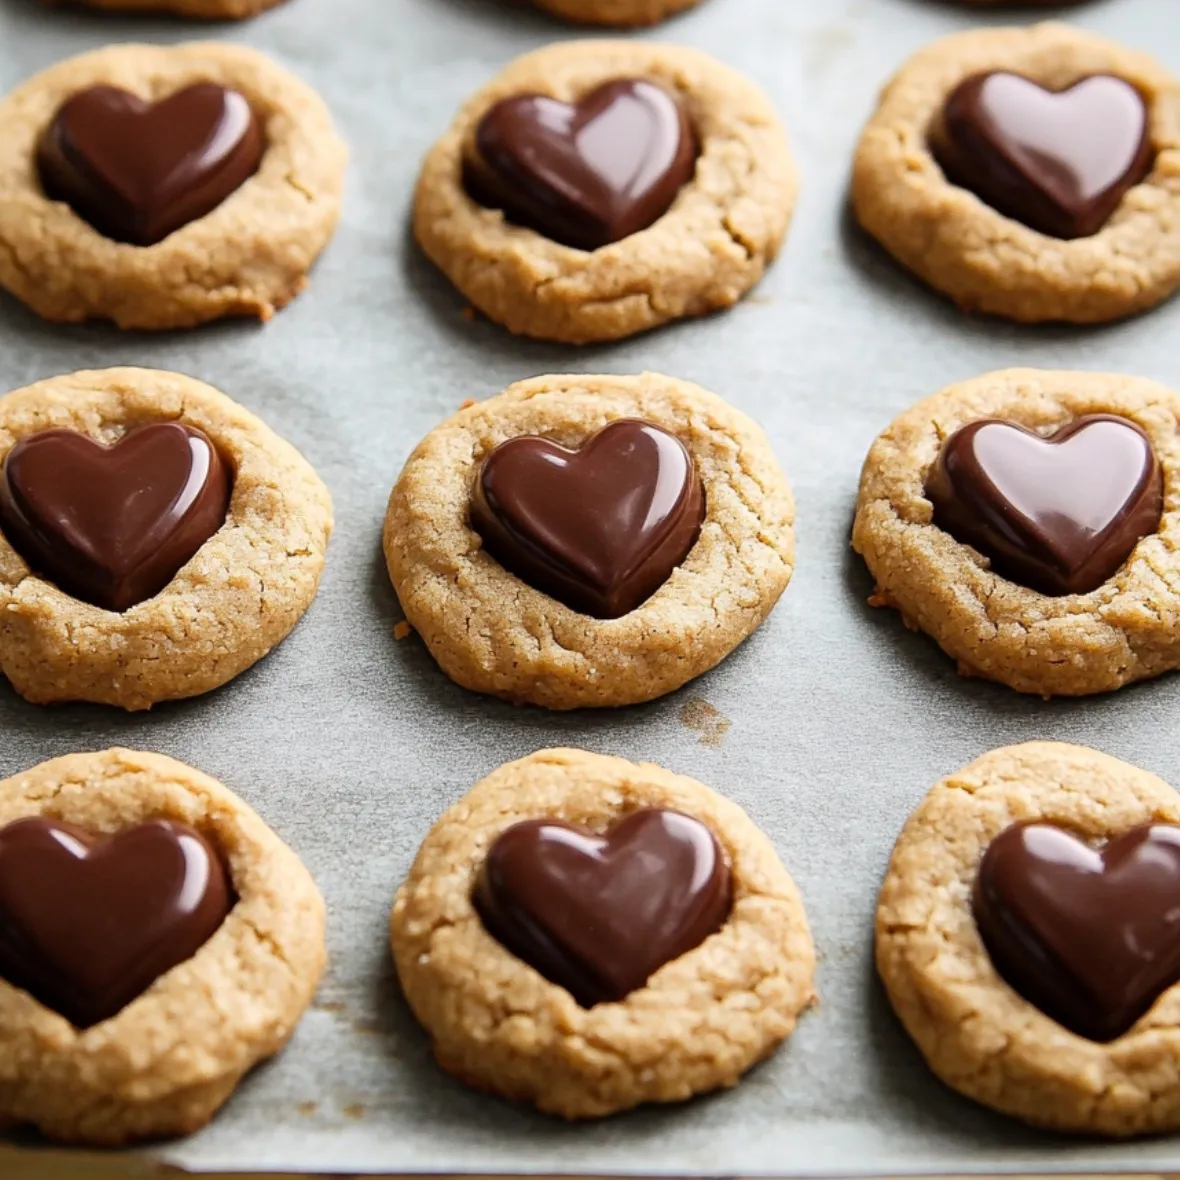
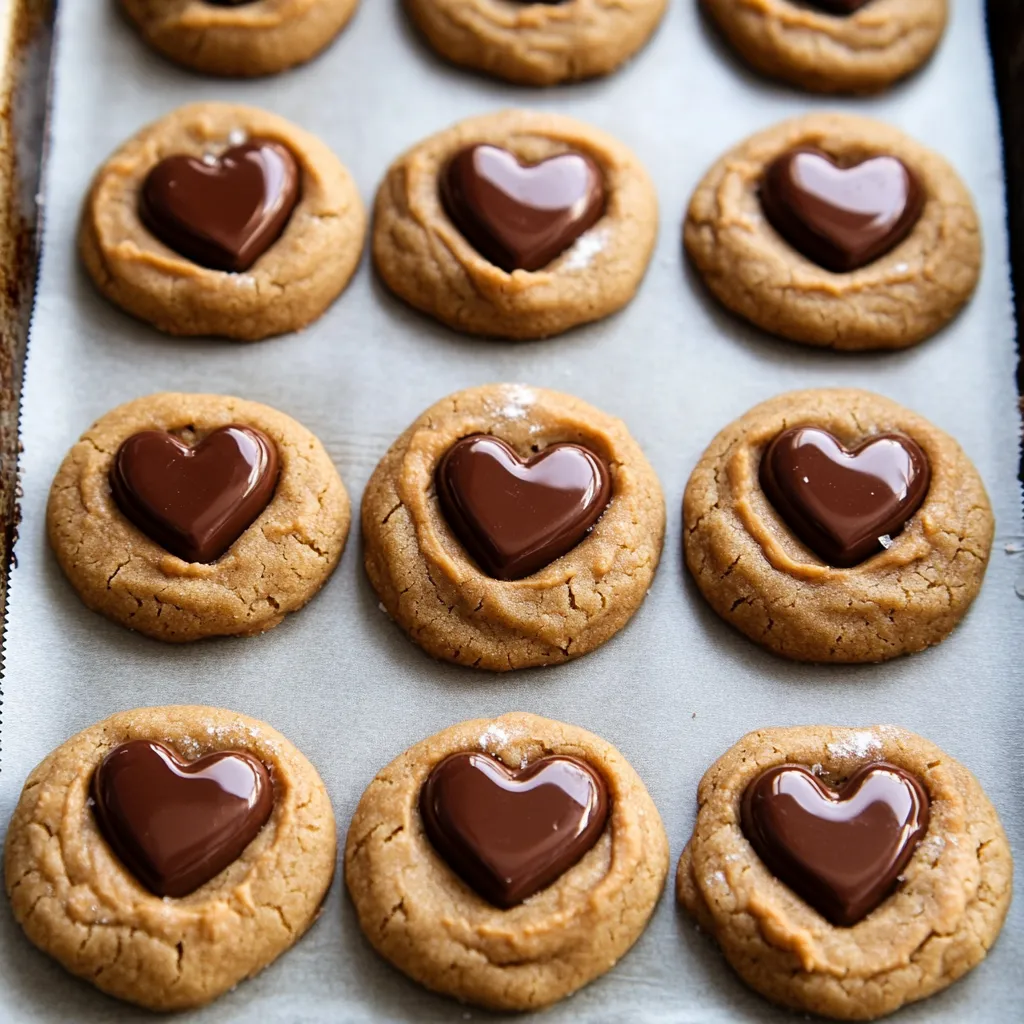
These mouthwatering Peanut Butter Sweetheart Cookies bring together the ultimate duo of smooth peanut butter and decadent chocolate. Every soft, peanutty mouthful leads you to a delightful chocolate heart in the middle, turning the traditional peanut butter blossom into a romantic treat. They combine nostalgic flavors with a loving touch, making them ideal for sharing with your favorite person.
I brought these to my kid's Valentine's school fundraiser last year. They vanished first among all desserts, with many parents secretly grabbing extras. What's the trick? Good quality peanut butter and not rushing the cooling period.
Key Ingredients and Smart Choices
- Peanut Butter - Go for smooth, mainstream options like Jif or Skippy for better consistency and binding qualities
- Butter - Use unsalted at room temp so you can manage salt levels while getting perfect whipping results
- Brown Sugar - Either light or dark works fine, though dark brings a richer caramel flavor that works well with peanut butter
- Chocolate Hearts - Store them in the fridge until you need them for the cleanest impression in warm cookies
From my experiments, I've learned that coating your measuring cup with a bit of cooking spray lets the peanut butter slide out easily, giving you exact measurements.
Step-by-Step Guide
- Getting Ready
- 1. Make sure all ingredients reach room temperature - this isn't optional but necessary for good mixing. While waiting, combine your flour, baking soda, and salt in a bowl. Don't forget to scoop and level your flour correctly.
- Making Your Dough
- 2. Whip your softened butter until it's silky. Mix in both types of sugar - using both brown and white creates the ideal consistency and rich flavor. Your mixture should turn airy and light, which takes roughly 2-3 minutes of mixing.
- Adding Flavor
- 3. Drop in your egg, then add the peanut butter and vanilla. Don't mix too much - just until everything blends smoothly. You shouldn't see any peanut butter streaks in the mixture.
- Shaping Your Cookies
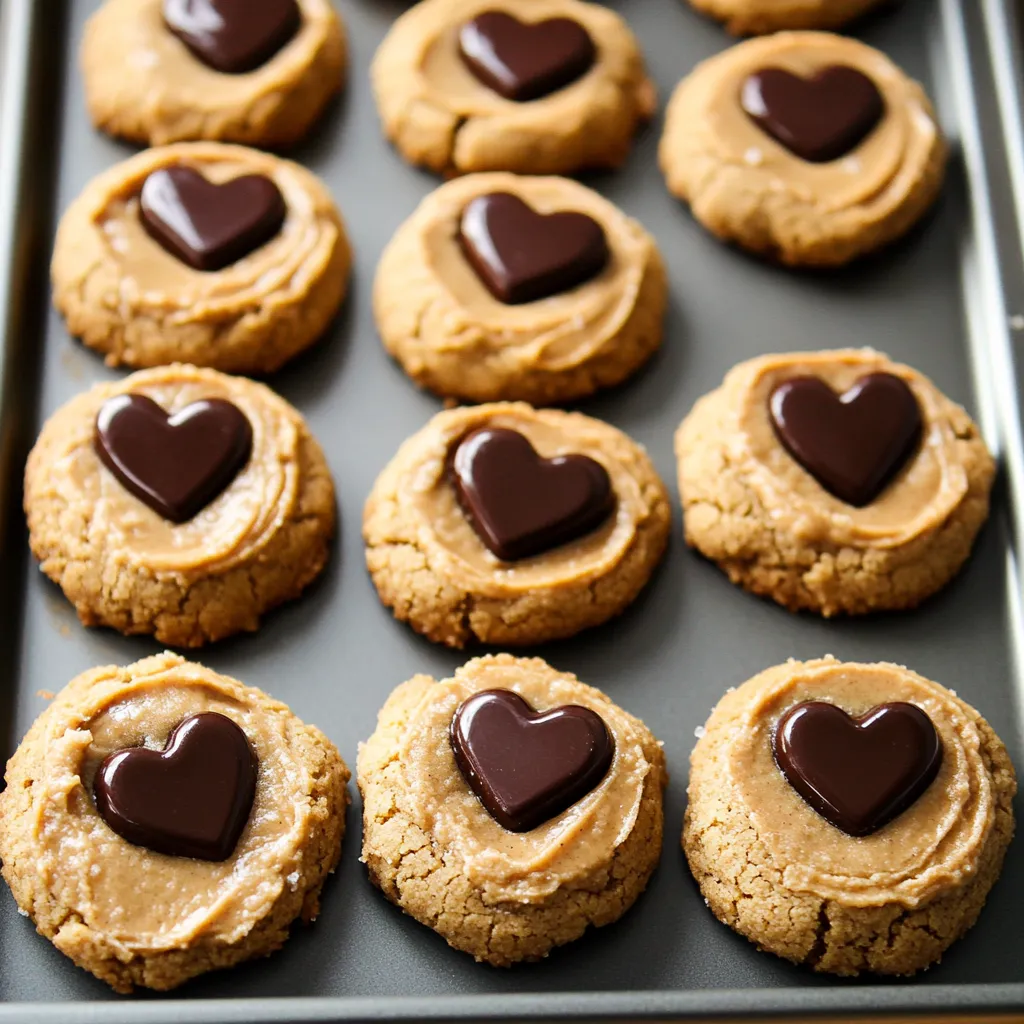
- 4. After cooling, use a tablespoon to portion the dough. Shape into balls, then coat with sugar if you want. This sugar layer isn't just decorative - it gives the cookies a nice crackled surface.
- Baking Them Up
- 5. Put cookies on your baking tray with enough room between them and bake until you see small cracks forming on top. Don't leave them in too long - they should stay soft in the middle.
 Pin it
Over many years of cookie making, I've found that unwrapping all the chocolate hearts before the cookies come out of the oven saves crucial seconds for perfect placement.
Gorgeous Finishing Touches
Making these cookies look amazing goes beyond just sticking chocolate hearts on top. Try rolling them in different colored sugars, or mix regular hearts with chocolate ones for contrast. Sometimes I'll add thin streams of melted white chocolate across the finished cookies. Each decorative touch adds something special without taking away from that amazing peanut butter taste.
 Pin it
Smart Prep-Ahead Tricks
This flexible dough works great for planning in advance. You can make it up to 3 days before baking and keep it wrapped tight in your fridge. If you need longer storage, shape the dough balls and freeze them without sugar coating for up to 3 months. When you're ready to bake, let them thaw a bit and roll in sugar before putting them in the oven.
Getting Temperatures Just Right
Temperature matters so much with these cookies. Room temp ingredients mix together perfectly, while proper cooling stops the cookies from spreading too much. I've found that leaving the dough in the fridge for exactly one hour gives you the best texture - firm enough to shape but still easy to work with. If your kitchen runs hot, you might want to add another 15 minutes of cooling time. The quick freezer step after adding chocolate hearts isn't optional if you want professional-looking results.
Tasty Twists and Changes
While you can't beat classic peanut butter and chocolate, this flexible recipe works with lots of creative changes. For festive occasions, try rolling cookies in colored sugar before baking. Some of my favorite versions use white chocolate hearts for extra sweetness, or dark chocolate for a richer taste. If nuts are a problem, sunflower seed butter makes an equally tasty cookie with similar texture and its own unique flavor.
Baker's Top Tricks
- Push chocolate hearts in right when cookies come out of the oven
- Move cookies to freezer quickly after adding hearts so they don't melt
- Keep cookies in one layer or put wax paper between layers to protect the hearts
Whenever I bake these cookies, I'm reminded why peanut butter and chocolate go together so perfectly. Taking care with each step really shows in how they turn out.
 Pin it
Closing Thoughts
These Peanut Butter Sweetheart Cookies aren't just Valentine's treats - they're a way to show love through baking. The mix of soft peanut butter cookie and rich chocolate heart creates something truly memorable. Whether you're sharing them with someone special or enjoying with friends, every bite offers that perfect balance of salty-sweet and soft-smooth textures, making them a must-have for any celebration of love.
Frequently Asked Questions
- → Is natural peanut butter okay to use?
- Stick with commercial brands like Jif for better results
- → Can I swap in different nut butters?
- Sure, but your cookies might turn out more crumbly
- → Why do we need to freeze them after baking?
- It stops the chocolate hearts from turning mushy
- → Can I prepare these beforehand?
- You can chill the dough for 3 days or freeze finished cookies for 3 months
- → Any options without nuts?
- Try using cookie butter or sunflower seed butter instead