
 Pin it
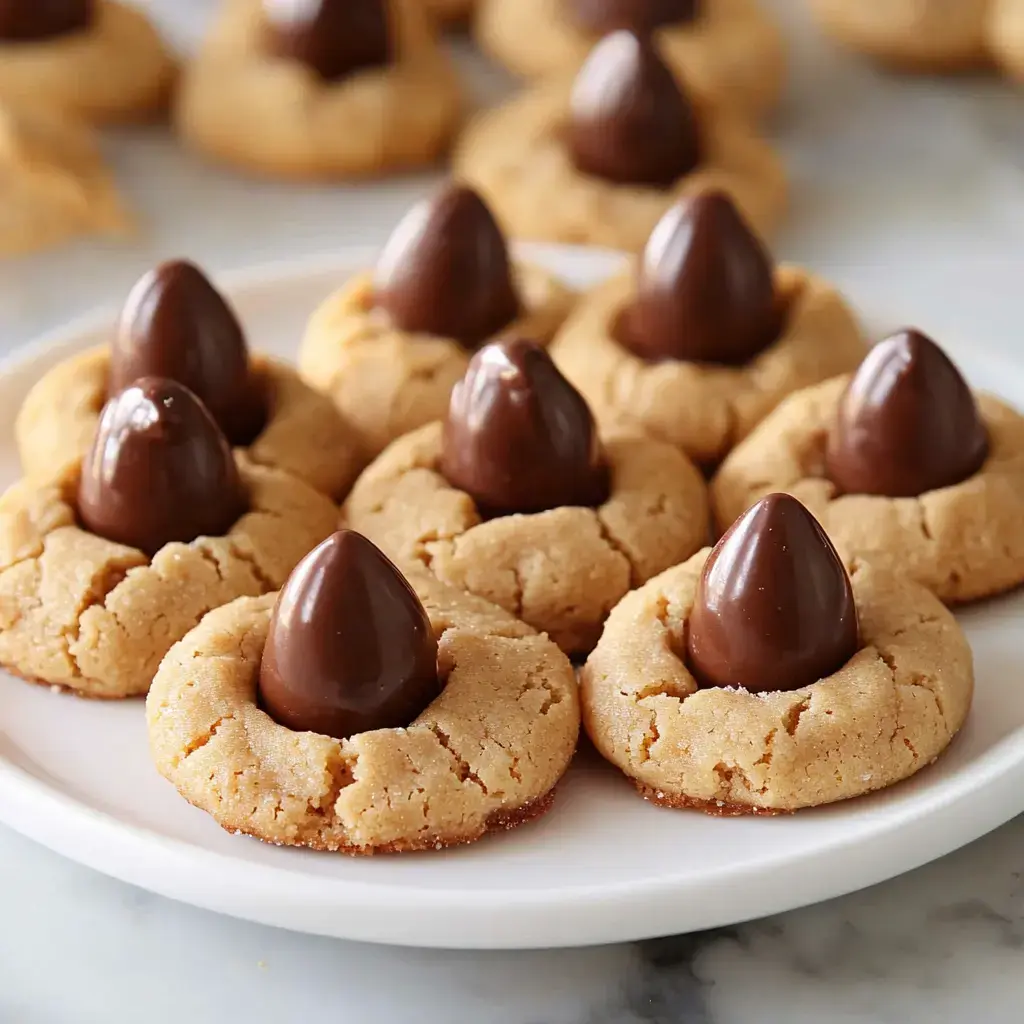
Delightful Homemade Peanut Butter Blossoms
I've got to tell you about these wonderful cookies that have turned into a must-have during holidays at my place. These tasty peanut butter blossoms mix soft, buttery peanut-flavored cookies with a yummy chocolate kiss crowning each one. Whenever I bake them, they're the first to vanish from the plate. And guess what? They're super quick to whip up but look like you slaved away forever. Whether you need something for a Christmas cookie swap or just want to satisfy your sweet tooth, these always hit the spot.
What Makes This Simple Recipe So Great
- The texture stays nice and chewy with that delicious chocolate middle
- You'll need things you probably already have in your kitchen
- The batch is big enough to give away (if you can stop munching on them)
- You can switch things up with different kiss flavors or sugar colors for any holiday
- Kids absolutely love helping - especially the sugar-rolling part
Simple Supplies for Amazing Blossoms
- Peanut Butter: Grab the smooth type that doesn't separate - it creates the nicest cookie consistency.
- Butter: Get it really soft by leaving it out on the counter a couple hours ahead.
- Sugar Combo: White and brown sugars team up for just the right amount of sweetness.
- Egg: Warm it to room temp for the easiest mixing.
- All-Purpose Flour: Be careful when you measure - too much leads to crumbly cookies.
- Hershey's Kisses: Traditional milk chocolate works great, but feel free to try other varieties.
- Vanilla Extract: A tiny bit really boosts the flavor profile.
- Baking Basics: The baking soda and salt are crucial - don't skip them.
Simple Steps From Start to Finish
- Create Your Cookie Foundation
- Mix your softened butter and peanut butter in a bowl until completely smooth - about 2 minutes should do it. Throw in both sugars and keep mixing until everything gets airy and light, roughly 3 more minutes. Add your egg and vanilla, then blend until the mixture looks silky smooth.
- Combine Everything Gently
- Now for the careful part - slowly add your flour, baking soda, and salt while mixing on low. You want to stir just until you've got a soft, peanutty dough. Don't forget to scrape the bowl's sides to get everything properly mixed.
- Form Your Cookies
- Take your dough and make small 1-inch balls - a cookie scoop really comes in handy here. Roll each one in regular sugar until they're all shimmery. Put them on your cookie sheets with some space between them. If your kitchen feels warm, stick the shaped dough balls in the fridge for 15 minutes to firm them up.
- Bake Them Just Right
- Put your cookie sheets in your 375°F preheated oven. They'll need around 8-10 minutes - watch for slightly puffy centers and edges that are starting to set. While they're cooking, unwrap all your chocolate kisses so they're ready to go.
- Add The Chocolate Topping
- Timing is key here - right when those cookies come out of the oven, push a chocolate kiss into the middle of each cookie. The warm cookie will cradle that chocolate perfectly. Let them sit on the baking sheet for about 5 minutes before moving them to a cooling rack.
Tricks for Guaranteed Results
- Watch Your Ingredients: Things at room temperature will mix into a much better dough.
- Flour Tip: Use a spoon to fill your measuring cup then level it off for the right amount.
- Stop Spreading: If your cookies flatten too much, cooling the dough will fix that problem.
- Chocolate Help: Stick those kisses in the freezer while baking your cookies - they won't melt as quickly.
- Get Creative: Try caramel or dark chocolate kisses for a whole new flavor experience.
 Pin it
Tasty Serving Suggestions
- Enjoying them alongside a glass of cold milk or mug of hot cocoa
- Including them on your festive cookie trays
- Wrapping them up as thoughtful homemade presents
- Using them to create yummy ice cream sandwiches during hot months
- Creating a fun decoration station with various colored sugars
Quick Storage and Prep-Ahead Ideas
- Store your finished cookies in a sealed container for up to 5 days
- Pop baked cookies in the freezer for up to 3 months in a sealed bag
- Mix the dough beforehand and store in your fridge for 2 days
- Roll the cookies into balls and freeze them uncooked for later baking
- Allow frozen cookies to warm up naturally before you eat them
- When giving as gifts, put wax paper between layers to keep them looking nice
Frequently Asked Questions
- → Why use a room-temp egg?
Makes the dough mix together evenly.
- → What's the best peanut butter?
A smooth, no-stir type works best.
- → Should chocolates be frozen?
You can! It helps them hold their shape.
- → Why is flour measurement important?
Too much flour means dry cookies. Measure carefully!
- → How long will these last?
Store in an airtight container for about a week.
- → Can I freeze them?
Sure! Just skip adding the chocolates first. They’ll keep for 3 months.