
 Pin it
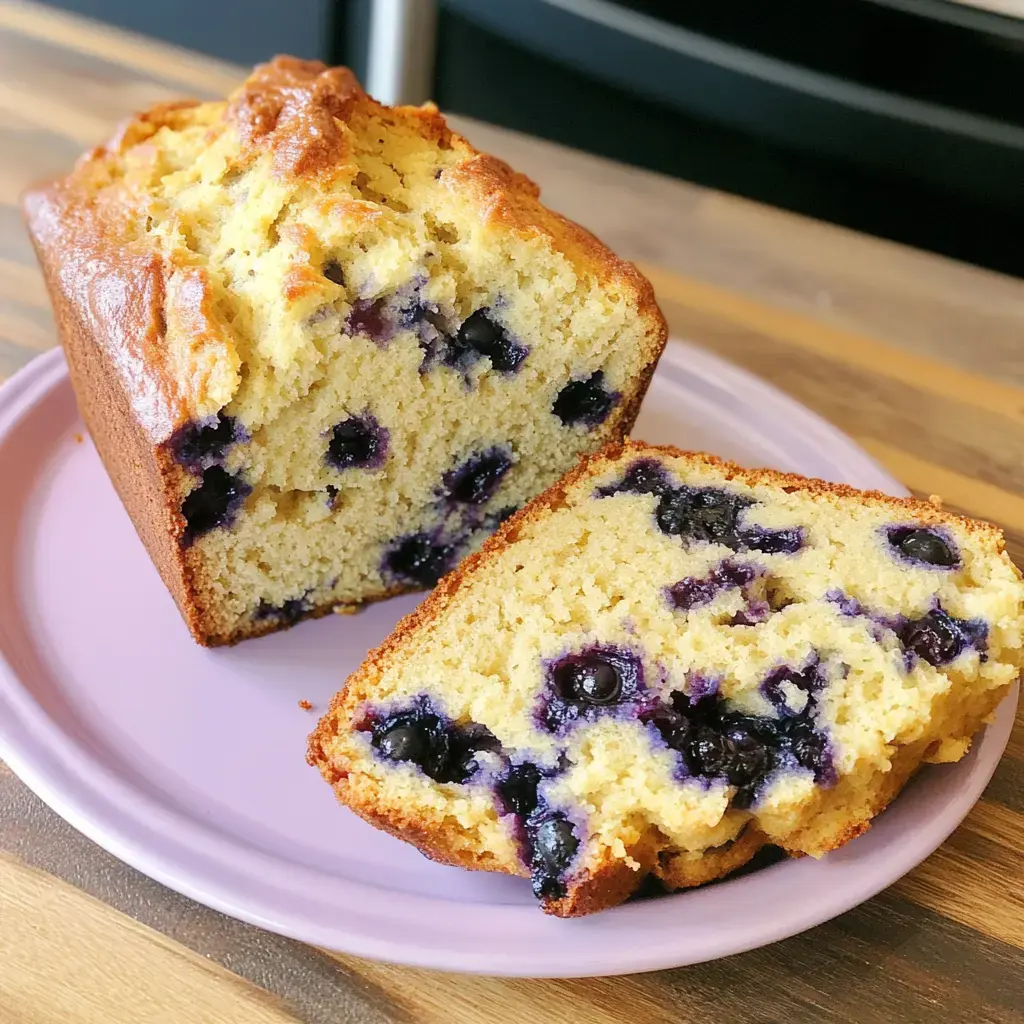
Back when I was little, my grandma would bake this bread for me every Sunday, and now I'm carrying on the tradition with my own kids. That wonderful mix of blueberry and vanilla scents drifting through the house takes me straight back to her kitchen! I've adjusted her original method a bit over time (let's keep that between us), but it's still that same snuggly comfort food everybody craves. It's so cute how my children hang around the kitchen just like I used to, all waiting for that first warm chunk with melting butter on top. When I brought it to my daughter's school breakfast recently, I got messages from three different moms practically begging me to share how I made it!
The Magic Behind This Fan-Favorite
You wanna know why this bread vanishes within 24 hours at my place? For starters, it's so much quicker than making separate muffins - just toss everything in one pan and you're all set. My high schooler even tackles it by himself these days (though afterward the kitchen looks like it got hit by a flour tornado). The outside gets this wonderful crunchy layer while staying super tender inside with bursting blueberries everywhere. It's perfect for rushed mornings too - just grab a piece and head out. And have you tried it toasted? Absolutely divine!
Kitchen Tools You'll Want Ready
- Butter and Sugar: Your butter should be completely softened - I typically set mine on the counter the night before. I've forgotten plenty of times and ended up watching my mixer struggle with rock-hard butter!
- Eggs: Pull them from the refrigerator and let them sit while you gather your other ingredients
- Vanilla: Don't skimp on the authentic extract my grandmother taught me that's essential
- Milk: Full-fat gives you the richest flavor but don't worry if you only have 2% around
- Baking Powder and Flour: Just your everyday cupboard essentials nothing special required
- Blueberries: Summer ones are fantastic but I always keep frozen berries stocked for unexpected cravings
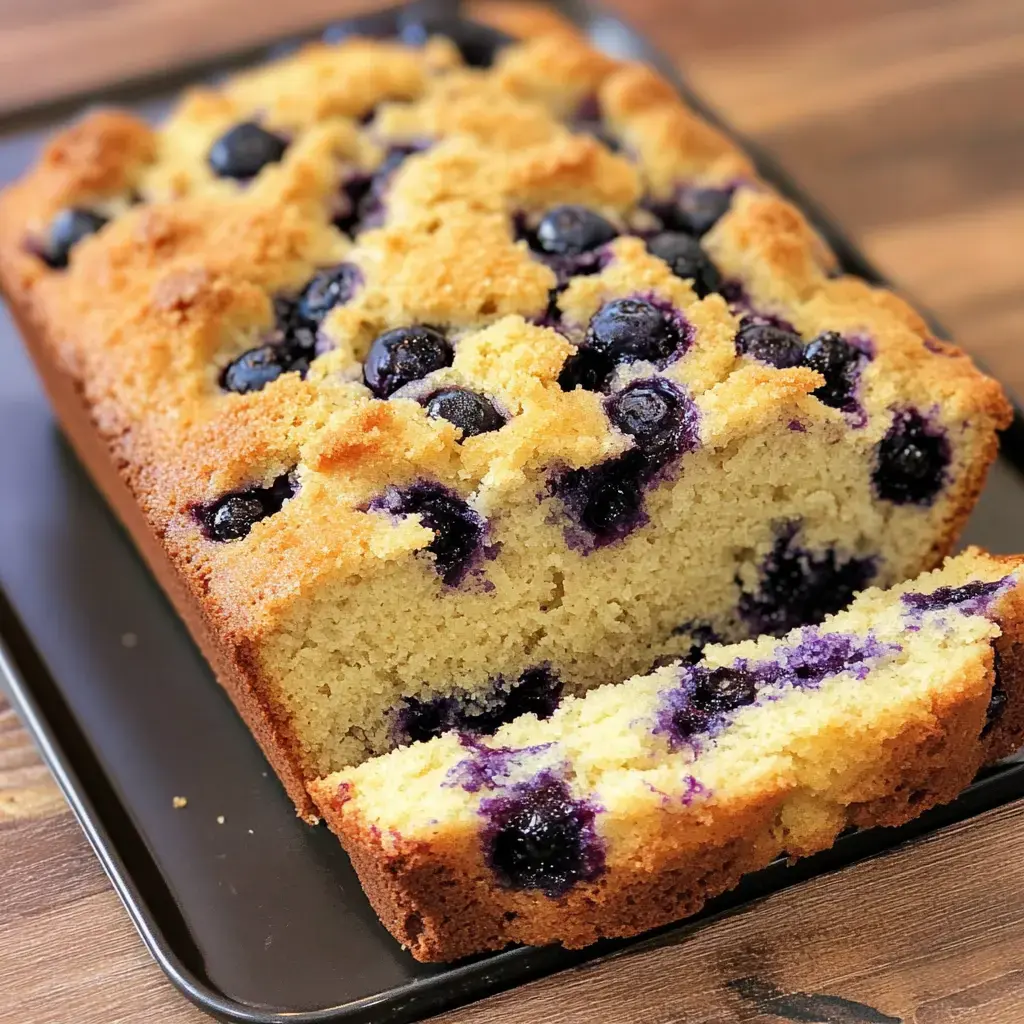
- Those Crunchy Sugar Bits: You know those chunky crystal sugars? Sprinkle some on top and everyone will think you bought it from a professional bakery
Creating Sweet Family Traditions
- Prep Work
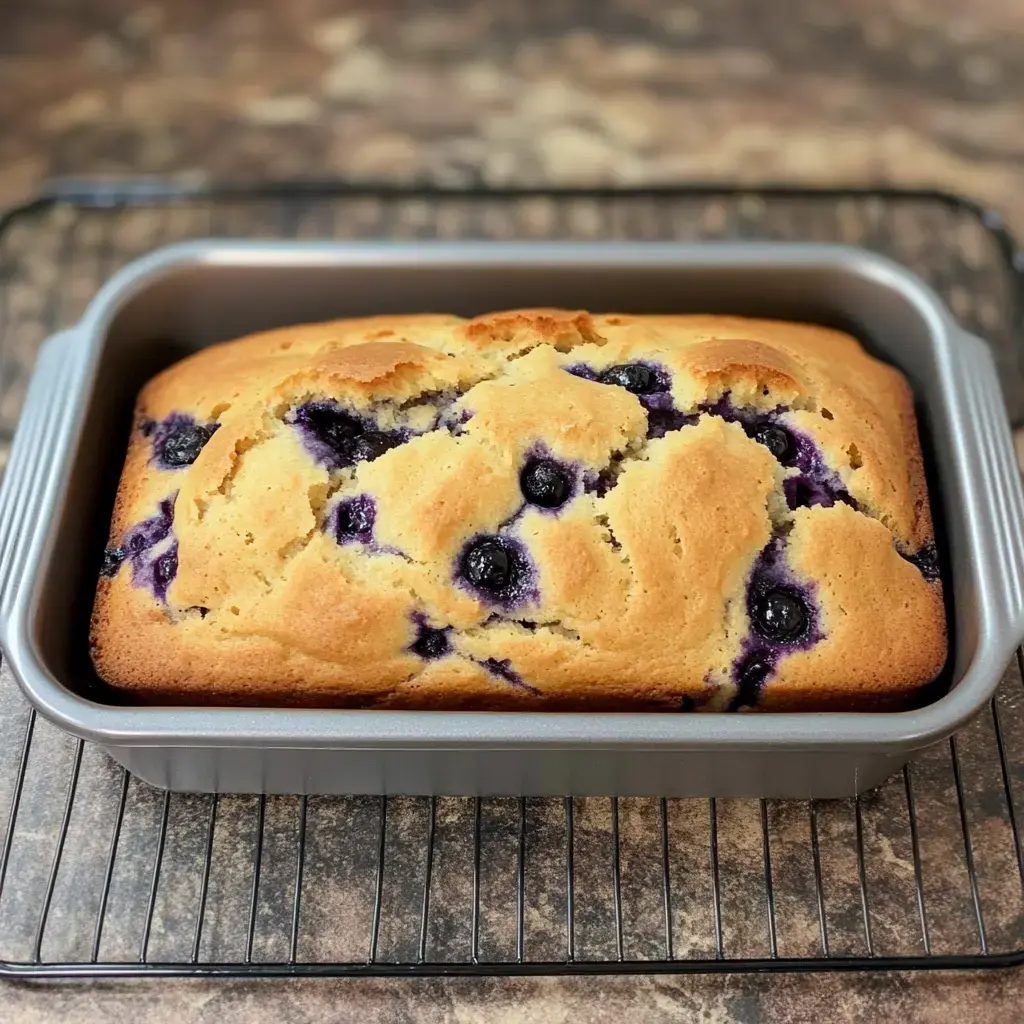
- Let's start by heating up that oven and getting your baking dish ready. Trust me on this - coat every single inch of that pan or you'll be scraping bread off later!
- Mixing Magic
- Whip your butter and sugar until it's light and fluffy. Drop in those eggs one by one - my children always argue over who gets to crack them. Then pour in your vanilla and milk.
- Crucial Step
- Here's the secret most people get wrong - don't overmix when adding flour! Just stir until barely combined. My little girl calls it the mummy mix because it should be just barely alive.
- Berry Addition
- Try my favorite trick - coat those berries with a bit of flour before adding them. This stops them from all sinking down. Fold them in super carefully unless you want purple-tinted bread!
- Baking Time
- Pour the mixture into your pan add that fancy sugar on top if you're feeling extra. Now comes the tough part - waiting! Your house will smell incredible soon.
 Pin it
Clever Baking Secrets
Keep your eyes on that bread during the final 15 minutes of baking - it can switch from golden to burnt really quickly! If the top starts getting too brown, just throw some aluminum foil over it. And try to hold off cutting it for at least 10 minutes after it comes out. I know it's hard but cutting too early makes it squash down. Though if we're being honest, sometimes I can't help myself and just tear off a bit of that crispy top edge!
Add Your Personal Touch
Sometimes I switch up the berries - try it with raspberries for an amazing twist! My friend adds orange peel and swears nothing tastes better. During the holidays I mixed in cranberries with white chocolate chips and wow was that tasty! And for extra texture, throw in some chopped walnuts for a wonderful crunch. Just don't let my mother-in-law find out I tweaked her recipe!
 Pin it
Storage Tips
In the rare case you've got some left over, this bread stays fresh pretty well. Just wrap it tightly in foil or store it in a sealed container. It'll remain good at room temperature for several days but honestly it disappears much faster at my house! Want a real treat? Try toasting a slice and adding a bit of butter with a tiny drizzle of honey for breakfast. My children call it their special morning meal but we enjoy it anytime!
Perfect Occasions
I turn to this bread for practically everything! From school fundraisers to morning get-togethers or unexpected visits from neighbors. It looks impressive enough for guests but simple enough for a random weekday breakfast. During blueberry season I always bake two loaves and stick one in the freezer. My future self always thanks me especially on those hectic mornings when we're running behind!
 Pin it
Frequently Asked Questions
- → Should frozen blueberries be thawed first?
- No, it’s better to use them frozen to avoid color streaks. Lightly coat with flour to keep them from sinking.
- → What causes blueberries to sink?
- If your batter is too thin or you skip tossing berries in flour, they might settle at the bottom. Mix gently too!
- → How can I check if it’s baked through?
- Poke the middle with a toothpick. Clean stick? It’s done! The top should also feel firm and golden.
- → Is the crunchy sugar topping necessary?
- Not really! It adds a nice finish, but the loaf tastes just as yummy without it.
- → What’s the best way to store it?
- Wrap tightly and leave on the counter for 2-3 days. For longer storage, refrigerate for a week or freeze up to 3 months.
Conclusion
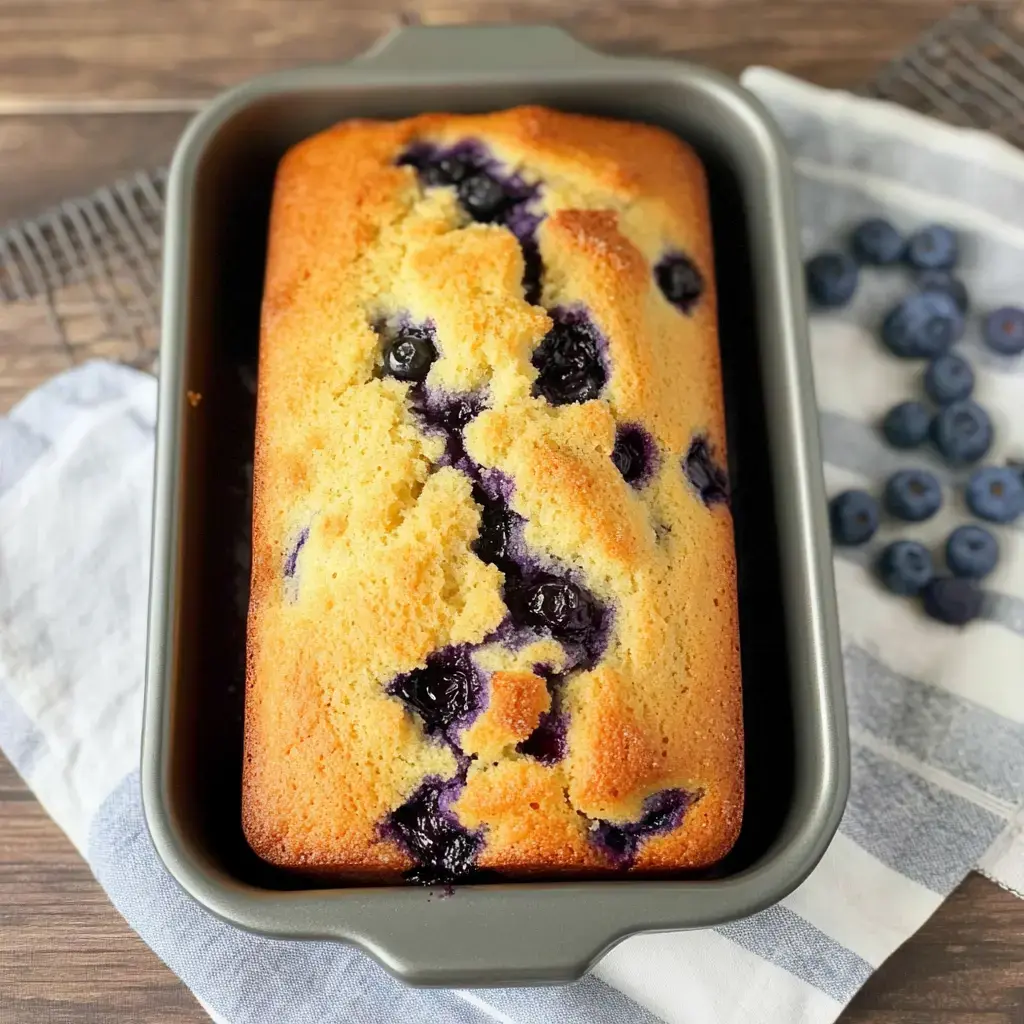
A soft, sweet loaf loaded with blueberries that are baked to perfection. Ideal for brunch, a midday bite, or even an after-dinner treat.