
 Pin it
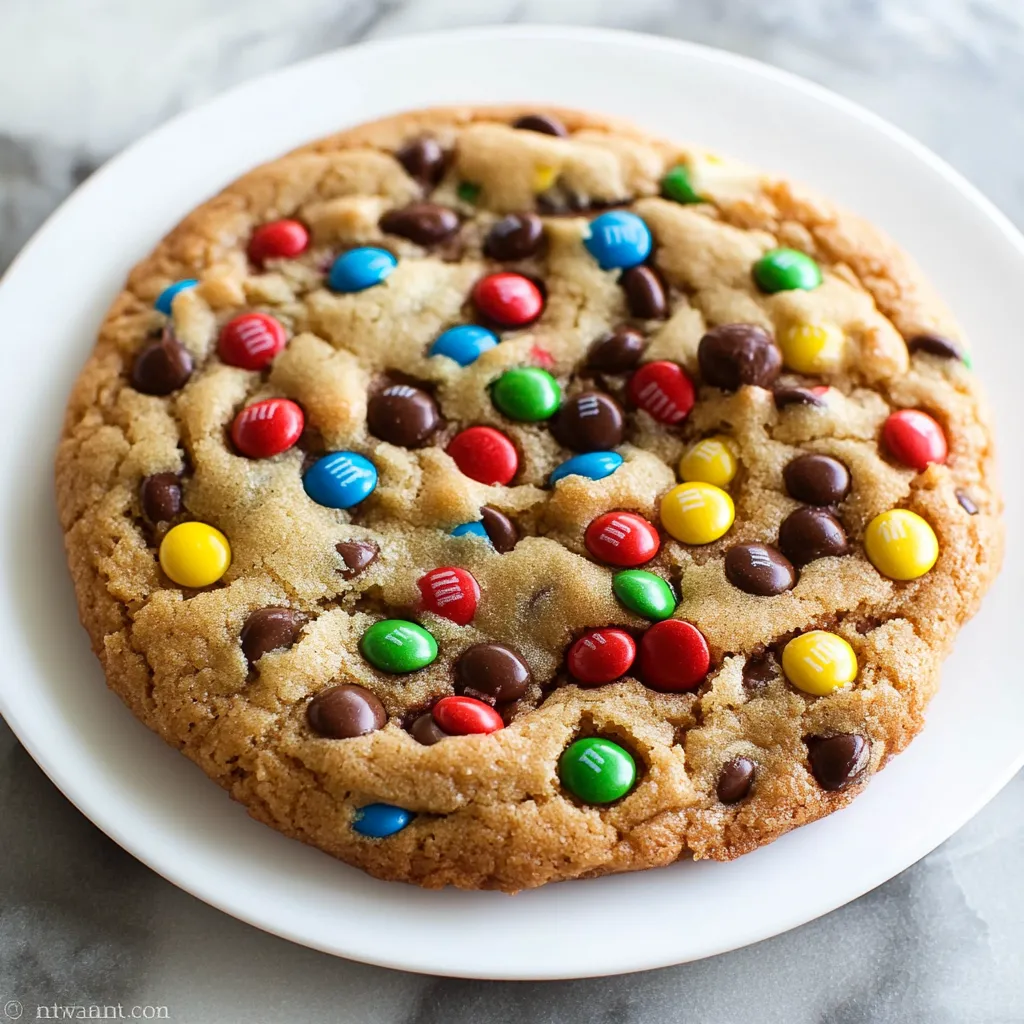
Make room for ultimate happiness in a big package. This Giant Monster M&M Cookie brings pure delight in an impressive 6-inch form, loaded with bright M&Ms and gooey chocolate chips inside a wonderfully chewy peanut butter-oat foundation. Each mouthful combines the satisfying snap of candy coatings, melting chocolate, and that classic cookie feel that takes you back to childhood.
When I first whipped up this jumbo treat, my home got filled with that wonderful cookie smell that brought everyone running. The kids next door had their faces against the window, watching in wonder as I pulled out what seemed like a cookie made for giants. Now we can't wait to make it together on weekends.
Key Ingredients and Smart Choices
- Butter - Go for unsalted, softened butter every time. I've noticed that leaving it out about an hour before you start makes it mix perfectly with the sugars
- Old-Fashioned Oats - These big, substantial flakes add wonderful texture. You can use quick oats too, but the traditional kind gives that homemade feel we want
- Peanut Butter - Better stick with smooth, store brands like Jif or Skippy. The natural stuff can split and mess up your cookie's consistency
- M&Ms and Chocolate Chips - Using both creates something special. M&Ms add crunch and brightness, while chocolate chips turn into heavenly pools of melted goodness
In my kitchen tests, I've tried tons of different mix-ins, but this classic pair always gets the biggest grins. I usually grab extra M&Ms, knowing some will somehow vanish during the process.
Step-By-Step Baking Guide
- Getting Ready
- 1. First things first, let your butter warm up to room temperature - this really matters for that smooth base. Just leave it on the counter an hour before baking. Meanwhile, put parchment paper on your baking sheet and warm up your oven to 325°F. This lower heat helps our big cookie bake evenly without getting too dark.
- Making It Fluffy
- 2. Mix your soft butter with both kinds of sugar until it gets light and fluffy. This usually takes around 2-3 minutes, and you'll see the mix getting slightly paler. Don't cut this short - it builds the foundation for our perfect texture.
- Making The Foundation
- 3. Put in your beaten egg (just those 2 tablespoons!), vanilla, and peanut butter. Stir until they're all mixed in. The mixture might look a bit weird at first, but keep going until it smooths out. It'll come together nicely, I promise.
- Adding Structure
- 4. Mix your flour, oats, baking soda, and salt. Slowly add these dry stuff into your wet mix. Stop once they're just combined - mixing too much now can make your cookie tough. The dough should feel sticky but workable.
- The Best Part
- 5. Now for the fun bit - fold in those M&Ms and chocolate chips. Don't be shy about using a spatula to make sure they're spread out evenly. Some folks like to save a few M&Ms to push into the top of the cookie before baking - it makes it look really pretty.
- Forming Your Giant
- 6. Dump all that awesome dough onto your ready baking sheet. Shape it into a pile in the middle - it doesn't need to be perfect. The heat will help it spread into that beautiful 6-inch circle. If your dough feels too sticky, cool it in the fridge for 5-10 minutes.
- Bake Time
- 7. Put your creation in the hot oven and let the magic happen for 20-30 minutes. You want lightly browned edges and a top that's set but still soft in the middle. Remember, it'll keep firming up as it cools down.
 Pin it
Just last week, I baked this cookie for my kid's study buddies. One teenager asked if I'd bought it from a shop, which might be the nicest thing anyone can say to someone who bakes at home. The trick? Taking my time when mixing the butter and sugar together.
Creative Variations
Don't be afraid to try different things inside. White chocolate pieces, broken pretzels, or even chopped nuts make exciting new versions. Just keep the total amount of extras about the same to maintain the right balance in your dough.
Keeping It Fresh
This big cookie stays good for about 5 days when kept in a sealed container. But honestly, it's never stuck around more than two days at my place. It's way too tempting to break off "just another little piece."
Why It Flattens Just Right
Getting that perfect spread depends on balancing butter and flour correctly. If your cookie isn't spreading while baking, gently push it down with the back of a spoon halfway through cooking time.
 Pin it
Mastering Your Oven Heat
Getting to know your oven's quirks matters tons for this big beauty. Every oven has hot spots, and with a cookie this size, those differences matter more than ever. I've found that turning the baking sheet around halfway through cooking helps it brown evenly. If you see the edges getting too dark while the middle stays pale, loosely cover those outer edges with foil. This trick, borrowed from pie making, works great for protecting the edges while giving the center time to catch up. After loads of test batches, I've learned that the sweet spot for this cookie is when the edges hit 180°F and the center reaches about 165°F - this gets you that perfect crispy-edge, chewy-center combo.
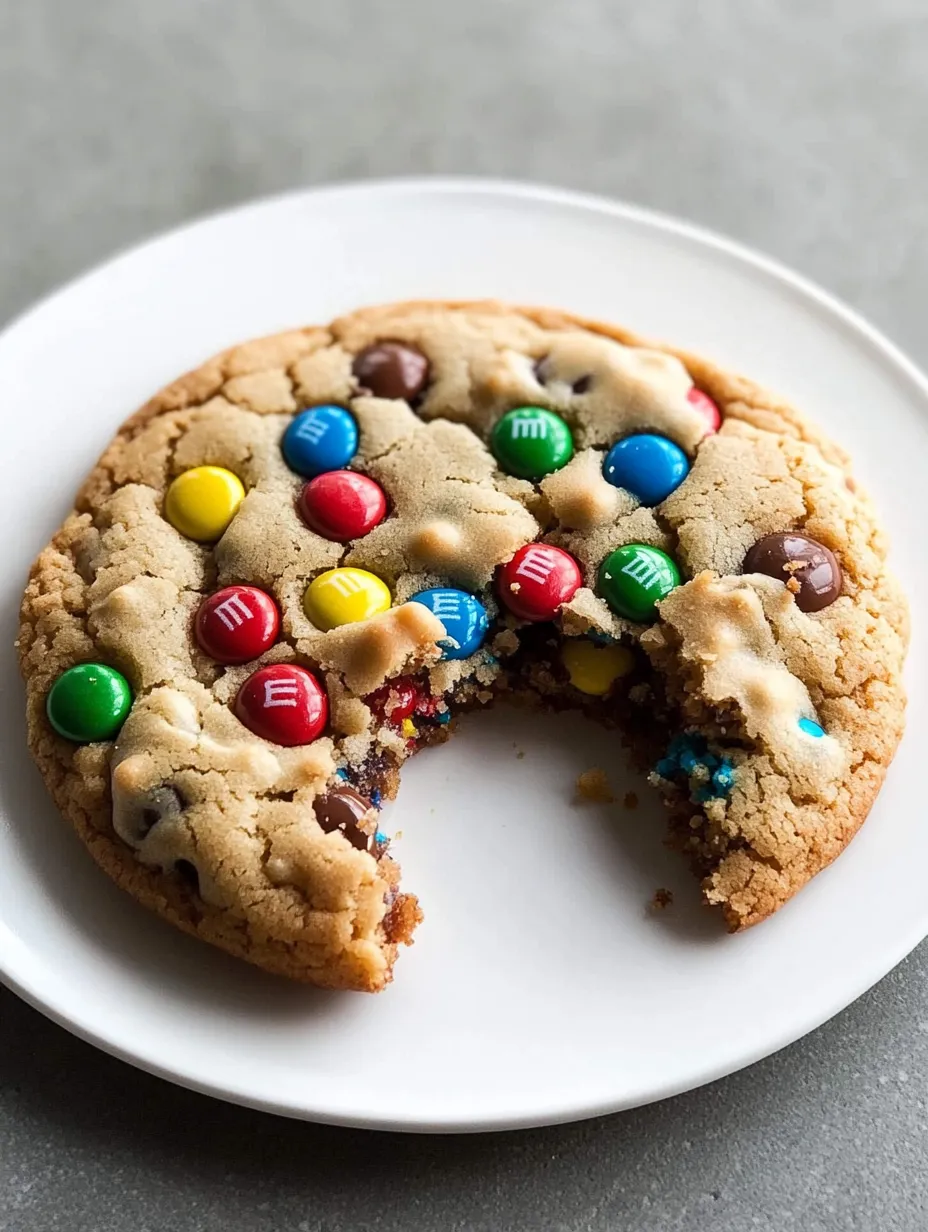
Getting Perfect Texture Through Timing
The journey of this giant cookie doesn't finish when it leaves the oven - how it cools matters just as much as how it bakes. When you first take it out, the cookie will have a slight bump and feel almost runny in the middle. Don't stress - that's exactly what you want. As it cools, the cookie slowly sinks, making those lovely cracks and folds that make it look professional. In the first 5 minutes, you'll see the edges start to set while the middle stays soft. By 10 minutes, the whole cookie will be firm enough to pick up, though still nicely warm. This slow cooling process creates those chewy spots between the M&Ms and gives that bakery-quality texture that makes folks think you bought it from a fancy cookie shop.
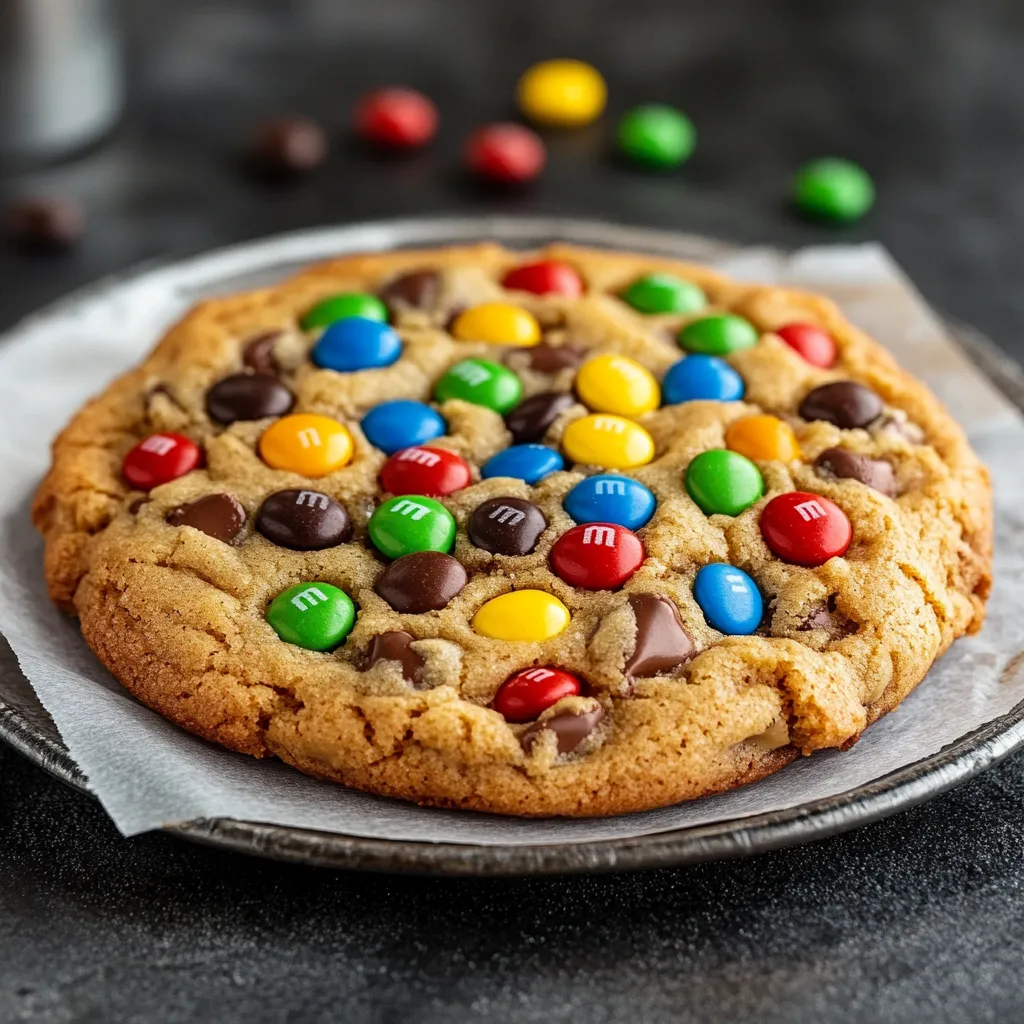
Pro Baker Tricks
- Push extra M&Ms and chocolate chips onto the warm cookie right after taking it out - this gives that store-bought look and makes sure every bite has plenty of chocolate
- Let the cookie sit on the baking sheet for at least 10 minutes. Moving it too early can make it break - I found this out the hard way!
- For clean cuts, use a sharp knife warmed under hot water then dried. Wipe the blade between slices
 Pin it
Wrapping Up
After baking cookies of all sizes for years, this jumbo version has become my favorite when I want to make something impressive. There's something magical about pulling a massive cookie from the oven - it always brings childlike excitement to everyone who sees it. Whether you're sharing with friends or keeping it all for yourself (no judgment from me!), this shows that bigger can definitely be better sometimes.
Frequently Asked Questions
- → Can I make smaller cookies?
- Sure, just split the dough into 4 pieces and bake for 10-12 minutes
- → Why chill the dough?
- Just do this if it feels too sticky - a quick 5-10 minutes in the fridge works fine
- → Can I skip peanut butter?
- Definitely, you can leave it out with no other changes needed
- → Can I freeze this?
- Absolutely, it keeps well in the freezer for up to 3 months
- → What M&Ms work best?
- Valentine's colored ones fit the theme, but any kind you like will taste great