
 Pin it
I whipped up this festive fudge one December when I was tight on cash and running out of time for gifts. After messing up quite a few batches (some turned into pourable topping!), I've nailed down this no-fail version that's actually dead simple though it looks really fancy. These days my buddies and relatives start bugging me for it the minute their Christmas decorations come out!
What Makes This So Special
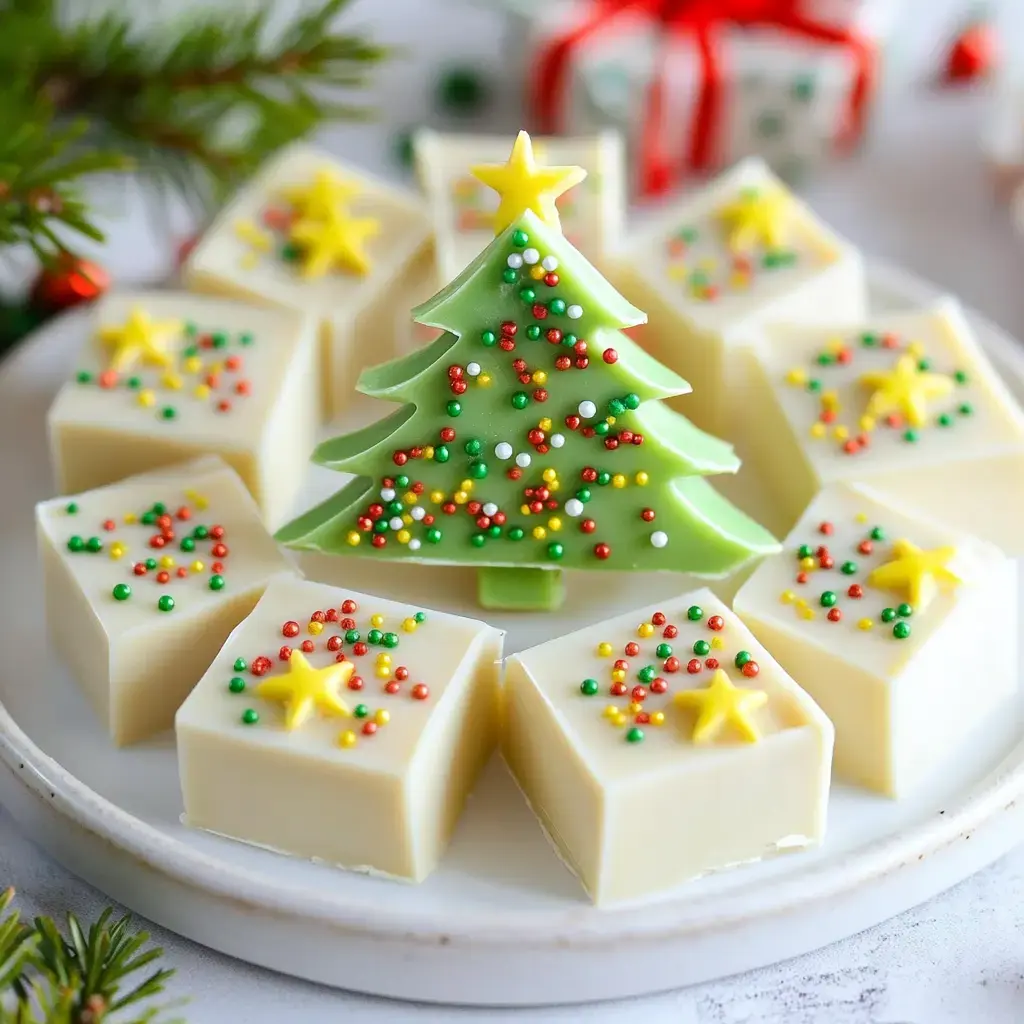
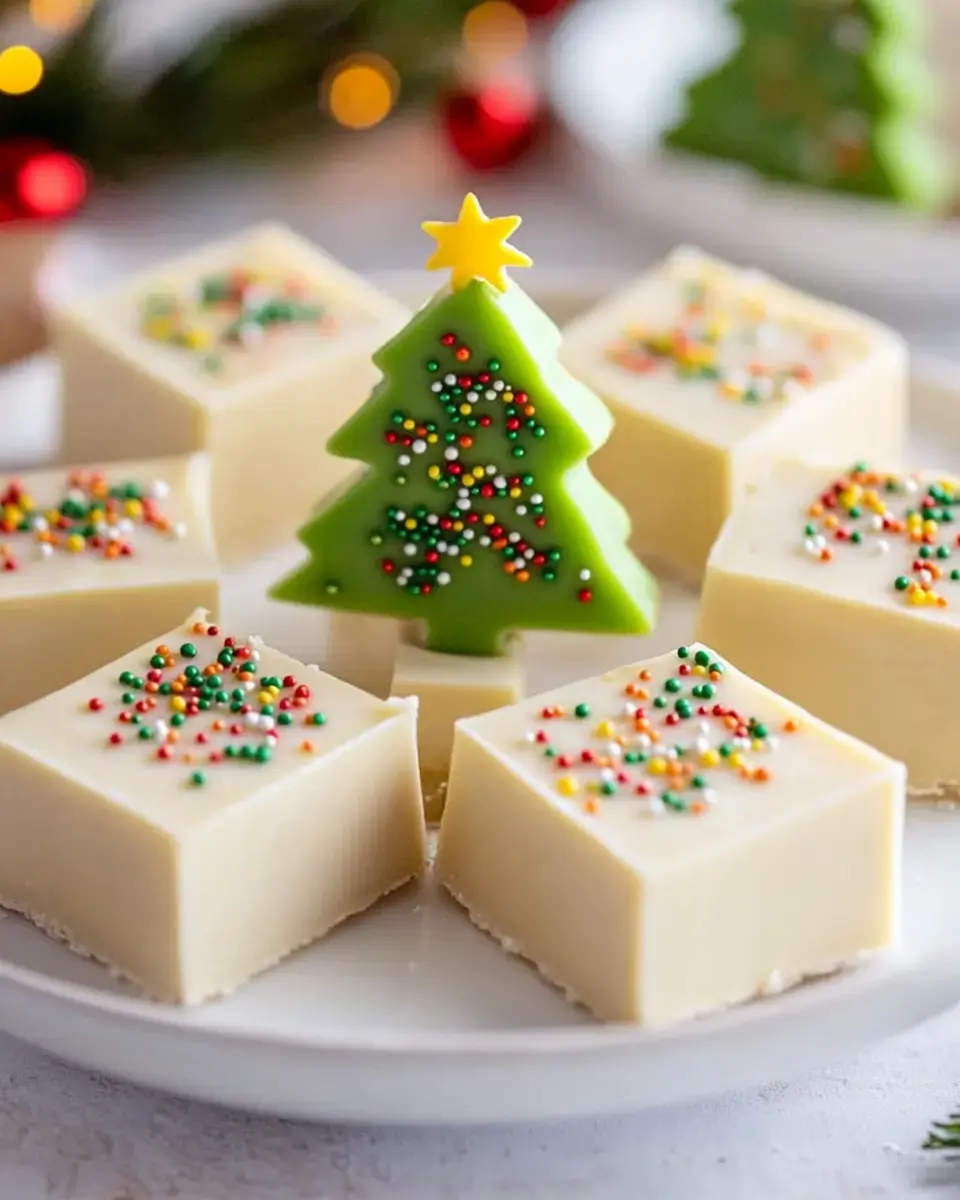
Fancy fudge might seem scary but trust me, this is totally doable! It looks amazing when it's all dressed up, so it's perfect to give as presents. You can make it way before the holiday madness kicks in, and it won't go bad for weeks. Nothing beats seeing folks' eyes widen when they notice those adorable Christmas trees decorating the top!
Ingredients
- For the Base:
- 16 oz almond bark
- 2 cups white chocolate chips (Ghirardelli gets best results)
- 1 can sweetened condensed milk
- Pinch of sea salt
- 1 teaspoon pure vanilla extract
- For Decorating:
- Holiday decorating bits
- Gold sugar sprinkles
- Green candy coloring (oil-based)
- You'll Need:
- Rubber spatula
- Double boiler or heat-safe bowl
- Parchment paper
- 8x8 baking pan
Time To Create Some Fudge
- Get Everything Ready
- Put parchment in your pan with extra hanging over the edges to grab later. Have all your stuff measured out and nearby. When chocolate starts melting, you'll want everything close enough to grab!
- Melt It Down
- Get your double boiler going - just a bowl over barely bubbling water works fine. Slowly add white chocolate and almond bark while stirring. Pour condensed milk in gradually and keep mixing. You want it looking shiny and smooth like satin.
- Building Holiday Joy
- Dump your fudge into the pan and tap it down to make it flat. Wait till the top just starts to firm up. Then color your leftover melted chocolate green, put it in a piping bag, and draw little trees. Quickly add gold stars before everything hardens!
My Insider Secrets
Keep an eye on how hot your chocolate gets - too much heat makes it lumpy, not enough and it won't melt right. If your fudge starts hardening while you're still decorating, just warm the piping bag in your hands for a bit. For really pretty pieces, dip your knife in hot water and wipe it off between cuts.
 Pin it
Tasty Alternatives
After you get comfortable with the basic version, go wild with ideas! Try mixing in smashed candy canes or add some peppermint flavor to the base. I've done Halloween ones with orange and black patterns, Valentine's with pink hearts - you can do so much! Sometimes I throw in different flavors like almond or orange just to shake things up.
Storage and Gifting
Keep your fudge between wax paper sheets in a container that seals tight. Put it somewhere cool - I use a cabinet far away from my stove. When giving as gifts, I put pieces in tiny cupcake papers and arrange them in cute holiday boxes. Tie on a ribbon with a tag and you've got a handmade present that nobody can resist!
Frequently Asked Questions
- → Why use special food coloring?
Regular coloring makes chocolate clump up. Oil-based coloring mixes smoothly with candy melts.
- → Drizzle looks clumpy?
Check if almond bark is fully melted and warm. For thinner lines, snip a smaller bag tip.
- → Does it need the fridge?
Keep it at room temperature for up to 2 weeks in a sealed container. It'll last 2-3 weeks chilled.
- → Can I try different designs?
Switch to simple shapes like hearts or eggs for other holidays. Be creative but keep it easy!
- → Why is my fudge soft still?
Let it fully set. The fridge works fast, but room temp gives a smoother bite.