
 Pin it
I gotta tell you about my journey with DIY hot chocolate bombs - they've become my go-to winter present. After my children went wild for some fancy store versions last December, I thought 'I bet mine could taste way better!' Fast forward through dozens of attempts and chocolate-smeared hands, I finally nailed it. These days my kitchen transforms into a chocolate workshop every holiday, and my friends start hinting they want some the minute temperatures drop.
Cracking the Perfect Formula
Through plenty of mess-ups with these handmade treats (including one batch that turned into puddles before I could gift them!), I've figured out that chocolate quality is everything. Don't even think about using those baking chips sitting in your cupboard - I went that route and ended up with a disaster. For this simple method to really shine, invest in good chocolate containing actual cocoa butter. I love using Callebaut, but Ghirardelli does the job nicely if that's what's available nearby.
Prep Work Basics
- What You'll Need
- Pick up quality chocolate - around 12 ounces makes 6 bombs. Find some round molds (got mine cheap online), and grab fresh marshmallows - not the stale ones from months ago. For cocoa mix, I prefer mixing my own using Dutch cocoa with a tiny bit of sea salt.
- Workspace Arrangement
- Make room on your counters - things can get untidy at first. Gather your equipment: thermometer, spatula, a small brush for the molds (I actually use a clean makeup brush), and lay down parchment paper underneath.
- Watch Your Room Temperature
- Something nobody told me when I started: keep your kitchen cool, roughly 70°F. I found out the hard way during a cocoa bomb party when nothing would harden. Just turn your heat down a bit!
Crafting Your Bombs
- Working With Chocolate
- Cut your chocolate into tiny bits - think almost dust-sized. Larger pieces won't melt right (a mistake I made early on). Slowly warm about 2/3 of it to exactly 100°F - I pop it in the microwave for 20 seconds at a time, always stirring between. After it's melted, mix in what's left until it's completely smooth.
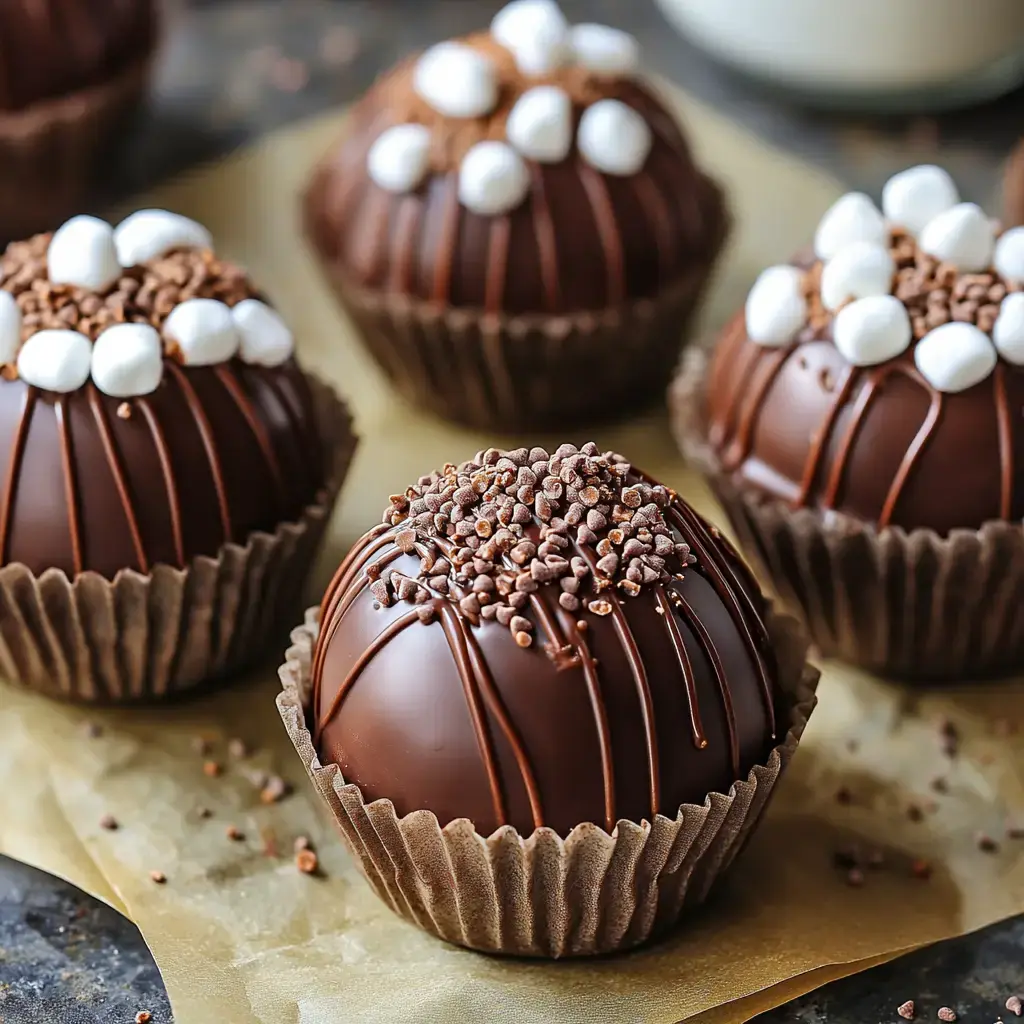
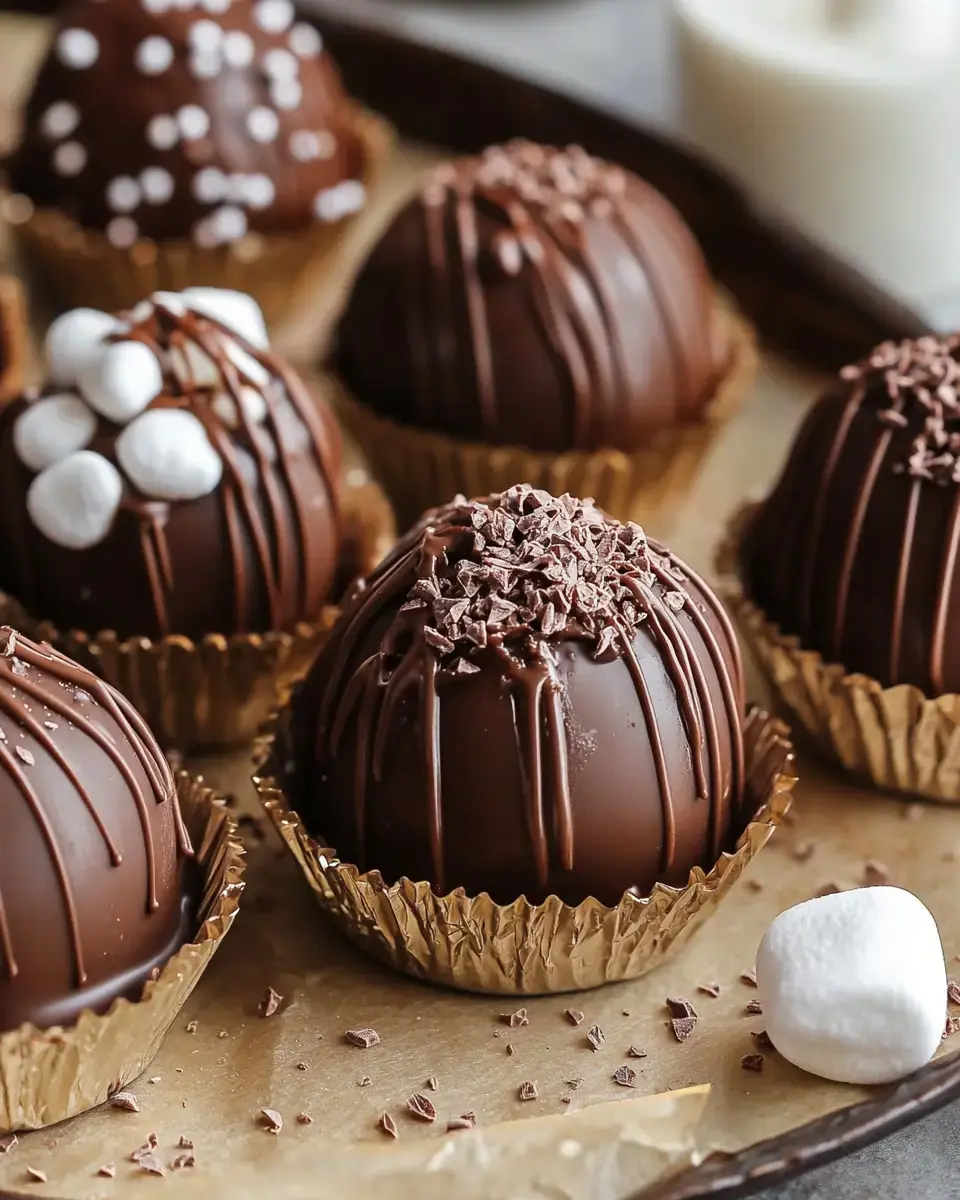
- Creating The Shells
- Brush your molds with a thin chocolate layer. Chill them for 5 minutes - no longer or you'll get water droplets. Then apply a second coat, making the rims a bit thicker. This stops them from breaking later - I promise this step matters!
- Putting It All Together
- Once your shells set, fill one half with cocoa powder and marshmallows. For joining them, warm a flat pan and touch the empty half's edges to it for a split second - they'll melt instantly for a perfect connection!
Fixing Common Problems
Real talk - even with this simple handmade approach, issues come up. If your chocolate looks weird and striped, it's probably not the right temperature - shoot for between 88-91°F. Shells won't come out of molds? Stick them in the freezer for just 3 minutes. Got smudges on your finished bombs? A quick touch with a slightly warm brush takes care of that. And remember, even the not-so-pretty ones taste fantastic!
 Pin it
Custom Flavor Ideas
After you've mastered the basics, start playing around! I love throwing in peppermint bits to the cocoa mix at Christmas, or a dash of cinnamon and cayenne for spicy Mexican versions. My kids go crazy for their favorite twist with colorful sprinkles inside - they've nicknamed them 'unicorn bombs.' Try coating the molds with colored cocoa butter first if you want a cool swirled look.
Keeping and Giving
These handcrafted treats need proper storage. Put them somewhere cool and dry - I use the cabinet farthest from my cooking area. They'll stay good about three weeks if you can keep your hands off them! For presents, I wrap each one in a clear cellophane pouch with a cute ribbon. Add a small card saying 'Drop into hot milk, watch it burst open, stir and drink!' Just so you know - once you start giving these as gifts, you'll be stuck making them every winter season!
Frequently Asked Questions
- → Why isn't my chocolate setting?
The key is keeping chocolate between 88 and 91°F. Too cold or hot and it loses its shine and snap.
- → What if I don't have molds?
Use cupcake liners instead. Layer the chocolate inside to form the shape.
- → Do I really need gloves?
They prevent fingerprints from ruining the glossy look of your chocolate.
- → Which kind of milk works best?
Whole milk makes it super creamy, but 2% is fine too. Just heat until steamy for the best effect.
- → How should I store them?
Store in a cool, dry spot in an airtight container. Done right, they last for weeks.