
 Pin it
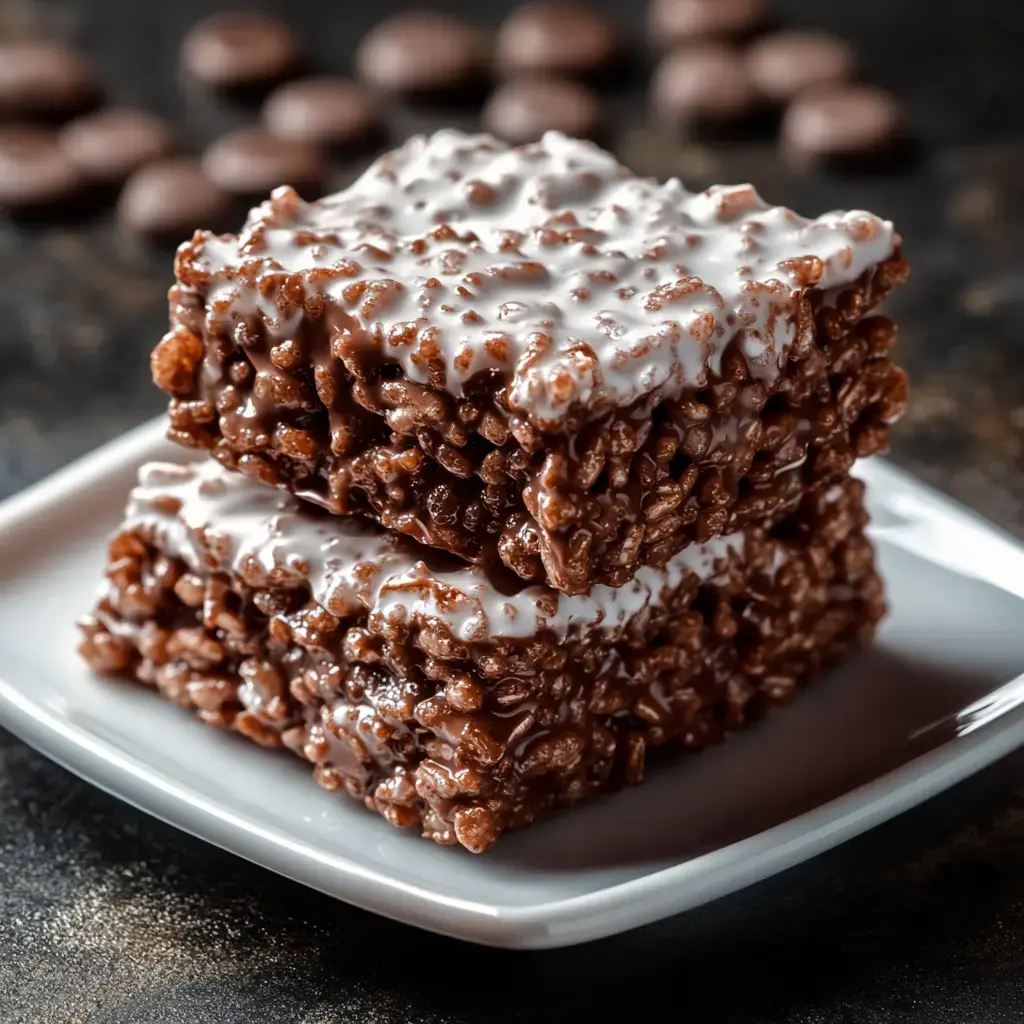
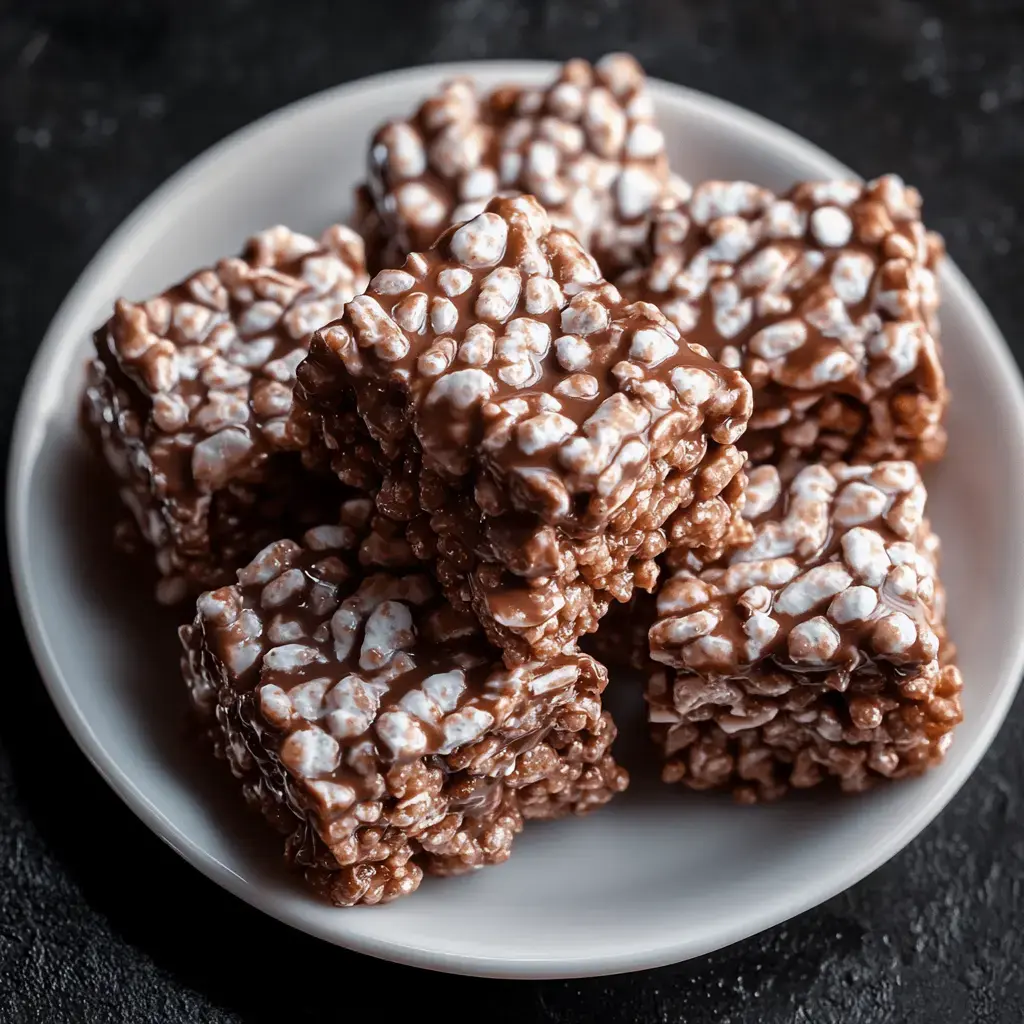
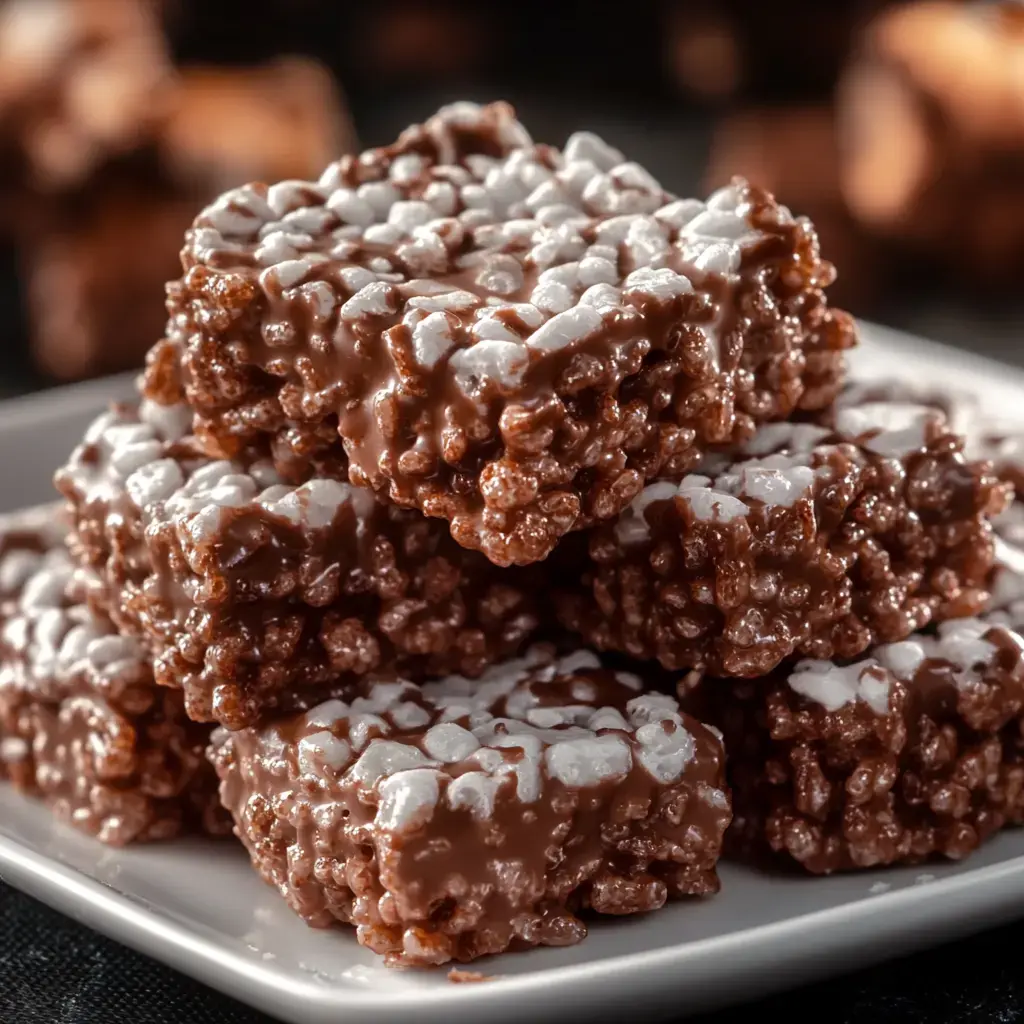
We've got a new family favorite that mixes two treats we can't stop munching on - crunchy rice cereal and that chocolate-covered, powdery goodness everyone calls Puppy Chow. The second I posted this on my site, parents started messaging me about how their kids kept grabbing handful after handful. It's just that irresistible combo of crispy cereal wrapped in melted chocolate and PB, then dusted with plenty of powdered sugar. You'll probably need to whip up an extra batch - they vanish fast!
What Makes This Snack So Irresistible
I came up with this mashup one day when my children were asking for both Rice Krispies treats and Puppy Chow. Being a time-crunched parent looking to cut corners in cooking, I thought 'maybe these could work together?' The results blew us away. The cereal maintains that perfect crunch while getting coated in that dreamy chocolate-peanut butter mix. My unofficial taste testers (my three kiddos plus their buddies) finished off the first batch within minutes. And bonus? You won't need to turn on your oven, which comes in super handy during those sweltering summer months.
Simple Ingredients You'll Need
- Rice Krispies cereal: You'll want 6 cups of the fresh stuff. I always do a quick listen test at the store by gently shaking the box next to my ear to check for that familiar pop sound.
- Peanut butter: Get 1 cup ready. I stick with standard smooth peanut butter from my normal grocery run. Those all-natural kinds tend to separate too much for this treat.
- Milk chocolate chips: Set aside 1 cup of whatever brand you like. After trying tons in my test kitchen, I can honestly say most milk chocolate chips work great.
- Powdered sugar: Have 1 ½ cups on hand. Give it a quick sift if you spot any clumps, nobody wants to bite into those.
Let's Mix It Up
- Get That Chocolate Ready
- Put your pan over low heat. Add your chocolate chips and peanut butter together. Keep mixing until it's all smooth and completely melted. Don't walk away from it like I did my first time years ago when I took a call and ended up with a burnt, unusable mess.
- Mix With Your Cereal
- Put all your Rice Krispies in the largest bowl you can find. Pour the warm chocolatey peanut butter mixture over top. Stir everything together carefully so you don't smash up all those crispy bits.
- Sugar Coating Time
- Here's where it gets fun! Everything goes into a large ziplock with the powdered sugar. My kids always jump in to help with this part—make sure it's sealed tight and then shake it like crazy until every piece gets that sweet, powdery coating.
- Finishing Up
- Lay everything out on a cookie sheet or toss it in a serving bowl. Make sure it cools completely before eating—I'm serious about this part. If you rush in too soon, you'll just make a sticky mess everywhere.
 Pin it
Tips From My Kitchen
After making this snack dozens of times, I've picked up some helpful tricks. Never use old cereal—it ruins the whole thing. Keep your burner on low when you're melting the chocolate and peanut butter—scorched chocolate tastes awful. Make sure you mix thoroughly so every bit of cereal gets coated. Let everything cool down before you add the sugar—I found this out the messy way. And when you're shaking that bag of sugar, really put some muscle into it.
Mix It Around
We love trying different versions at our house. When my sister comes over, I use almond butter instead—she can't get enough of it. Dark chocolate makes it feel fancy when we want to change things up. For my friend Sarah who has a kid with gluten issues, I make sure to buy cereal that's certified gluten-free. My nephew can't have nuts, so I make his batch with sunflower seed butter—it works perfectly. Sometimes I throw in some tiny marshmallows or broken pretzels when I'm feeling extra creative.
Perfect For Any Time
This treat works for so many different situations. I always take a huge bowl to our block parties—it never lasts long. I pack small portions in my kids' lunch containers. It tastes amazing with a glass of cold milk—that's my favorite afternoon break. When my book group comes over, I set it out on a tray with some fresh strawberries, and they always want the recipe.
Storage Tips
Keep your snack mix in something airtight on the kitchen counter—it'll stay crunchy about a week. Stick it in your refrigerator to make it last longer—maybe two weeks tops. I've frozen batches for up to three months—just let them warm up before snacking. If they get soft, spread them on a cookie sheet, warm them at 250°F for 10 minutes, then cool them down completely—they'll get nice and crispy again.
 Pin it
Make It Your Own
The coolest part about this snack is customizing it just how you want. I sometimes throw in extra tiny chocolate chips for more chocolatey goodness. My daughter goes crazy when I mix in bright candy pieces. I tried it with dark chocolate and cashew butter last week—so worth it. Feel free to play with toppings like smashed graham crackers, bits of toffee, or whatever catches your eye while shopping. This mix is pretty flexible, so don't be scared to try new things.
Frequently Asked Questions
- → Can I swap out the chocolate type?
Sure, any kind of chocolate works! Dark, milk, or white chocolate chips will all give these bites great flavor, so pick your favorite.
- → What's the best way to store them?
Pop them into a sealed container and leave it on your counter. They'll keep nicely for up to 5 days.
- → Is peanut butter required?
Not at all! Smooth almond or cashew butter works too. Just stick with creamy for the best results.
- → What makes mine sticky?
Chances are, they need extra powdered sugar. Toss them back into a bag with more sugar, then shake lightly to finish them up.
- → How far ahead can I prep these?
You can make them 2-3 days in advance. Store them tightly sealed and add a fresh sugar dusting just before serving.
Conclusion
Peanut butter and chocolate coat crispy cereal in these no-bake snacks. Finished with powdered sugar, they're quick to make and perfect for parties.