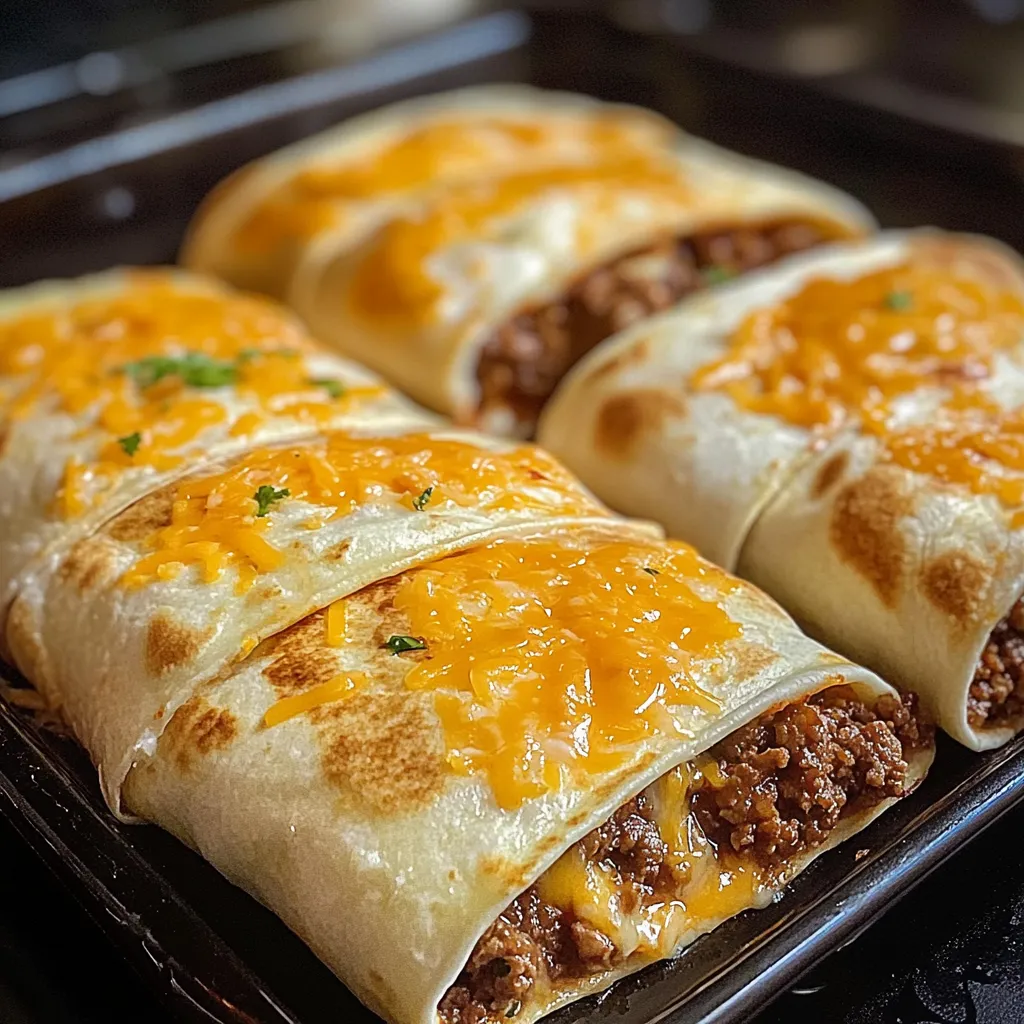
These yummy cheese pocket tacos turn ordinary tacos into a fun handheld treat. Beef mixed with taco seasonings gets blended with a smooth combo of cream cheese and salsa, then covered with cheddar and folded into tortillas. They're brushed with butter and popped in the oven until golden and crisp—perfect for a quick dinner, get-togethers, or watching sports. They're super easy to change up and make beforehand, giving you all the taco flavors without the mess.
Taco night gets a major upgrade with these mouthwatering Cheesy Stuffed Taco Pockets. Every buttery, crunchy pocket is stuffed with zesty ground beef, smooth cream cheese, and gooey cheddar that stretches beautifully between your teeth with each mouthful. These have become our family's answer to taco night when we're craving something extra special that breaks away from our usual routine.
I made these for dinner yesterday, and seeing everyone's expressions when they bit into that first crunchy, cheese-filled pocket reminded me why this dish always wins. What's the trick? Using two different cheese types and making sure you properly seal each pocket.
Key Ingredients and Smart Shopping Advice
Ground Beef: Choose 80/20 for richer taste
Cream Cheese: Use full-fat that's been left out to soften
Tortillas: The 6-inch flour ones yield best results
Cheddar: Shred it yourself for smoother melting
Salsa: Pick whatever spice level you enjoy
Taco Seasoning: Homemade or store-bought both work
Butter: Gives you that crispy, golden outside
Step-by-Step Cooking Guide
Getting Everything Ready
1. Start by setting up everything you need - cream cheese softened, cheese grated, and all items measured out. Heat your oven to 350°F and get your baking tray ready. This prep work makes assembly go smoothly and keeps your tortillas from getting damp while waiting.
Cooking Your Meat
2. Cook your ground beef in a big pan, breaking it up evenly. Don't keep stirring it too much - letting it brown creates extra flavor. When it's done, pour off most of the fat but keep a little for taste. Mix in your taco seasoning until it's all coated.
Making The Cheesy Mix
3. Whip your softened cream cheese until it's totally smooth with no chunks. Mix in your salsa until they're combined well. You want it easy to spread but not runny. This creamy layer is what helps hold everything in place.
Putting It All Together
4. Put each tortilla on a flat surface and spread some cream cheese mix on it, leaving space around the edges. Add your seasoned beef and sprinkle with shredded cheese. Don't add too much filling or you'll have trouble closing them. Fold them like you would a burrito, making sure all sides are closed tight.
Finishing Touches
5. Put your pockets on the baking sheet with the seam facing down. Brush the tops with plenty of melted butter - this gives you that amazing crispy outside. Bake them until the tortillas turn crispy and the cheese gets all melty and bubbly.
You can put these pockets together and keep them in the fridge for up to 24 hours before cooking. After they're cooked, they'll stay good in a sealed container for 3-4 days. Warm them in the oven instead of the microwave to keep them crispy. If you want to freeze them, wrap each one by itself and freeze for up to 3 months. Let them thaw overnight in your fridge before warming up.
Fun Twists and Changes
After making these many times, I've found some awesome ways to change them up. Try using ground chicken or turkey if you want something lighter. Throw in some black beans and corn for a Southwest flavor. Sometimes I mix different cheeses like pepper jack or Monterey Jack. The basic idea works with lots of changes while still giving you that comfort food feeling.
Beautiful Serving Ideas
Make these pockets look amazing by arranging them on a wooden board or bright platter. Set up a toppings station with fresh pico de gallo, guacamole, sour cream, and extra salsa in small dishes. I like to add fresh cilantro, lime slices, and pickled jalapeños around the platter for folks who want more kick. For parties, try cutting the pockets diagonally and putting them in a circle around a bowl of dip. This looks fancy and makes it easy for guests to grab them and try different toppings.
Perfect Timing and Temperature
Getting these taco pockets right comes down to watching the temperature at every step. Your beef should be warm when you fill the pockets, but not so hot it melts the cream cheese right away. The filled pockets should sit at room temperature before going in the oven - if they're too cold, the centers won't heat up before the tortillas get too brown. Watch them carefully in the last few minutes of cooking because they can burn quickly. Let them sit for just 5 minutes after baking - this lets the cheese set a bit while keeping everything hot enough to serve.
Expert Advice
Slightly warm your tortillas so they fold better
Squeeze out air bubbles before sealing
Set up your ingredients in a row for easy assembly
These Cheesy Stuffed Taco Pockets show how simple ingredients can create something really special. They're perfect for family dinners or casual get-togethers, giving taco night a fun twist everyone will enjoy. The mix of crunchy outside, seasoned beef, and creamy, cheesy inside makes every bite something to remember.
Frequently Asked Questions
→ Can I make these ahead?
You can put them together early and keep in the fridge, just add the butter right before you bake them.
→ Can I freeze them?
Sure thing, freeze them unbaked. Let them thaw and add butter before cooking.
→ What can I add to them?
You can mix in some black beans, sweet corn, or chopped jalapeños for extra flavor.
→ Can I use different cheese?
Absolutely, try a Mexican blend or spicy pepper jack for something different.
→ How do I keep them crispy?
Don't forget the butter coating, and don't stuff them too full or they might leak.
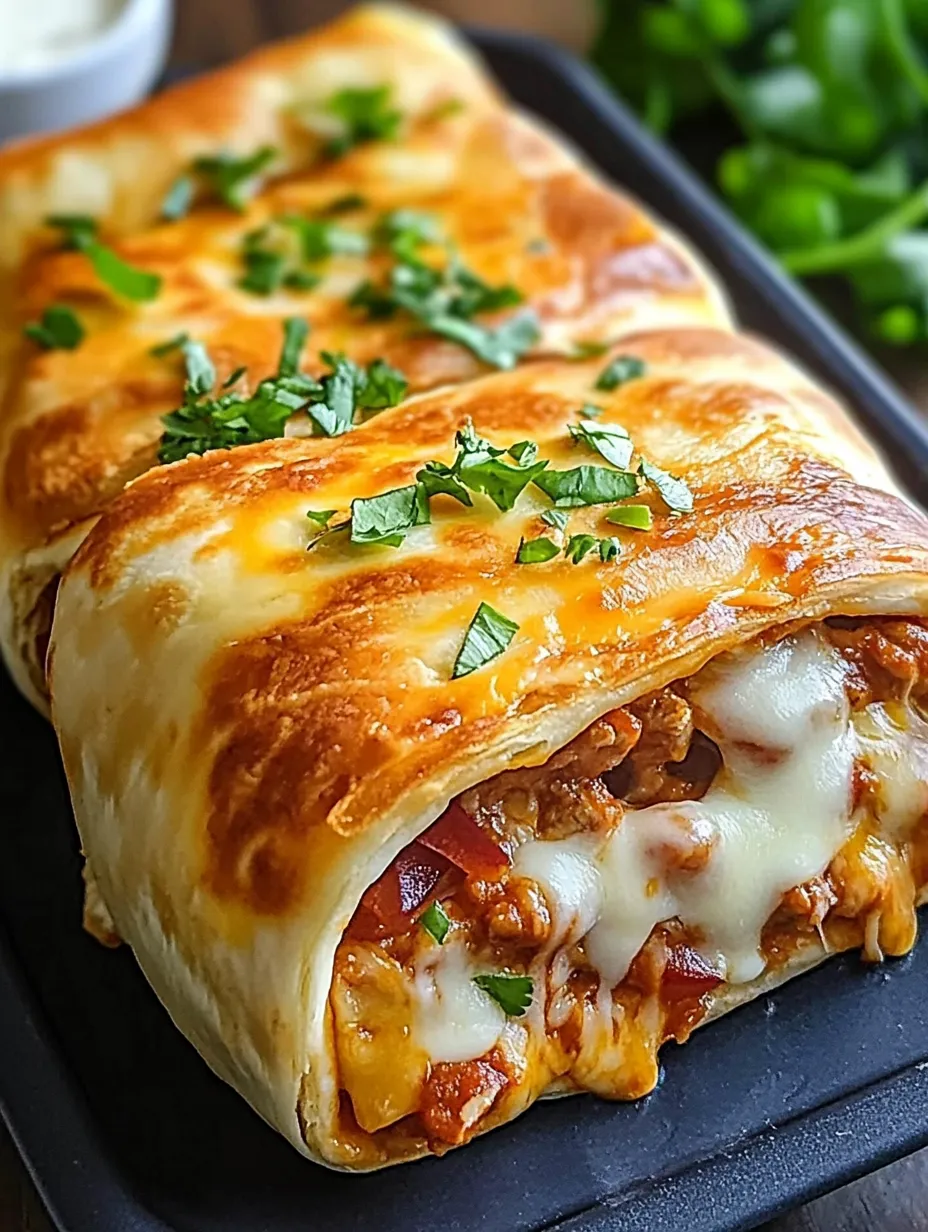
Cheesy Beef Pocket Tortillas
Crunchy tortilla pockets loaded with zesty ground beef, velvety cheese mixture, and gooey cheddar.

 Pin it
 Pin it
 Pin it
 Pin it