
 Pin it
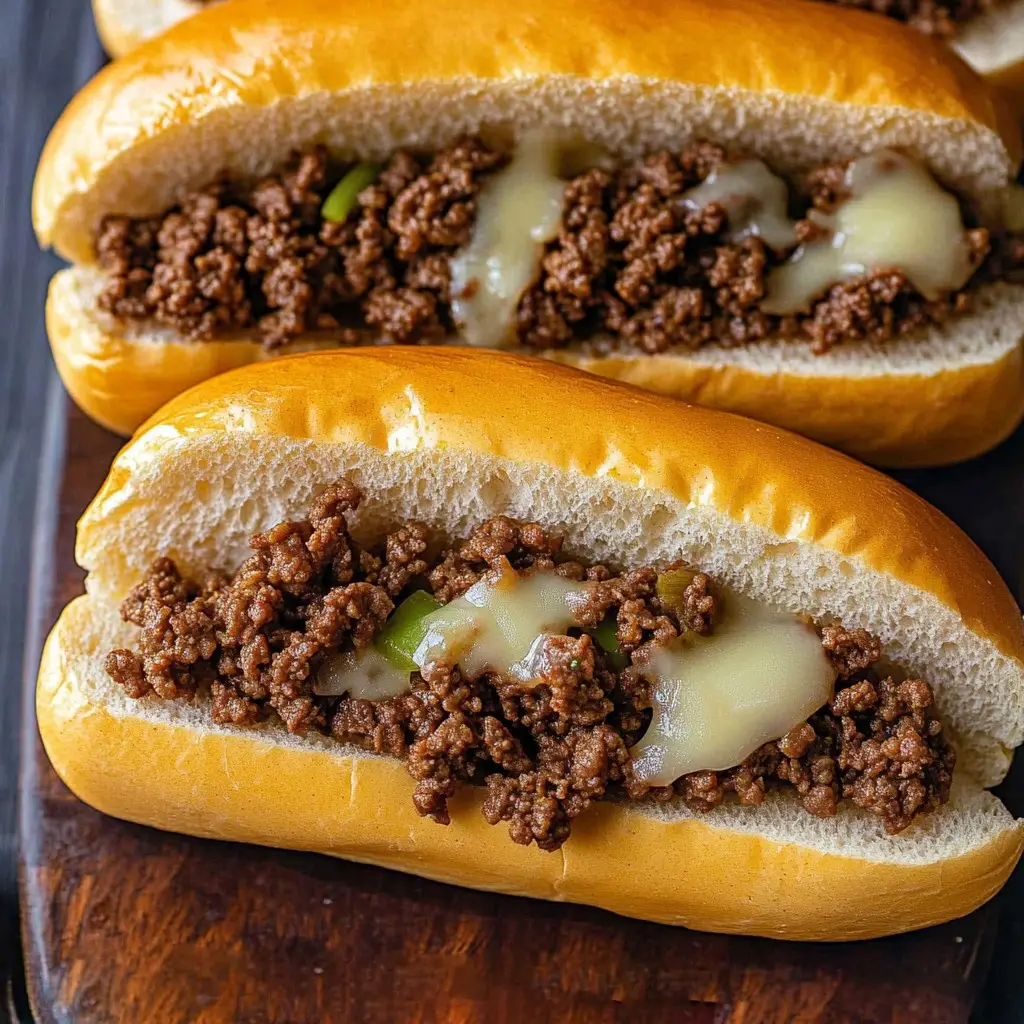
Transform regular Philly cheesesteak flavors into a quick weeknight meal using budget-friendly ground beef. You'll enjoy all the tasty elements of authentic cheesesteaks—packed with flavor and plenty of cheese—while keeping it simple for busy families. Combining well-seasoned beef, softened onions, and gooey provolone creates a mouthwatering sandwich that's ready in just half an hour.
After numerous attempts at authentic Philly cheesesteaks, I discovered that nailing the seasoning and achieving those crunchy beef edges makes all the difference.
Key Components
- Ground Beef: Go for 80/20 ratio for optimal flavor
- Provolone: Pick premium quality, freshly sliced
- Onions: Yellow or sweet varieties, cut into thin slices
- Bell Peppers: Choose whatever color you prefer
- Hoagie Rolls: Look for ones with soft interiors and slight outer crunch
- Worcestershire Sauce: Adds depth and richness to the mix
Step-by-Step Guide
- 1. Prepare Your Rolls:
- Warm your oven to 400°F. Split hoagie rolls lengthwise while keeping one edge connected. Place them open-faced on a baking sheet. Add provolone to the bottom half of each roll. This prevents soggy bread and boosts the cheese factor.
- 2. Sauté Vegetables:
- Cut onions and peppers into thin ⅛-inch slices for even cooking. Warm a tablespoon of oil in a large skillet over medium-high heat. Toss in onions and peppers with a pinch of salt. Cook for 8-10 minutes, occasionally stirring, until onions turn golden and peppers soften. Remove and set aside.
- 3. Brown the Meat:
- Using the same pan, brown ground beef over medium-high heat. Break it into small chunks with your spoon. Let meat develop crispy edges by leaving it untouched for 30-second intervals. Add Worcestershire sauce halfway through cooking to infuse flavor. Season with salt and pepper.
- 4. Incorporate Cheese:
- Return veggies to the beef mixture. Lower heat to about 2/10. Layer half the provolone on top and let it melt into the meat. This ensures cheese throughout the mixture, not just as a topping.
- 5. Complete Assembly:
- Fill prepared rolls with the beef-cheese mixture. Top each sandwich with remaining provolone slices. Bake 3-5 minutes until cheese bubbles and rolls turn lightly golden. Keep an eye on them to avoid burning.
 Pin it
Smart Storage Advice
These sandwiches taste best immediately, when the cheese pulls into long, gooey strands. For leftovers, store the meat mixture separately from rolls in airtight containers in your fridge for up to three days. When reheating, warm the beef in a skillet over medium heat and add a splash of beef broth to keep everything juicy and prevent drying out.
Ideal Accompaniments
These hearty sandwiches match well with simple sides that complement their flavors. Try them with crunchy fries or onion rings, deli-style. For something lighter, add coleslaw or a green salad. Don't skip the pickles—their tangy crunch balances the rich, cheesy sandwich perfectly. For casual meals, a quality bag of potato chips works great too.
 Pin it
Prep-Ahead Tactics
To streamline your dinner routine, get some tasks done early. Slice all vegetables and store them in sealed containers—they'll stay fresh for several days. You can cook beef ahead and refrigerate it too, making assembly super quick when hunger strikes. Pre-slice your cheese and keep it wrapped, then grab fresh rolls on serving day for the best texture.
Creative Twists
This dish welcomes many fun changes to suit your taste. Try a mushroom Swiss version with sautéed mushrooms and Swiss cheese. Spice lovers can toss in jalapeños with pepper jack cheese. For Italian flair, mix in marinara and use mozzarella instead. Create a Southwest twist using taco spices and spicy cheese. Pizza fans might enjoy adding pepperoni and pizza sauce to the mix.
Crucial Advice
Lightly toasting rolls before adding cheese makes a big difference when assembling sandwiches. You'll get a nice contrast between the slightly crunchy exterior and soft interior. Always choose freshly sliced cheese rather than pre-packaged slices—it melts so much better. If you need to keep finished sandwiches warm while making more, loosely wrap them in foil, but don't leave them too long or they'll turn mushy.
Temperature control matters during cooking. Watch the heat when cooking onions—too hot and they'll scorch, too cool and they won't caramelize properly. Similarly, use gentle heat when melting cheese for a smooth, even result.
 Pin it
Closing Thoughts
Great cheesesteaks come down to finding the right balance—proper meat-to-cheese ratio, textural contrasts between crispy and tender elements, and seasoning that enhances natural flavors without overwhelming them. Each time you make this dish, you'll fine-tune these aspects to match your preferences. Whether for a quick family dinner or casual gathering with friends, these sandwiches bring comfort and satisfaction with their hearty, crowd-pleasing flavors.
Frequently Asked Questions
- → Can I use a different cheese?
- Absolutely! Try Swiss, American, or even Cheez Whiz if you want a classic touch.
- → What’s the ideal bread for this?
- Hoagie rolls are popular, but strong sandwich rolls or baguettes can handle the fillings too.
- → Can I throw in mushrooms?
- Sure! Cook them with the peppers and onions for extra flavor.
- → How should I keep leftovers fresh?
- Store the filling separately from the bread. Reheat the mix when you’re ready to eat.
- → Can I prep ahead of time?
- Cook the meat mix in advance, then rewarm it to build your sandwich fresh later.