
 Pin it
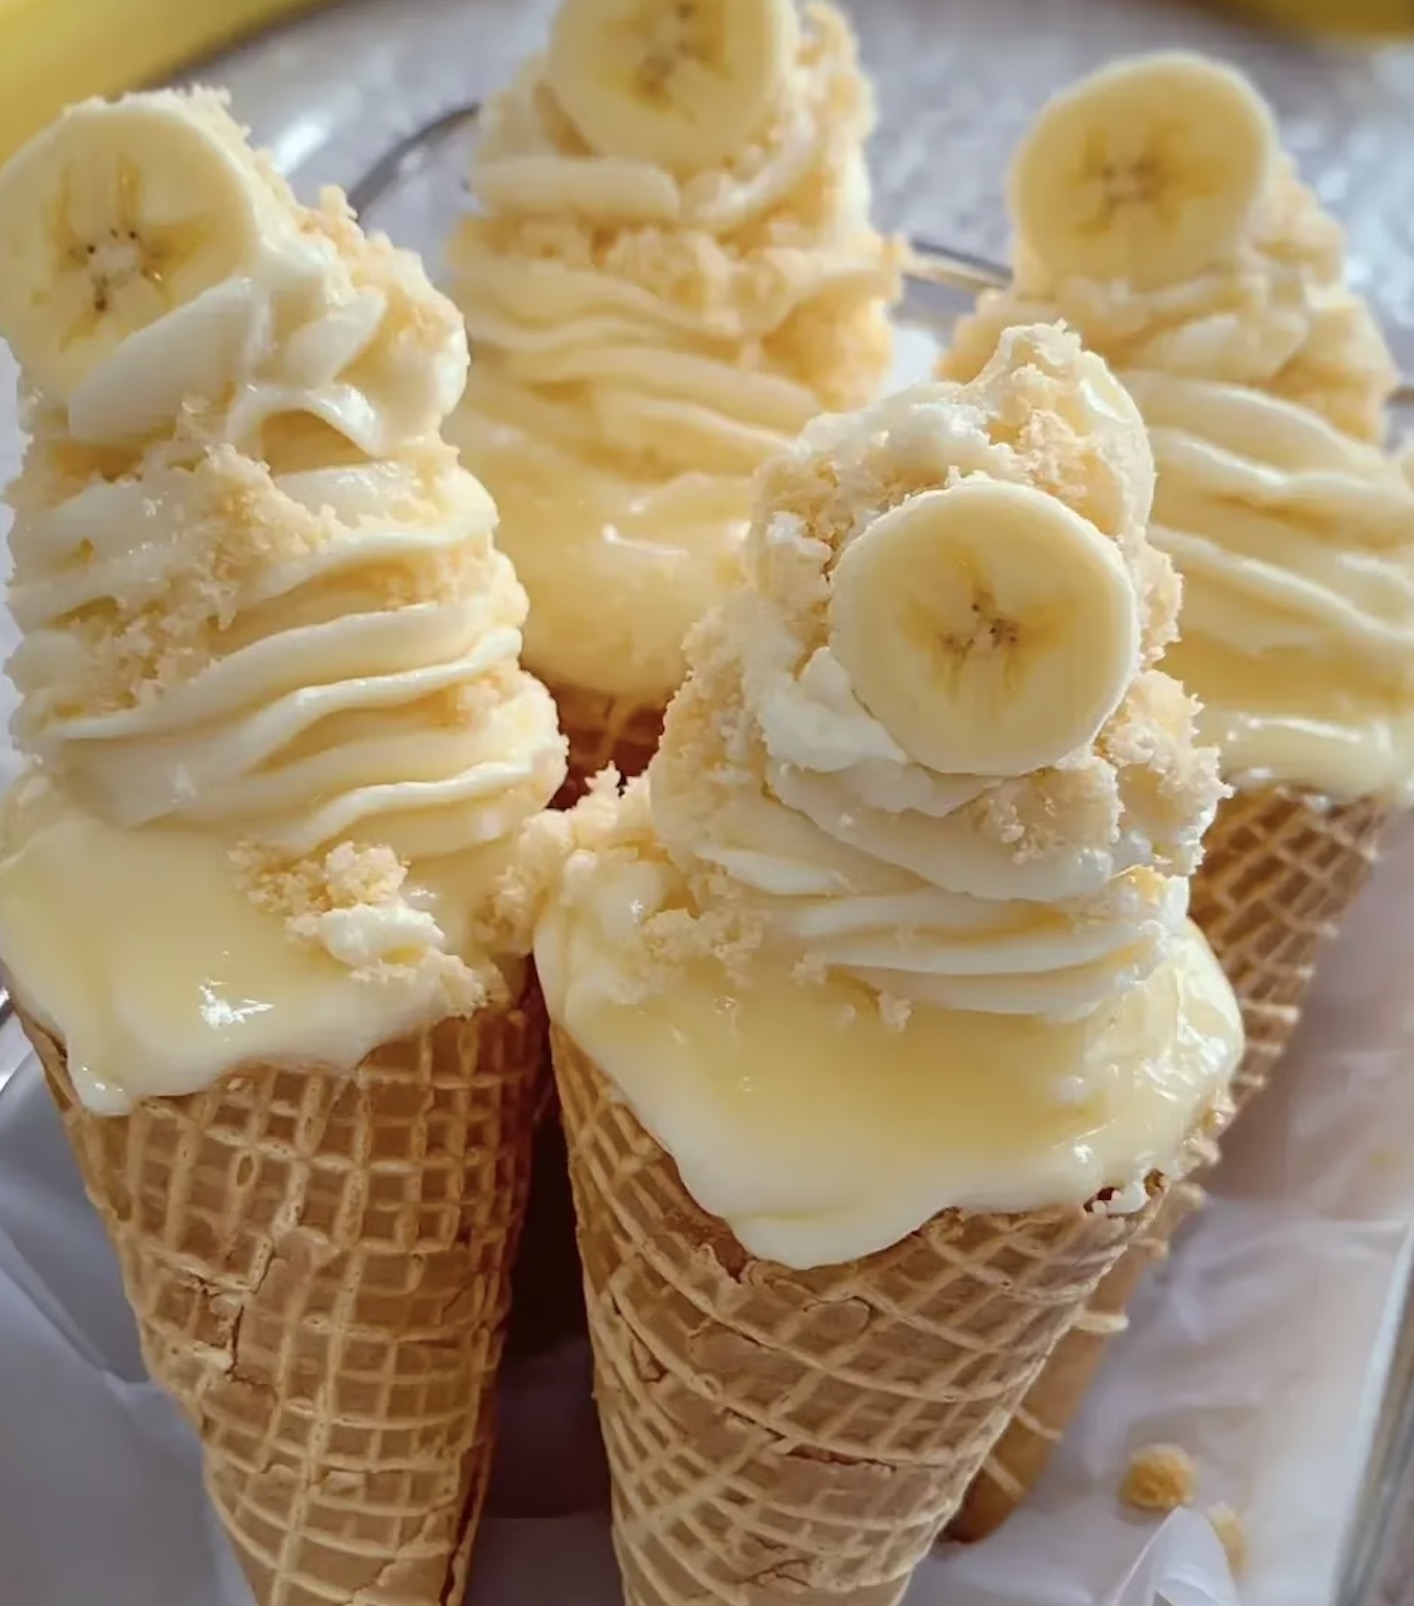
This banana pudding cheesecake cone combines two of my favorite desserts into one irresistible handheld treat. The creamy texture of cheesecake meets the nostalgic flavor of banana pudding, all nestled in a crunchy cone that adds the perfect textural contrast.
I first created these for my niece's birthday party when we needed something more exciting than regular cake. The guests were delighted by the surprise filling inside each cone, and now it's our most requested dessert for family gatherings.
Ingredients
- Cream cheese: Softens this to room temperature for a smooth texture and provides the classic tangy cheesecake base
- Granulated sugar: Balances the tanginess of the cream cheese and adds necessary sweetness
- Vanilla extract: Use pure rather than imitation for the best flavor profile
- Sour cream: Adds creaminess and a slight tanginess that elevates the entire dessert
- Heavy cream: Creates a light mousse like texture when whipped into the filling
- Banana puree: Made from very ripe bananas with brown spots for maximum sweetness and flavor
- Crushed vanilla wafers: Add texture and that classic banana pudding element
- Whole milk: Creates a rich pudding base use full fat for best results
- Cornstarch: Essential for thickening the pudding without eggs
- Ice cream cones: Waffle cones provide better stability but sugar cones offer a sweeter flavor
Step-by-Step Instructions
- Prepare the Banana Pudding:
- Combine milk sugar cornstarch and salt in a medium saucepan whisking until completely smooth with no lumps. Place over medium heat and continue whisking constantly to prevent scorching. The mixture will gradually thicken usually after about 4 to 5 minutes of constant stirring. You will know it is ready when it coats the back of a spoon and a line drawn through it with your finger stays clear. Remove from heat and stir in vanilla extract. Transfer to a bowl cover with plastic wrap directly touching the surface to prevent a skin from forming and allow to cool completely.
- Make the Cheesecake Filling:
- In a large mixing bowl beat the softened cream cheese with an electric mixer until completely smooth about 2 minutes. Scrape down the sides of the bowl frequently to ensure no lumps remain. Gradually add sugar and vanilla extract mixing well after each addition until the mixture is light and fluffy. Add the sour cream heavy cream and banana puree mixing on low speed until just combined. The mixture should be smooth and slightly thick. Gently fold in the crushed vanilla wafers and cinnamon if using using a rubber spatula to preserve the airy texture. Cover the bowl and refrigerate for at least 30 minutes to allow the mixture to firm up slightly.
- Assemble the Cones:
- Arrange your cones in a cone holder or create your own by cutting X shapes in a cardboard box to hold the cones upright. This prevents tipping during assembly and chilling. Using a piping bag or small spoon carefully fill each cone about two thirds full with the chilled cheesecake filling. Tap each cone gently on the counter to remove any air bubbles and ensure the filling reaches the bottom of the cone. Top each cone with a generous layer of the cooled banana pudding filling about 1 to 2 tablespoons per cone.
- Garnish and Serve:
- Just before serving top each cone with a swirl of whipped cream using a piping bag fitted with a star tip for an elegant presentation. Arrange fresh banana slices on top and sprinkle with additional crushed vanilla wafers for extra crunch and visual appeal. For best results serve immediately after garnishing or within 1 hour to maintain the cone crispness.
The banana puree is truly the star ingredient here. I discovered that freezing overripe bananas then thawing them creates an incredibly sweet and intensely flavored puree that elevates this dessert beyond a simple flavor combination. My grandmother always kept brown bananas in her freezer for this very reason and now I do the same.
Make Ahead Tips
These cones can be assembled without the garnishes up to 8 hours before serving. Store them in the refrigerator in an airtight container that allows them to remain upright. The cones will soften slightly from the moisture of the fillings, creating a cake like texture that many of my family members actually prefer to the crisp cone. For best results, add the whipped cream, fresh banana slices, and extra wafer crumbs just before serving to maintain their freshness and appearance.
Ingredient Swaps
If you are looking to mix things up or accommodate dietary restrictions, this recipe adapts beautifully to substitutions. Neufchâtel cheese can replace regular cream cheese for a lighter version with 1/3 less fat. For a dairy free option, use plant based cream cheese, coconut cream instead of heavy cream, and your favorite non dairy milk for the pudding. The vanilla wafers can be swapped for graham cracker crumbs, shortbread cookies, or even gingersnaps for a spicy contrast to the sweet banana. For a tropical twist, add 1/4 cup toasted coconut to the cheesecake mixture.
Serving Suggestions
These cones make a wonderful individual dessert for summer barbecues or pool parties. For an interactive dessert bar, set up a station with the filled cones and various toppings like chocolate sauce, caramel drizzle, chopped nuts, sprinkles, and fresh berries. Let guests customize their own creation. For a more elegant presentation at dinner parties, serve the cones in small dessert cups to catch any drips and garnish with a mint leaf and a light dusting of cinnamon. These also make delightful after school treats that children can help assemble.
These banana pudding cheesecake cones are sure to impress with their delightful combination of flavors and textures. Perfect for any occasion, they make dessert the highlight of the day!
Frequently Asked Questions
- → How can I keep the cones from getting soggy?
Ensure the cones are filled right before serving to maintain their crunchiness. You can also line the inside of the cones with melted chocolate for extra protection and flavor.
- → Can I make this dessert ahead of time?
Yes, you can prepare the banana pudding and cheesecake filling in advance. Store them separately in the refrigerator, then assemble the cones just before serving for best results.
- → What’s the best way to puree the bananas?
Use a food processor or blender to puree ripe bananas until smooth. Alternatively, you can mash them thoroughly with a fork for a chunkier texture.
- → Can I replace the ice cream cones with another base?
Absolutely! You can use cupcake liners, mini tart shells, or even hollowed-out brioche rolls for a creative twist.
- → How can I customize the garnish options?
Feel free to experiment with toppings—use crushed nuts, chocolate chips, or caramel drizzle to add more flavor and texture to the dessert.
- → What type of cream works best for the whipped topping?
Heavy whipping cream works best for creating stable whipped cream. Chill your bowl and beaters beforehand for better results.
- → Can I add extra flavors to the banana pudding?
Yes, a touch of rum or banana liqueur can enhance the flavor. For a non-alcoholic option, add a pinch of cinnamon or nutmeg.