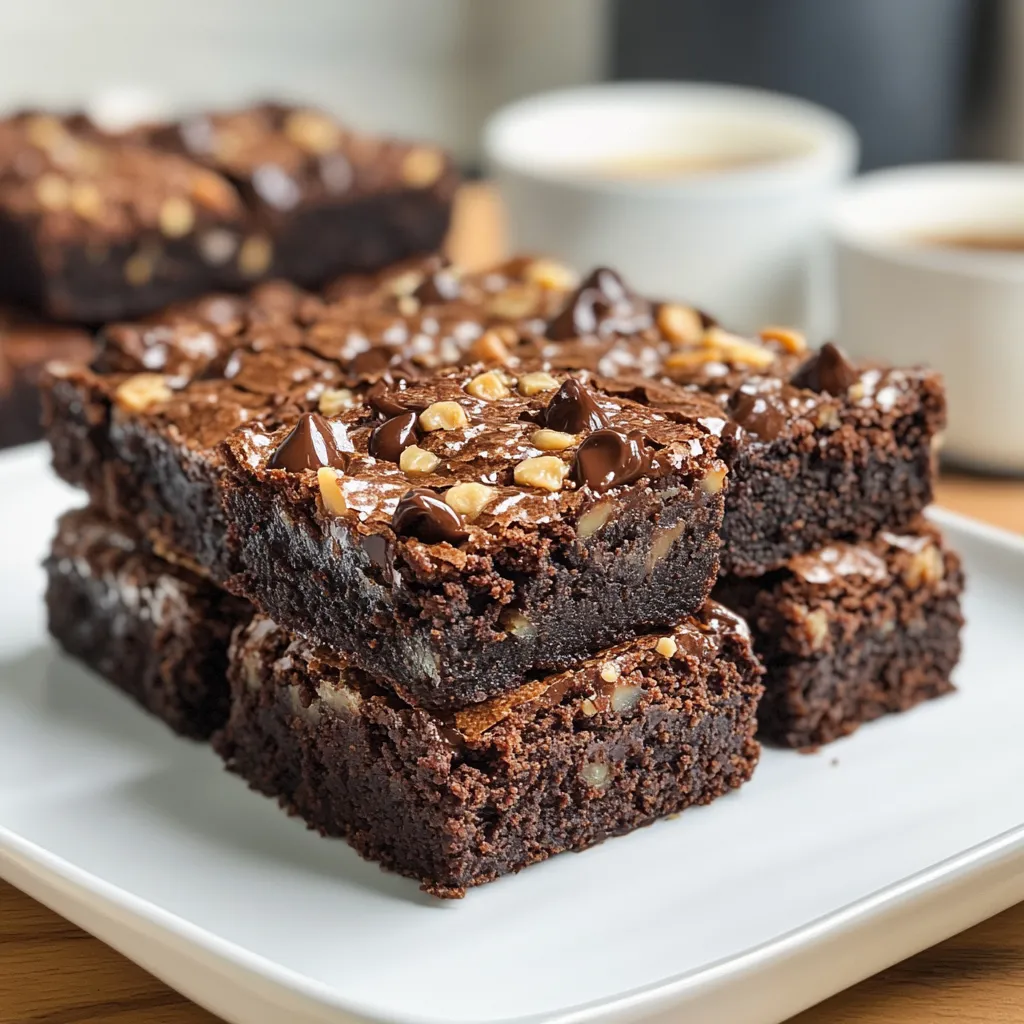
Say hello to indulgent brownies packed with toffee goodness! With melty chocolate chips and buttery crunch in every bite, these brownies are a chocolate lover's paradise. Easy to make with just one mixing bowl—no fancy tools required. Best served slightly chilled for extra fudgy texture. Perfect for any occasion, these are guaranteed to disappear quickly!
A top-notch toffee brownie blends opposites wonderfully - rich chocolate inside next to a crunchy, crackling surface, plus bursts of smooth toffee scattered throughout. After countless batches of brownies over the years, I've figured out that making these yummy treats comes down to getting the right mix of stuff and watching your timing. Every time I bake them, I learn something fresh about how chocolate and sugar work their magic.
I took these to a friend's dinner last week, and they secretly tucked away two squares for their breakfast. What's my trick? Knowing how different types of sweeteners and fats blend to nail that perfect feel in your mouth.
Key Components and Selection Advice
Premium cocoa powder: Go for Dutch-processed for richer taste
First, get your pan ready the right way. This doesn't just stop sticking - it helps your brownies cook evenly all over. Make a parchment paper lift that goes up two sides so you can take them out easily. A quick spray of cooking oil makes sure nothing gets stuck.
Step 2: Starting Your Mix
Begin by melting butter just until it turns liquid - not hot, because too much heat changes how they turn out. Mix it with oil and both kinds of sugar, stirring until it looks a bit grainy but all mixed together. This first mixture sets up how your brownies will feel when they're done. Using both regular and brown sugar isn't just about making them sweet - it's about getting the right amount of moisture and that shiny top everyone loves.
Step 3: Getting The Right Blend
Here comes an important part - putting in eggs and vanilla. Stir really well until the mix gets lighter and thicker. This step puts air in and helps make that papery layer on top that makes brownies look so good. You'll see it change from grainy to smooth and shiny.
Step 4: Adding Dry Stuff
Be careful with the flour mix - shake your cocoa powder and cornstarch through a sieve right into the bowl to avoid lumps. Cornstarch is our hidden helper for softness. Fold slowly until you can't see any flour streaks, but don't mix too much. This gentle touch makes sure your brownies stay fudgy instead of cakey.
Step 5: Putting In The Good Stuff
Add your toffee bits and chocolate chips with a plan: keep some for the top, spread them evenly in the batter, don't stir too much, and make sure they're all through the mix.
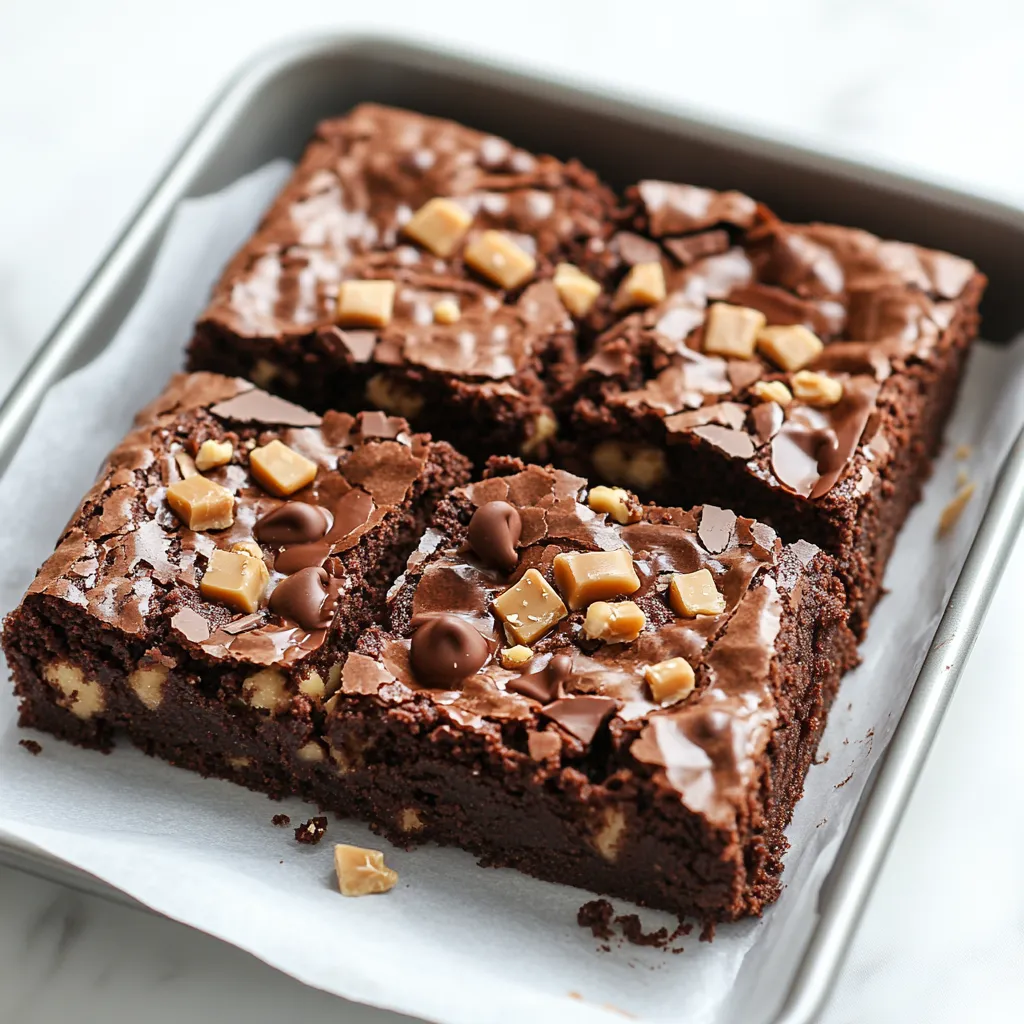
Put your batter in the ready pan carefully, using a spatula to make it level. Those extra seconds spent evening out the batter help it bake the same all over. Scatter your saved toffee bits and chocolate chips on top - they'll melt into beautiful puddles of chocolate and caramel while baking. Getting the oven heat right matters a lot; a properly warmed up 350°F oven makes the perfect spot for balancing set edges with a fudgy middle.
Spotting When They're Ready
Telling when brownies are perfectly baked means watching for several signs. Look for slight rising around the edges and a set, glossy top. The toothpick check works differently for brownies than cake - you want some damp crumbs stuck to it. If the toothpick comes out clean, they're overcooked. Keep in mind:
Edges should pull away just a bit
Middle should seem firm but remain soft
Top should look glossy with cracks
They should smell richly of chocolate
Smart Cooling Methods
Being patient really matters when cooling. Let the brownies cool all the way in the pan placed on a wire rack. This slow cooling lets the structure firm up right while keeping that perfect fudgy texture. For the neatest slices, chill them for at least 30 minutes before cutting.
Smart Keeping and Serving Tips
After making brownies for years, I've found that storing them right makes them taste even better. At room temp, put them in an airtight box with parchment paper between layers. For extra fudginess, keep them in the fridge - the cold makes their chocolate flavor stronger and gives them an almost truffle-like feel. Let them warm up to room temperature before serving to get the full flavor.
Frequently Asked Questions
→ Can I swap Dutch-process cocoa with natural cocoa?
Yep! Dutch cocoa gives a deeper taste, but natural cocoa works just as well. No other tweaks are needed.
→ How can I tell when they're done?
Stick a toothpick in around 30 minutes. Look for moist crumbs—not raw batter. For firmer brownies, bake a few more minutes.
→ What's the best way to keep these fresh?
Pop them in an airtight box. They stay good for about 3 days at room temp or up to 5 days in the fridge. Tip: chilling makes them extra dense!
→ Are they overly sweet?
Not a fan of too sweet? Use dark chocolate chips instead of semisweet. Skip cutting back sugar since it keeps the brownies chewy.
→ Can I make the toffee at home?
Sure thing! Store-bought works fine, but homemade toffee chopped into bits adds a special homemade twist.
Toffee Chocolate Brownies
Rich and chewy brownies stuffed with gooey chocolate and crunchy toffee bits. Made with just a few ingredients, these are super simple, crazy decadent, and impossible to turn down!
032 large eggs plus 1 egg yolk, straight from the fridge
04½ cup light brown sugar (100g)
05¾ cup white sugar (150g)
065 tablespoons unsalted butter (71g)
→ Dry Mix
07¼ teaspoon fine sea salt
081 tablespoon cornstarch
09½ cup all-purpose flour (63g)
10¾ cup Dutch-processed cocoa powder (75g)
→ Extras to Mix In
111 cup toffee bits (170g), some for topping
12¾ cup semisweet chocolate chips (128g), save a bit for sprinkling
Instructions
Step 01
Turn your oven to 325°F. Use parchment paper to line an 8x8-inch metal baking dish, letting some hang over the edges so you can easily pull out the brownies later.
Step 02
Melt the butter in a big, microwave-friendly bowl (about 1 minute). Stir in both sugars and cool the mix until it feels just a little warm. Beat in the eggs, yolk, and vanilla really well for 30 seconds. Mix in the oil and cocoa powder until velvety.
Step 03
Using a rubber spatula, quietly fold in flour, cornstarch, and salt until it's just mixed. Stir most of the toffee and chocolate chips in, but set some aside for the top.
Step 04
Even out the batter in your pan and sprinkle the chocolate chips and toffee bits you saved on top. Bake for about 30 minutes. A toothpick poked in should show damp crumbs, not liquid batter. Like drier brownies? Bake 5-7 more minutes.
Notes
You can swap Dutch-process cocoa for natural, but Dutch-process has a deeper, smoother taste.
Keep them in an airtight container for up to 3 days on the counter, or in the fridge for 5 days.
Chill them in the fridge if you're after the most fudgy texture.
Prefer less sweet? Use dark chocolate chips instead.
Tools You'll Need
8x8-inch metal pan for baking
Parchment to line the pan
Microwave-safe large bowl
Whisk for mixing
Rubber spatula for folding
Allergy Information
Please check ingredients for potential allergens and consult a health professional if in doubt.

 Pin it
 Pin it
 Pin it