
 Pin it
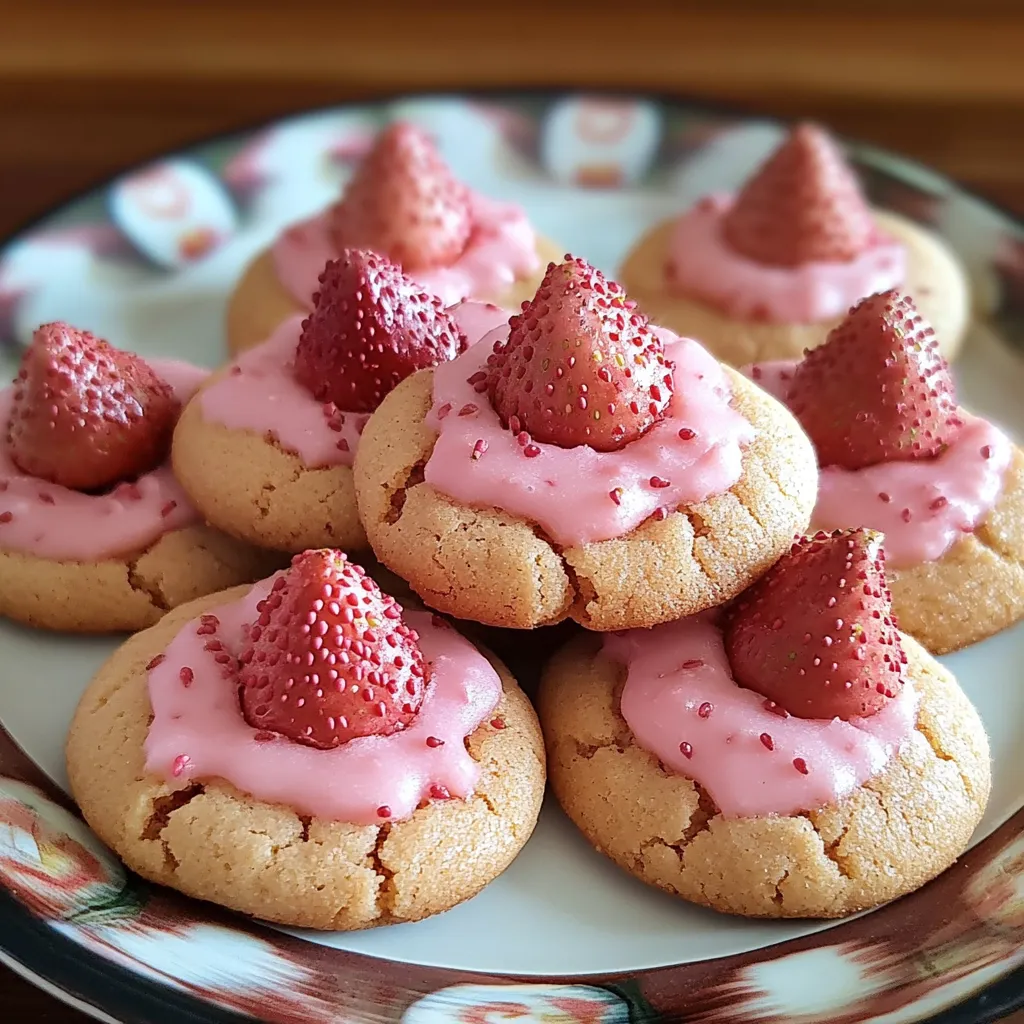
These Strawberry Kiss Cookies bring such happiness to my home. When buttery shortbread meets sweet strawberry and smooth chocolate, something truly special happens. It's a treat that feels both familiar and fancy at the same time. I love how the soft pink color adds a bit of fun, while the chocolate center makes every bite perfectly balanced.
I showed my niece how to make these cookies last weekend. When she pushed the chocolate kisses into the warm cookies, her face lit up with excitement. That moment reminded me why this recipe means so much to me.
Key Ingredients and Smart Picks
- Butter: Go for good-quality unsalted butter at room temp. I like the European kind with extra fat for super soft cookies. I always leave mine out exactly 60 minutes beforehand
- Strawberry Gelatin: The regular kind works best, not sugar-free, as it helps with both taste and texture. If making several batches, keep your open packet in a sealed container
- Flour: Any all-purpose flour works, but measure it right. I always spoon it into the cup then level it off for best results
- Chocolate Kisses: Store them in your fridge until you need them. Cool kisses keep their shape better when stuck into warm cookies
Getting ready makes all the difference with Strawberry Kiss Cookies. Having your ingredients warmed up and your workspace tidy sets you up right. Since the dough comes together fast, having everything ready makes baking more fun and less stressful.
 Pin it
Making Your Dream Dough
First, beat your butter until it's super fluffy - this usually needs about 3-4 minutes with your mixer. Don't cut corners here; taking time with the butter gives you that melt-in-your-mouth feel we want. Add your sugar bit by bit, letting it mix in completely. When it's done, the mix should look almost white and feel really light.
 Pin it
Adding Dry Stuff
Put in your dry ingredients slowly while mixing on low. Stop right when you can't see flour anymore - mixing too much makes tough cookies. Your dough should feel soft but not sticky and should hold its shape when you roll it.
Getting The Shape Right
Roll about a tablespoon of dough into nice round balls. This gives you the prettiest cookies. When making the dent in the middle, gently twist your thumb as you press down. This stops cracks and makes a perfect spot for your chocolate kiss.
Baking Know-How
Keep a close eye on your cookies while they bake. They're done when the edges look set but the middle still seems a bit underdone. This way, they'll stay tender and melt in your mouth. Let them cool on the baking sheet for exactly 5 minutes before adding your kisses.
Adding The Chocolate Just Right
Push the kisses into the centers when cookies are warm but not hot. The leftover heat will hold the chocolate without melting it too much. If your kitchen runs warm, cool the kisses in the fridge first.
Changing With The Seasons
You can switch things up all year round. Try strawberry kisses in spring. Summer calls for white chocolate versions. Fall works great with caramel-filled kisses, and winter's perfect for dark chocolate or peppermint types.
Keeping Them Fresh
Put waxed paper between layers in a sealed container. They'll stay good at room temp for 5 days, though at my house they never last that long. For gifts, put them in see-through boxes with ribbons - their pretty pink color makes them look fancy without much effort.
Final Thoughts And Tips
Making amazing Strawberry Kiss Cookies means finding that sweet spot between technique and feel. Everything builds up step by step, from beating the butter just right to that final dust of powdered sugar. After years of making these, I've learned success isn't just following directions but noticing little things like how the dough feels, knowing your oven's quirks, and timing the kiss-pressing just right.
My Cookie Story
I started making these during holiday baking with my grandma, who taught me that patience makes perfect cookies. What began as basic thumbprint cookies grew into this signature treat that everyone asks for at parties now. Each batch reminds me of laughing in the kitchen, sharing stories, and the joy of making something yummy to share with others.
Where These Cookies Come From
Thumbprint cookies started as Swedish raspberry caves, but this American version shows how we like mixing old methods with new ideas. Adding strawberry flavor and chocolate kisses came from mid-1900s America when home bakers started playing with convenient new products. These cookies show how home baking has changed over time, keeping traditional techniques but welcoming new ingredients and flavors.
Giving Them As Gifts
These make wonderful presents, but packaging matters. Stack them carefully in pretty tins with parchment paper between layers, putting them in different directions to protect the kisses. For holidays, I've found shiny boxes with clear lids work best to show off how pretty they are while keeping them fresh.
Holiday And Party Ideas
You can switch things up for different celebrations. For Valentine's Day, try making heart-shaped dents instead of round ones. Easter works great with pastel white chocolate kisses. At Christmas, sprinkle red and green sugar on top before the powdered sugar.
Fixing Common Problems
If your cookies spread too much while baking, cool the dough balls in the fridge for 15 minutes before making dents and baking. If the edges crack when you press your thumb in, let the dough warm up a bit first. These small tweaks make a big difference in how they look.
 Pin it
Weather Matters
Your kitchen's temperature really affects these cookies. On hot days, keep dough cool between batches and work quickly when adding kisses. In cold weather, you might need slightly shorter baking times since butter sets faster in cooler rooms.
Getting A Head Start
You can make the dough up to 2 days ahead and keep it in the fridge. Just bring it back to cool room temperature before shaping. You can even freeze the shaped, unbaked cookies for up to a month - just add one more minute to baking time when cooking from frozen.
Baking With Kids
These cookies are great for making with children. The simple steps - rolling balls, pressing thumbprints, adding kisses - naturally teach kitchen skills while making fun memories. Kids stay interested because they can see the cookies change with each step of the process.
Frequently Asked Questions
- → Can I switch out the gelatin flavor?
- Sure! Using raspberry or cherry gelatin will offer a fun flavor twist.
- → Can I prep the dough early?
- Yep, the dough can sit in the fridge until you're ready. Let it warm a bit before shaping and baking.
- → Can I swap the chocolate in the middle?
- You don’t have to stick with chocolate kisses—other candies, chocolate ganache, or some Nutella work great too.
- → How do I keep them fresh?
- Store them in a sealed container at room temperature, and they’ll stay tasty for up to five days.
- → Are the cookies freezable?
- Yes, freeze them without the chocolate on top for three months and top them off with candy later.