
 Pin it
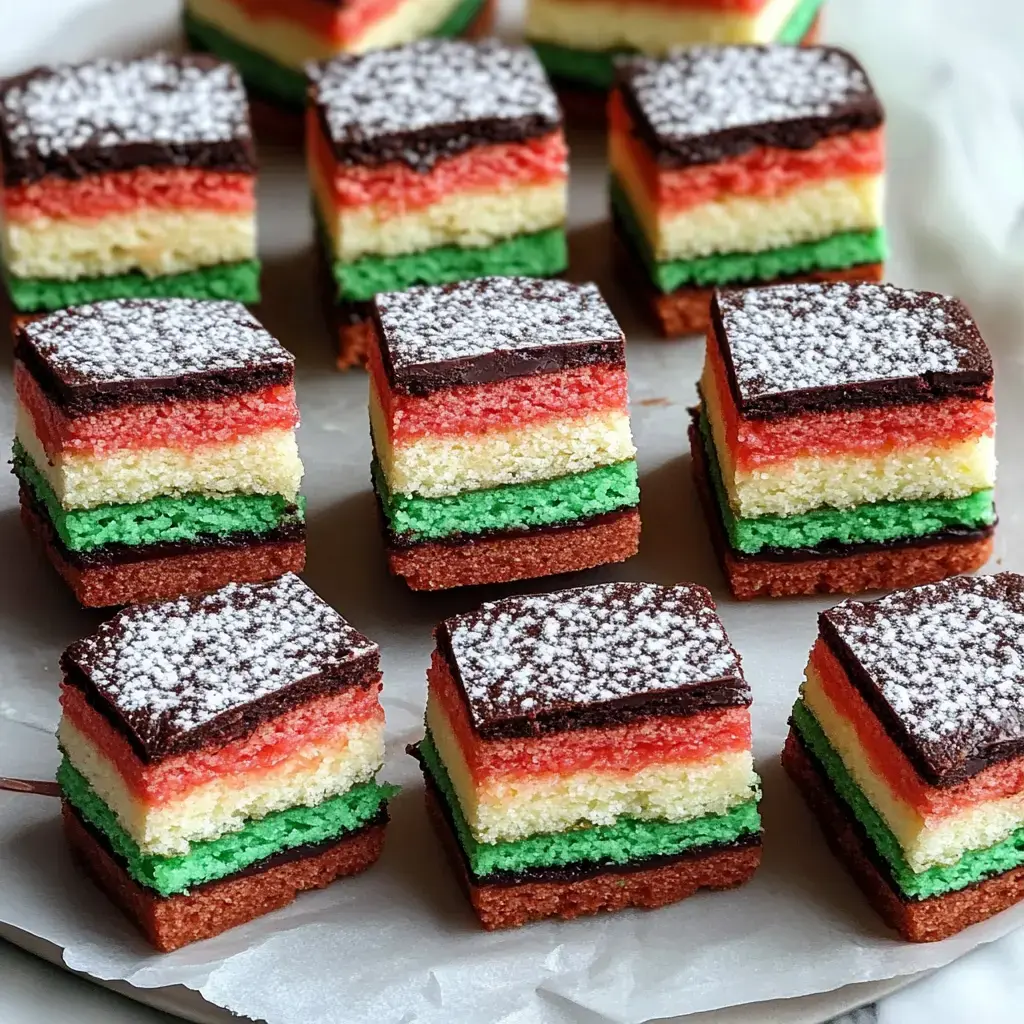
Tri-colored Italian Almond Delights
Want to know about my grandma's cherished tri-colored almond treats? Each December, my home transforms into a colorful cookie factory, crafting these stunning layered goodies. They need a bit of patience, but trust me—this straightforward method delivers incredibly tasty cookies with the perfect nutty taste, soft layers, and a wonderful chocolate topping. After you try making these at home, bakery versions just won't cut it anymore.
What Makes These Cookies Special
You'll fall for these homemade treats because:
- They're tastier than anything you'll find at fancy Italian shops
- The simple stacking method makes gorgeous holiday desserts
- You can switch up the filling and topping to match your preferences
- The batch is generous enough for parties (if you don't finish them first)
Simple Pantry Items for Tri-colored Cookies
- Eggs: Split them with care, as those whites will give us airy, light textures.
- Almond Paste: The heart of the flavor profile, it's absolutely necessary.
- Granulated Sugar: Delivers the right softness we're after.
- Margarine or Butter: Both do the job nicely, whatever's in your fridge.
- All-Purpose Flour: Just the basic kind works perfectly for this project.
- Food Coloring: Grab the gel version for brighter, more vivid shades.
- Raspberry or Apricot Jam: Pick whatever you enjoy most, either option shines.
- Bittersweet Chocolate: Quality matters here—it'll show in the final taste.
Clear Instructions From Start to Finish
- Mix Your Base Just Right
- First, whip those egg whites until they're fluffy and form gentle peaks. Take your almond paste and beat it till it's totally smooth and broken down. Mix in your butter until everything looks like creamy frosting. Add egg yolks one by one, plus a dash of almond extract for that wow factor. Then carefully fold in your fluffy egg whites—they're what makes everything so wonderfully light.
- Add Vibrant Color Layers
- Split your batter equally into three different containers—a kitchen scale works wonders here. Now for the fun bit—add red dye to one batch, green to another, and leave the third plain white. Mix each until the color looks even and bright. Carefully spread each colored mix into its own lined baking dish, smoothing all the way to the edges.
- Handle Baking Time Carefully
- Keep a close eye on these thin layers—they need just 8-10 minutes tops. They're ready when they barely bounce back from a light touch. Don't let them turn golden—we want those colors to stay bright. Let them cool completely on racks before moving forward.
- Stack Everything Perfectly
- Now comes the impressive part. Put your green layer down first, spread jam thinly across it. Add the white layer next, more jam, then finish with the red on top. Wrap everything tightly in plastic and here's the trick—put something heavy on top and leave it overnight. This helps everything stick together beautifully.
- Finish With Chocolate Coating
- Slowly melt your chocolate until it's smooth and shiny. Pour half onto the top, spread it everywhere, then chill until firm. Flip the whole thing over and do the same on the other side. Once it's set, trim the edges (cook's treat!), then cut into neat little rectangles.
- Adding Final Touches
- Wipe your knife clean between cuts for the smoothest edges. If you're feeling fancy, add some extra melted chocolate drizzles or tiny gold sprinkles. Let them sit at room temp before serving—that's when they taste their absolute best.
Tricks for Perfect Results
- Almond Paste Check: Make sure it's not old or hard, or you'll struggle with mixing.
- Equal Portions: Using a scale for your batter means perfectly balanced layers.
- Don't Rush: The cooling time isn't optional—it's what binds everything together.
- Knife Technique: A bread knife wiped between slices gives you picture-perfect pieces.
 Pin it
Keeping Them Fresh
Store your beautiful layered cookies in the fridge in a sealed container and they'll stay good for about a week. Need to make them ahead? Pop them in the freezer for up to three months—just move them to the fridge the night before you want to serve them.
Impressive Yet Doable Treat
These colorful Italian almond cookies bring so much happiness when you make and share them. They're fantastic on Christmas platters, at birthday parties, or anytime you want to wow your guests. Once you get the hang of this method, you'll find yourself whipping up batches for every gathering, just like I always do.
Frequently Asked Questions
- → Why weigh the batters?
It helps make sure all the layers are evenly stacked for a better look and taste.
- → Why underbake layers?
It keeps them soft so they don't end up too dry after assembly.
- → Why chill before cutting?
Chilling makes slicing smoother and prevents the layers from falling apart.
- → Can these be frozen?
Absolutely! Store in an airtight container for up to three months.
- → Why heat the preserves?
Warming the jam makes it spread easier and avoids having thick chunks between layers.