
 Pin it
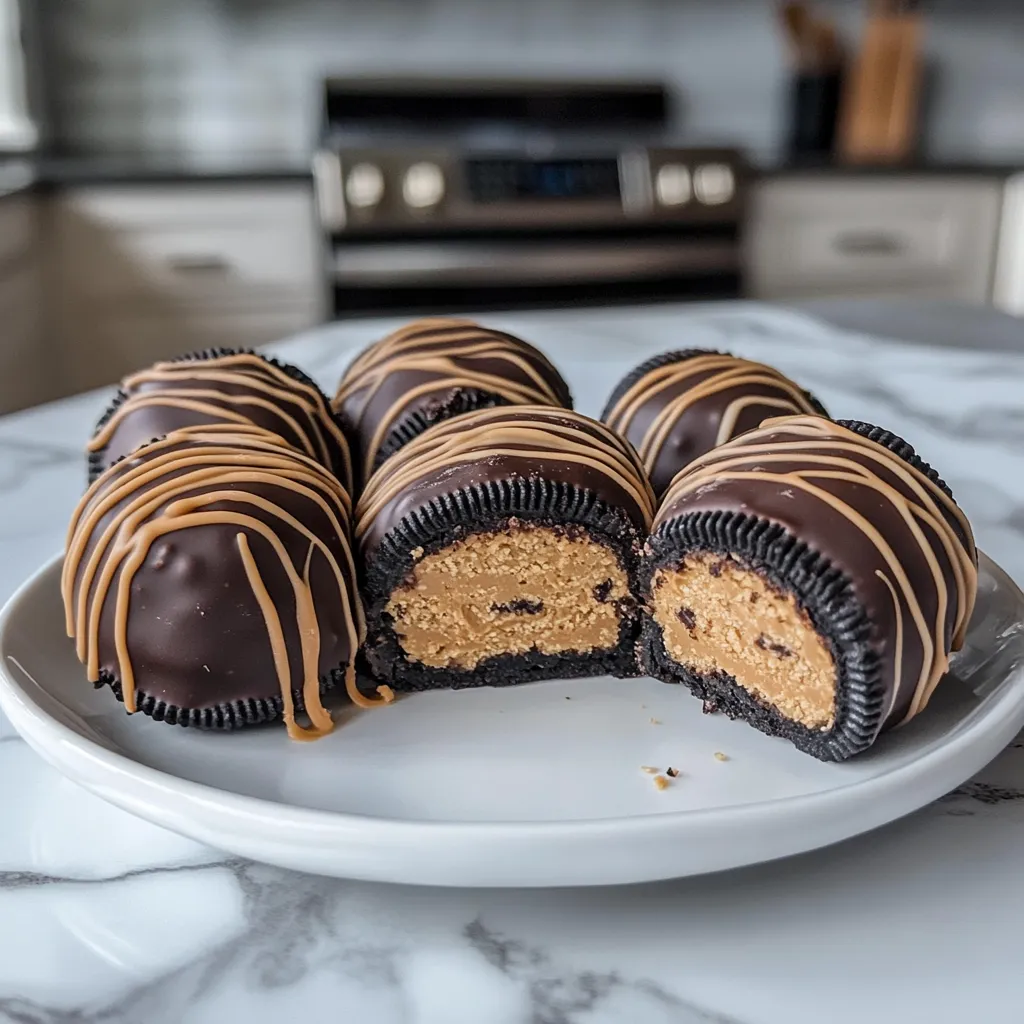
Indulge in these effortless 3-Ingredient Peanut Butter Oreo Cookie Balls - the perfect no-bake treat when you're craving something sweet. The rich combination of crushed Oreos and smooth peanut butter, enrobed in chocolate, creates irresistible bite-sized confections that come together in minutes.
The addictive combination of cookie crumbs and creamy peanut butter creates an irresistible texture that makes it impossible to eat just one. These treats consistently disappear quickly at parties and gatherings.
Key Ingredients
- Oreo Cookies - Regular Oreos work best, cream filling included
- Peanut Butter - Standard creamy varieties provide ideal consistency
- Chocolate Coating - Melting wafers or chocolate chips
The perfect texture develops when finely crushed cookies combine with peanut butter to form a moldable mixture ideal for shaping.
Step-by-Step Method
- Step 1: Prepare Cookie Base
- Process whole Oreos into fine crumbs using a food processor or crush in a sealed bag.
- Step 2: Mix with Peanut Butter
- Combine crumbs with peanut butter, using roughly ½ cup per 20 Oreos.
- Step 3: Form Mixture
- Mix thoroughly until ingredients are well-combined and hold shape when pressed.
- Step 4: Create Balls
- Roll tablespoon-sized portions into smooth balls and place on lined tray.
- Step 5: Chill
- Refrigerate balls for 30 minutes or freeze 15-20 minutes until firm.
- Step 6: Prepare Coating
- Melt chocolate gradually in microwave, stirring every 20 seconds until smooth.
- Step 7: Coat Balls
- Dip chilled balls in melted chocolate using a fork, tapping to remove excess.
- Step 8: Garnish
- Add optional toppings like crushed cookies or nuts while chocolate is wet.
- Step 9: Set Coating
- Chill until chocolate hardens completely, about 15-20 minutes.
- Step 10: Store
- Keep refrigerated in sealed container up to one week.
 Pin it
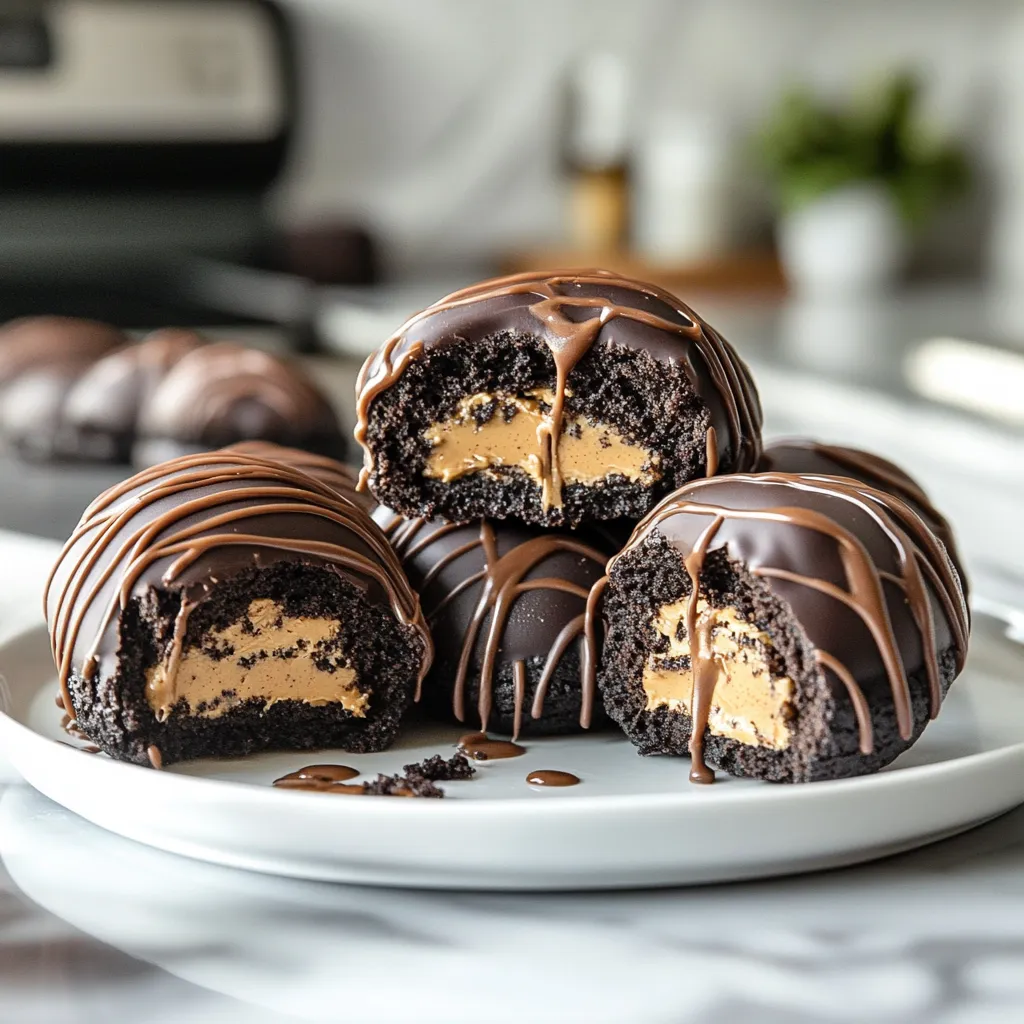
Thorough chilling prevents balls from falling apart during the coating process. This simple step guarantees professional-looking results every time.
Perfect for Entertaining
These versatile treats elevate any dessert spread, from casual gatherings to formal events. Their sophisticated taste belies the simple preparation, making them ideal for both beginning cooks and experienced bakers. The small size makes portion control easy, while the rich flavors ensure guest satisfaction.
 Pin it
Recipe Variations
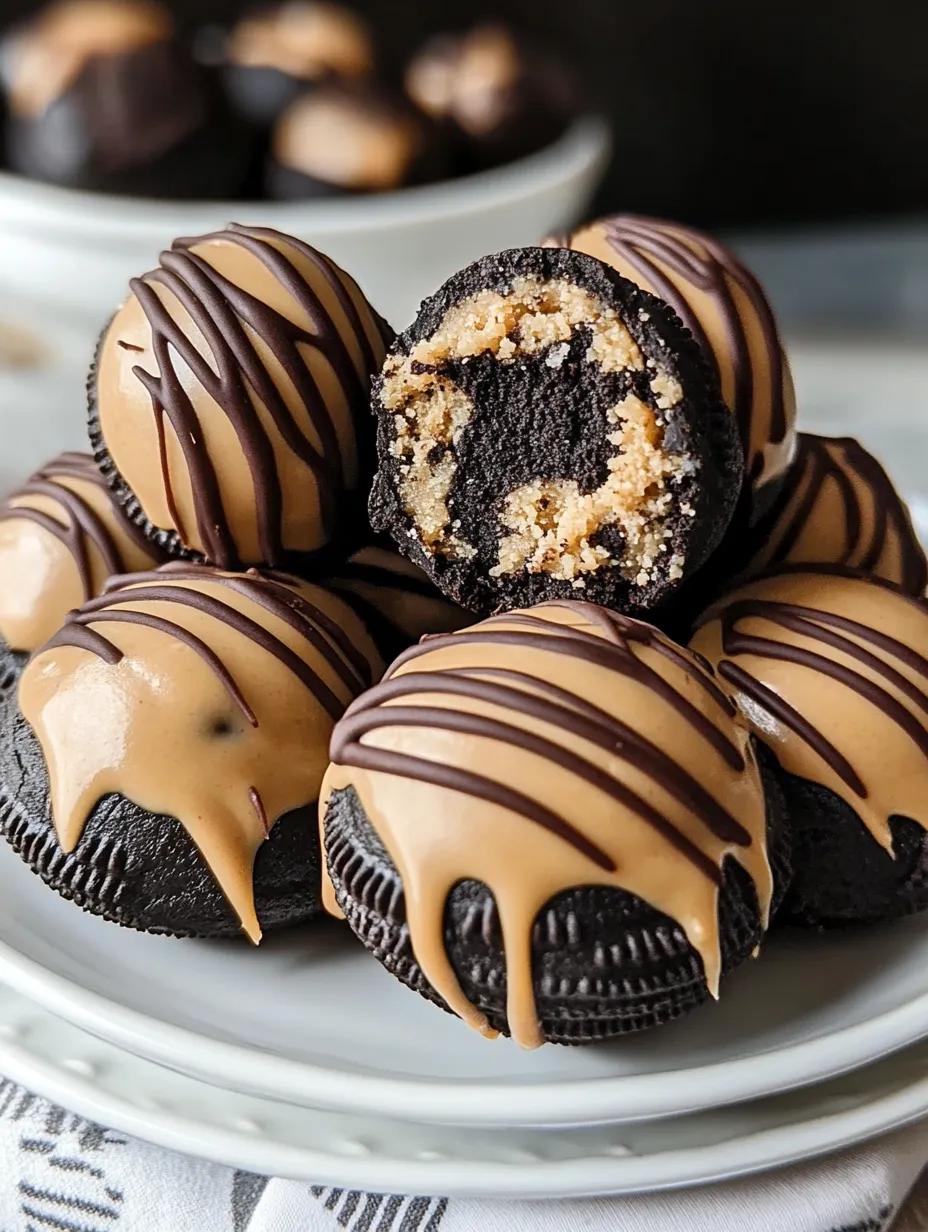
The basic recipe welcomes creative adaptations. Try golden Oreos with white chocolate coating, or mint Oreos dipped in dark chocolate. Substitute different nut butters or spreads to accommodate dietary needs while maintaining the simple three-ingredient concept.
Advance Preparation
These cookie balls excel as a make-ahead dessert. Prepare up to seven days in advance and refrigerate, or freeze for up to two months. The chocolate shell preserves freshness, making them perfect for planning ahead.
Professional Tips
- Use measured scoop for consistent sizing
- Wet hands prevent sticking while shaping
- Add oil to chocolate for smooth coating
- Double-roll for perfect spheres
- Serve slightly tempered for best flavor
Experience has shown that slightly damp hands create the smoothest finish when shaping the balls.
This simple recipe proves that spectacular desserts need not be complicated. Three basic ingredients transform into an elegant treat that consistently impresses.
 Pin it
Whether preparing for planned events or unexpected visitors, this reliable recipe delivers consistent results and satisfied guests.
Service Suggestions
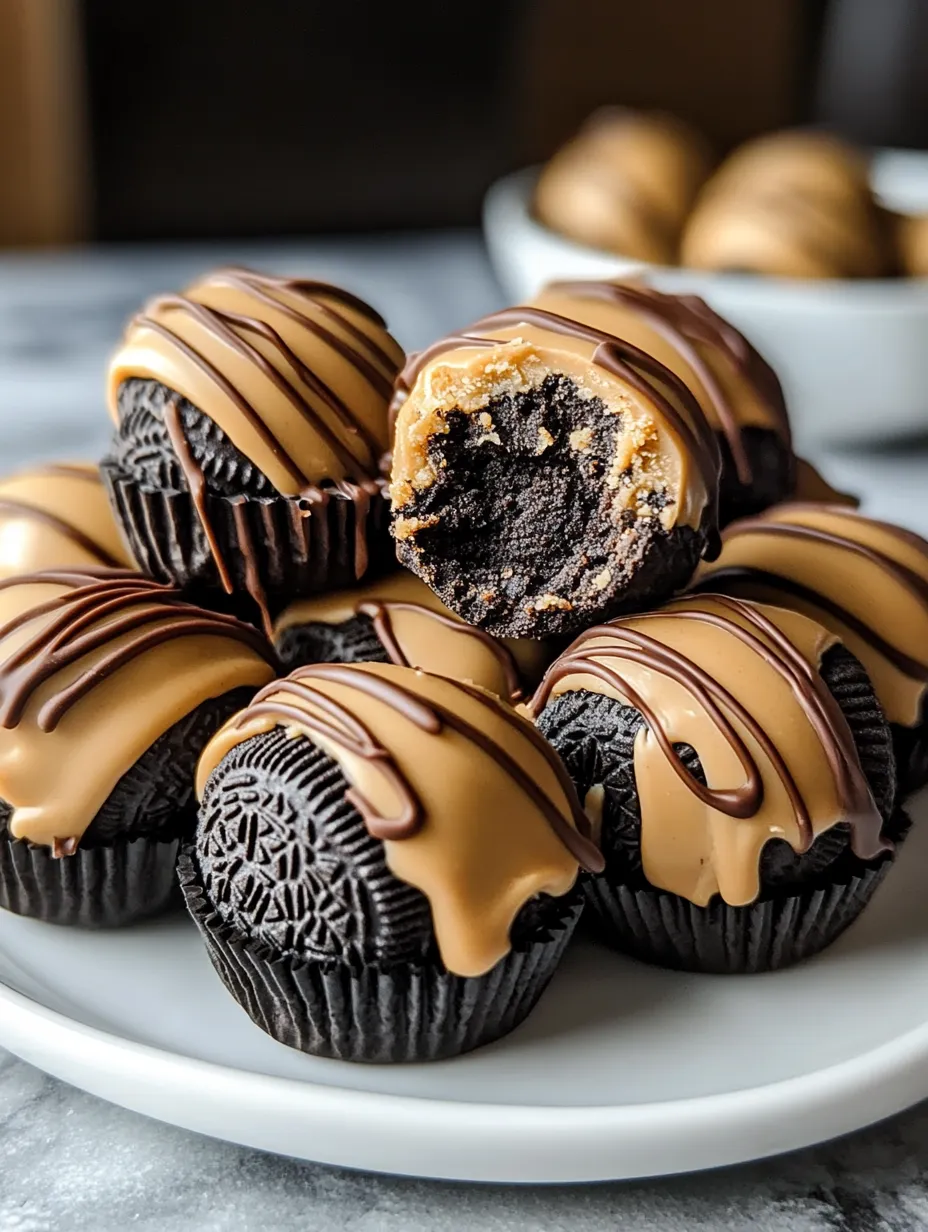
- Present in paper liners for elegant serving
- Decorate with contrasting chocolate drizzle
- Create petit four size for lighter portions
- Note peanut content for allergy awareness
- Package carefully for gifting
Frequently Asked Questions
- → Why is regular peanut butter preferred?
- It’s easier to shape and creates a firmer texture compared to natural kinds.
- → Can I try other Oreo varieties?
- Absolutely! But classic Oreos let the peanut butter taste pop.
- → What’s the best way to melt chocolate?
- Microwave in short bursts, stirring after each interval.
- → Can I prep these in advance?
- Totally! Keep them chilled in the fridge for up to seven days.
- → Do I need to remove the Oreo filling?
- Nope! The filling helps hold everything together.