
 Pin it
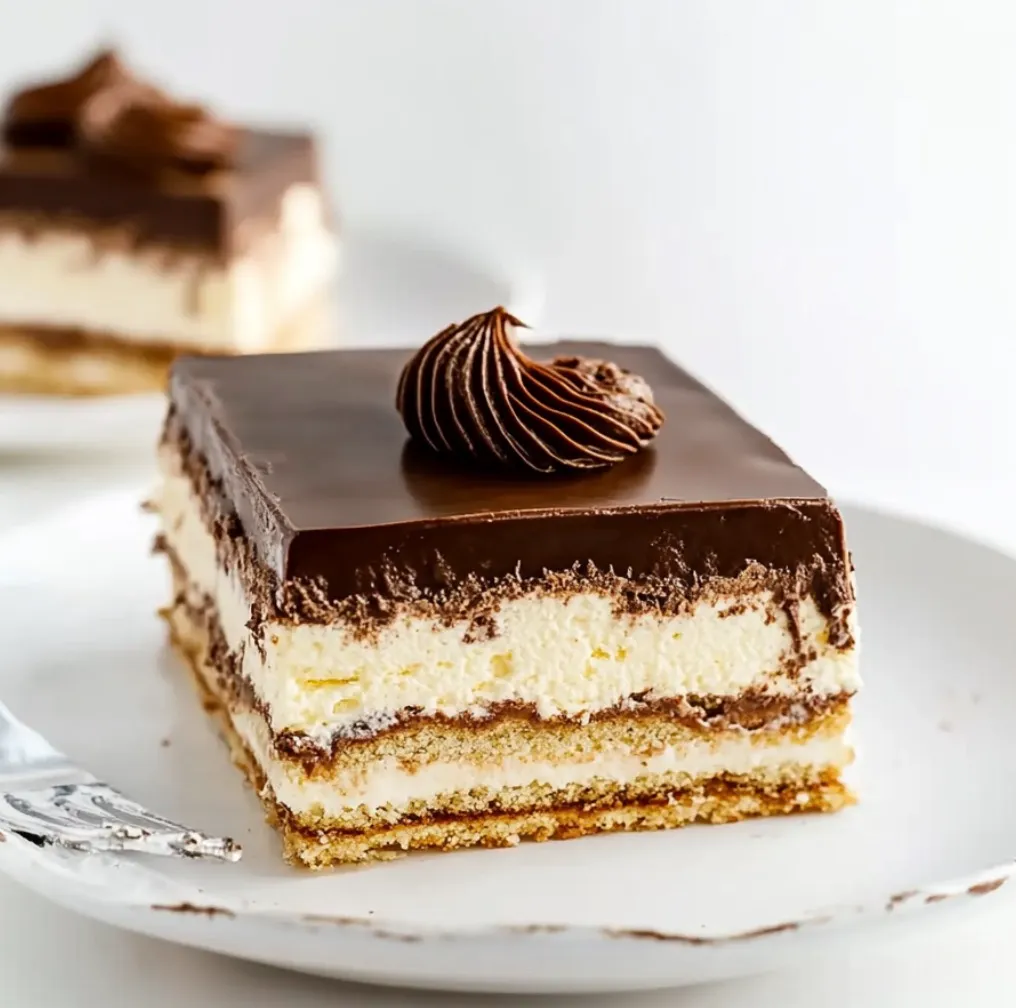
Transform the traditional chocolate éclair into an easy layered treat capturing all the classic tastes without any baking. Creamy vanilla pudding, crisp graham crackers, and decadent chocolate frosting blend together for a dessert that seems straight from a French bakery, yet comes together quickly. After making this family favorite countless times, I've found that letting the layers sit together is what creates that authentic éclair texture everyone loves.
I whipped this up for my daughter's birthday celebration yesterday, and my mother-in-law, who absolutely adores French pastries, couldn't tell it wasn't made with traditional choux dough. What's the trick? Time - giving those layers a chance to work their overnight wonder.
Key Ingredients and Shopping Advice
- Graham Crackers: Go for unbroken, fresh crackers with no damage. Traditional honey grahams work amazingly well, offering just the right sweetness and structure to soak up the pudding
- Vanilla Pudding Mix: Always use instant pudding for this; the cook-and-serve kind won't give you the same result. French vanilla adds that extra authentic éclair taste
- Heavy Whipping Cream: Don't grab the ready-made whipped stuff, use real cream instead. The extra richness makes the final product so much better
- Chocolate Frosting: A good store-bought option is totally fine, but grab one that's thick and shiny for that classic éclair appearance
 Pin it
Step-by-Step Preparation Guide
- Making Your Pudding Base:
- First, get your pudding mixture going - this is the foundation of your dessert. Empty the instant pudding into a big bowl with cold milk. Here's something I've learned from making this tons of times: hand-whisk for roughly 2 minutes till it begins thickening but isn't completely set. Then carefully add the whipped cream using a spatula, making gentle figure-eights to keep everything airy. This soft touch ensures your filling stays perfectly smooth.
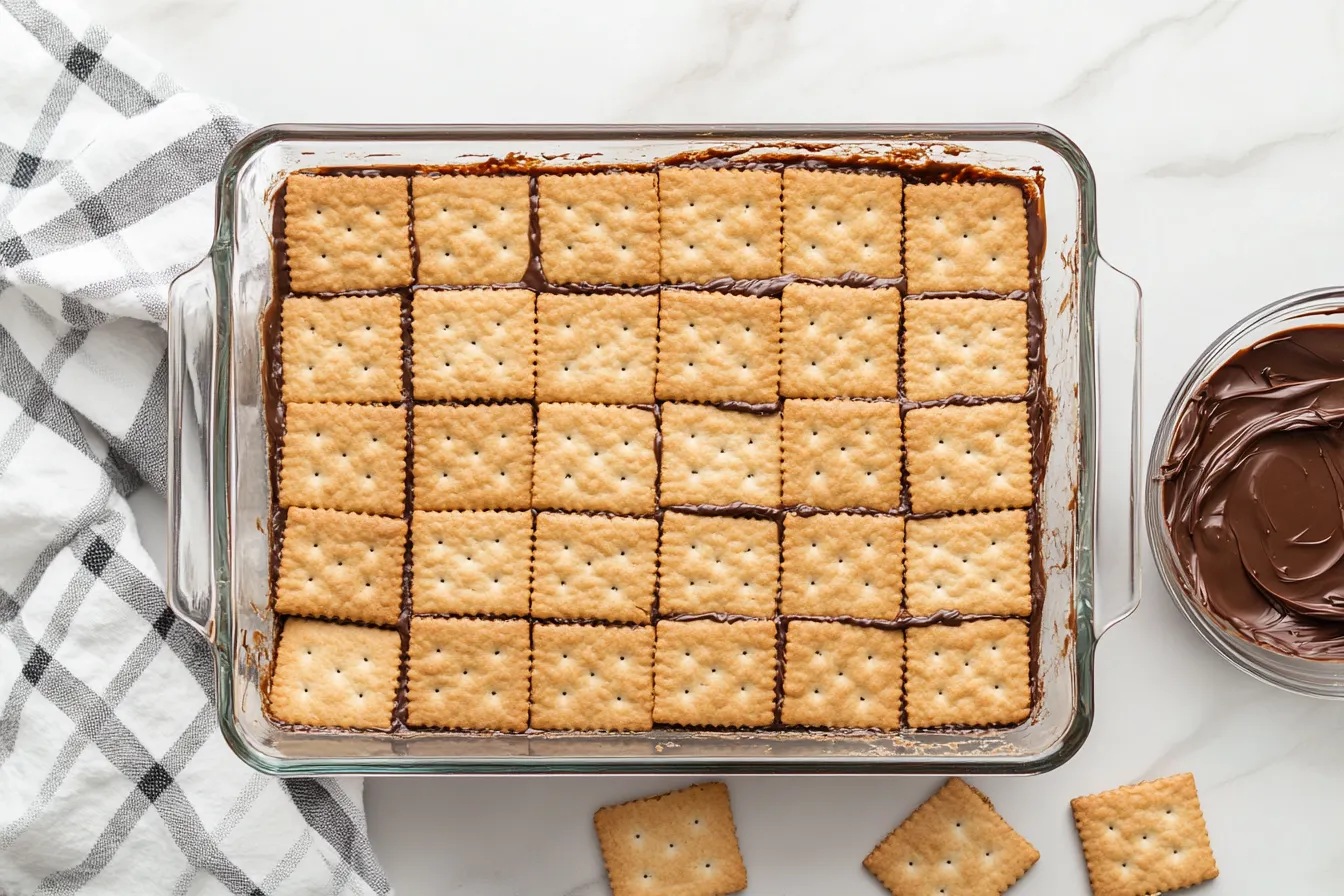
- Creating Your Layers:
- Take a 13x9 inch dish and begin with a graham cracker base. Feel free to snap some to make them fit - it's like working on a tasty puzzle. Add a thick layer of pudding mix over the crackers, making sure to go all the way to the edges. Getting this coverage right means perfect slices later. Continue alternating crackers and pudding until everything's used up, finishing with crackers on the top.
- Adding the Chocolate Top:
- Now comes my favorite part - that chocolate finish. Pop your frosting in the microwave for about 15-20 seconds. This quick trick makes it spread smoothly across the top layer of crackers. Start from the middle and move outward, letting the frosting naturally spread to the sides. Don't stress about perfection - it settles beautifully as it cools down.
 Pin it
My little one helped me whip this up for her school's bake sale just last week. She was amazed watching the crunchy crackers turn into soft, cake-like layers overnight. It's become our special thing to make together, and she always claims the right to clean the pudding bowl!
Achieving That Dreamy Consistency
The true magic of this dessert happens during the waiting period. While it chills, the crackers gradually soak up moisture from the pudding, changing from crunchy to soft. It's like a mini miracle happening in your refrigerator - it gets better with every passing hour. I love sneaking peeks and knowing those layers are slowly transforming.
Prepare It Way Ahead
What I really love about this treat is how well it works when made in advance. I often fix it up two days before a get-together, and honestly, the waiting makes it taste better. All the flavors blend together, and the texture turns out just perfect. Just keep it wrapped up in the fridge, and try not to check on it too much!
Ways to Serve
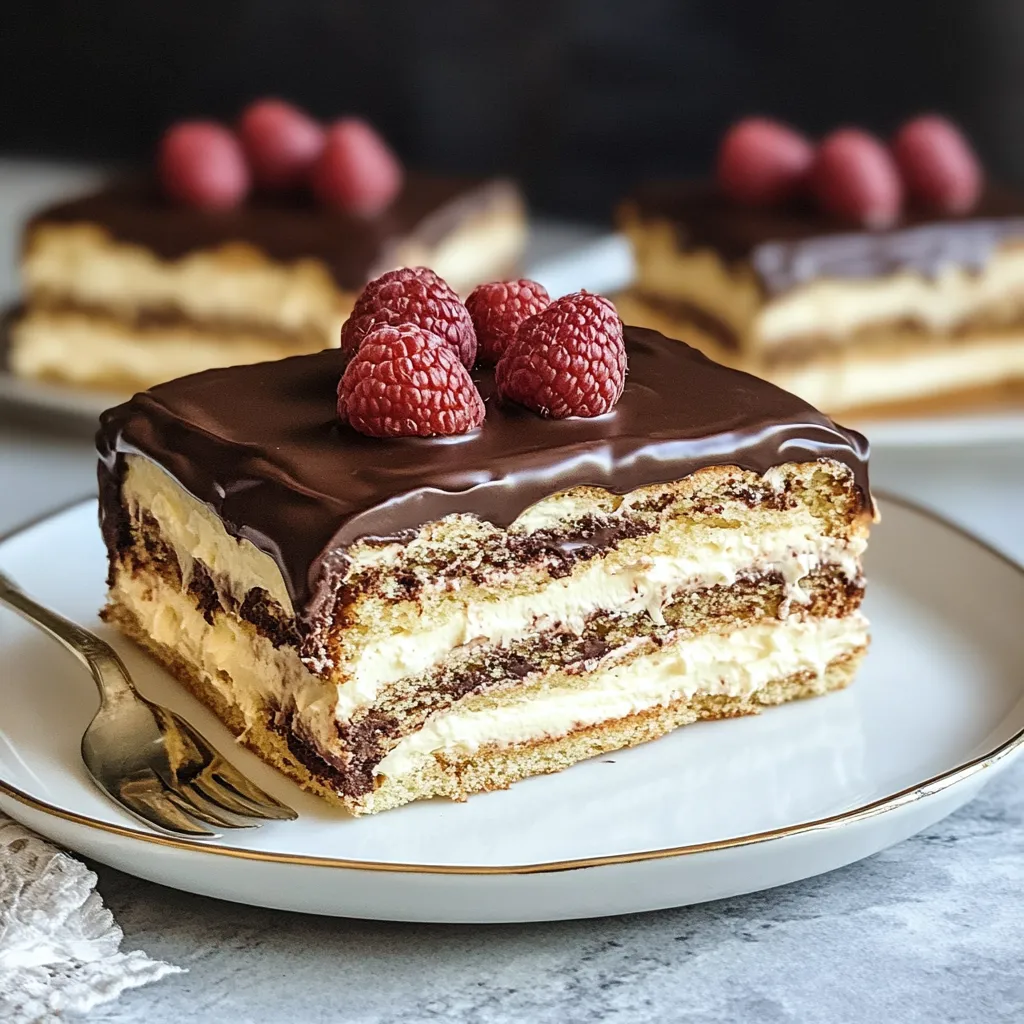
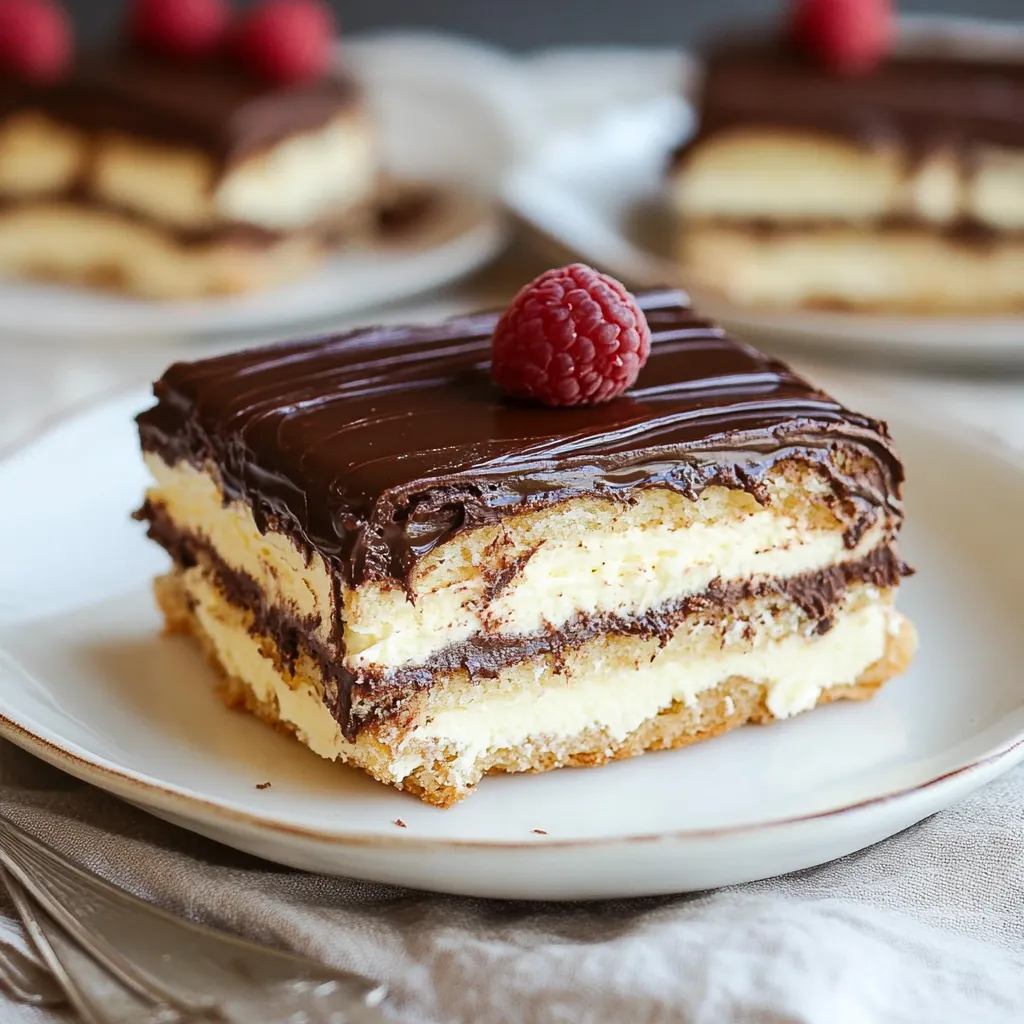
I've learned that this dessert cuts into squares best when it's thoroughly chilled. Grab a sharp knife and wipe it clean between cuts for the neatest portions. A tiny bit of chocolate sauce or a fresh berry on top makes it look extra fancy when you've got company over.
Keeping It Fresh
This treat stays good in the fridge for about 5 days, though at my house it never sticks around that long. Cover it well with plastic wrap so it doesn't pick up any fridge smells. The chocolate layer helps protect what's underneath, but you still want everything staying nice and fresh.
 Pin it
Final Thoughts: This no-bake dessert brings back warm memories of spending summer days in my grandma's kitchen. She always told me that the easiest recipes often create the most special moments. What started as a way to make sweets without heating up the kitchen has turned into a family tradition we all cherish. Each time I make it, I remember her wisdom - being patient in cooking often leads to the tastiest results.
Whether you're fixing this for family dinner, taking it to a potluck, or just craving something sweet, this treat shows you don't need fancy methods or hard-to-find ingredients to make something amazing. It reminds us that often, the best things just need some time and care to come together perfectly.
Frequently Asked Questions
- → How much time does it need to chill?
Chill it for at least 8 hours, but it’s even better when left overnight. After 24 hours, the texture becomes perfectly soft.
- → Can this be prepped in advance?
Definitely. You can prepare it up to 2 days early. The layers get softer with time, making it even tastier.
- → How do I easily spread the topping?
Microwave the chocolate topping for around 20 seconds, then stir. This makes it smoother and helps avoid breaking the crackers as you spread.
- → How long can I keep leftovers?
Store it in the fridge, covered, for up to 4 days. For longer storage, freeze it tightly wrapped for up to 2 months.
- → Can I swap store-bought for homemade ingredients?
Sure, go for homemade! You can use fresh pastry cream, whipped cream, or your own chocolate topping instead of store-bought options.