
 Pin it
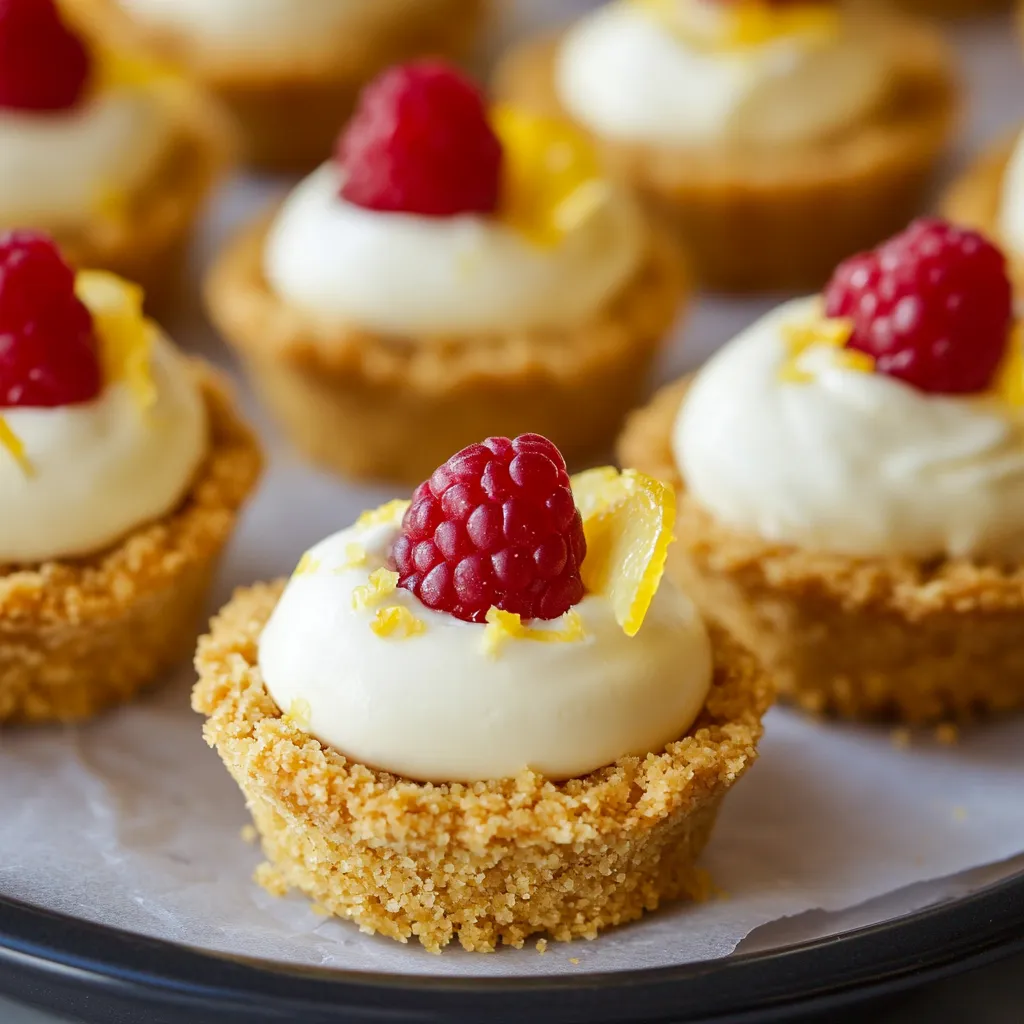
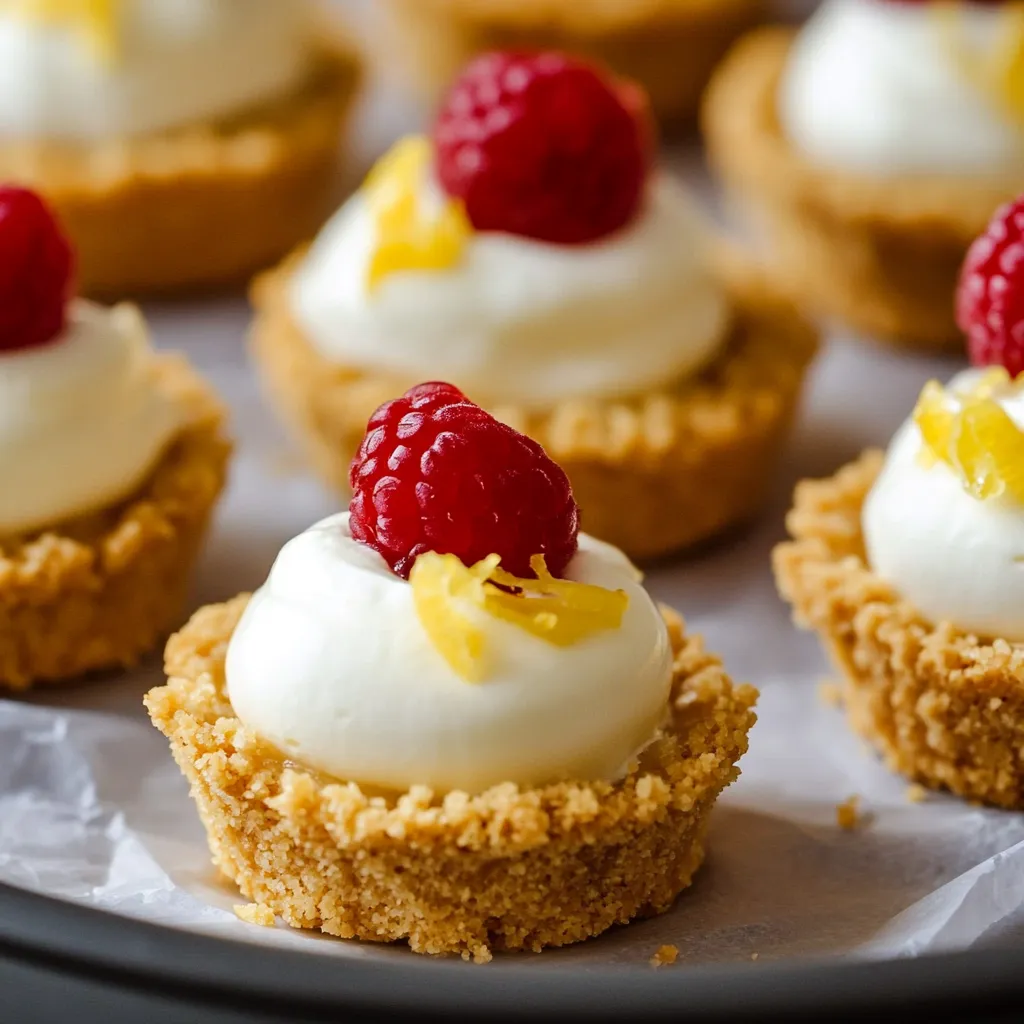
These cute Mini No-Bake Lemon Cheesecake Tarts blend zesty citrus with smooth cheesecake filling in perfectly sized individual treats. They're so handy to make ahead and look fancy enough for everything from casual get-togethers to fancy dinner parties.
I brought these to a backyard party last spring and everyone kept sneaking back for another one. Nobody could resist that tangy lemon mixed with creamy cheesecake goodness.
Key Ingredient Breakdown
- Cream Cheese: Go for room temp Philadelphia-type for the creamiest mixture
- Lemons: Pick juicy, sunny yellow ones for the boldest taste and prettiest zest
- Graham Crackers: Only use super crisp ones for a sturdy base
- Heavy Cream: The higher the fat percentage (try for 36%+), the better it'll whip up
 Pin it
Step-by-Step Cooking Instructions
- Building Better Bases
- Crush graham crackers into tiny, uniform crumbs
- Pack the mixture down hard with a measuring spoon's back
- Make sure the thickness is the same all around for sturdiness
- Creating Silky Filling
- Mix cream cheese till completely lump-free before adding anything else
- Get the lemon zest before squeezing juice for maximum flavor
- Carefully fold in the whipped cream to keep it fluffy
- Putting It All Together
- Lift tarts out using the plastic wrap handles you made
- Use a piping bag for that wow-factor look
- Let each layer set in the fridge for best results
 Pin it
I first came up with this when I needed to plan a summer baby shower. I wanted something fancy that I could make ahead, and these little treats fit the bill perfectly.
These little tarts have become what I always make for spring and summer parties since they're so light and refreshing compared to heavy desserts.
You can switch them up so many ways with different fruits and toppings throughout the year.
The way the buttery base contrasts with the fluffy filling creates a texture that's just impossible to resist.
After making these for tons of parties and celebrations, these lemon cheesecake bites have proven themselves as one of my most trustworthy and popular treats.
Tasty Serving Ideas
Make your dessert table more exciting by creating different flavor combos. Some winners I've tried are:
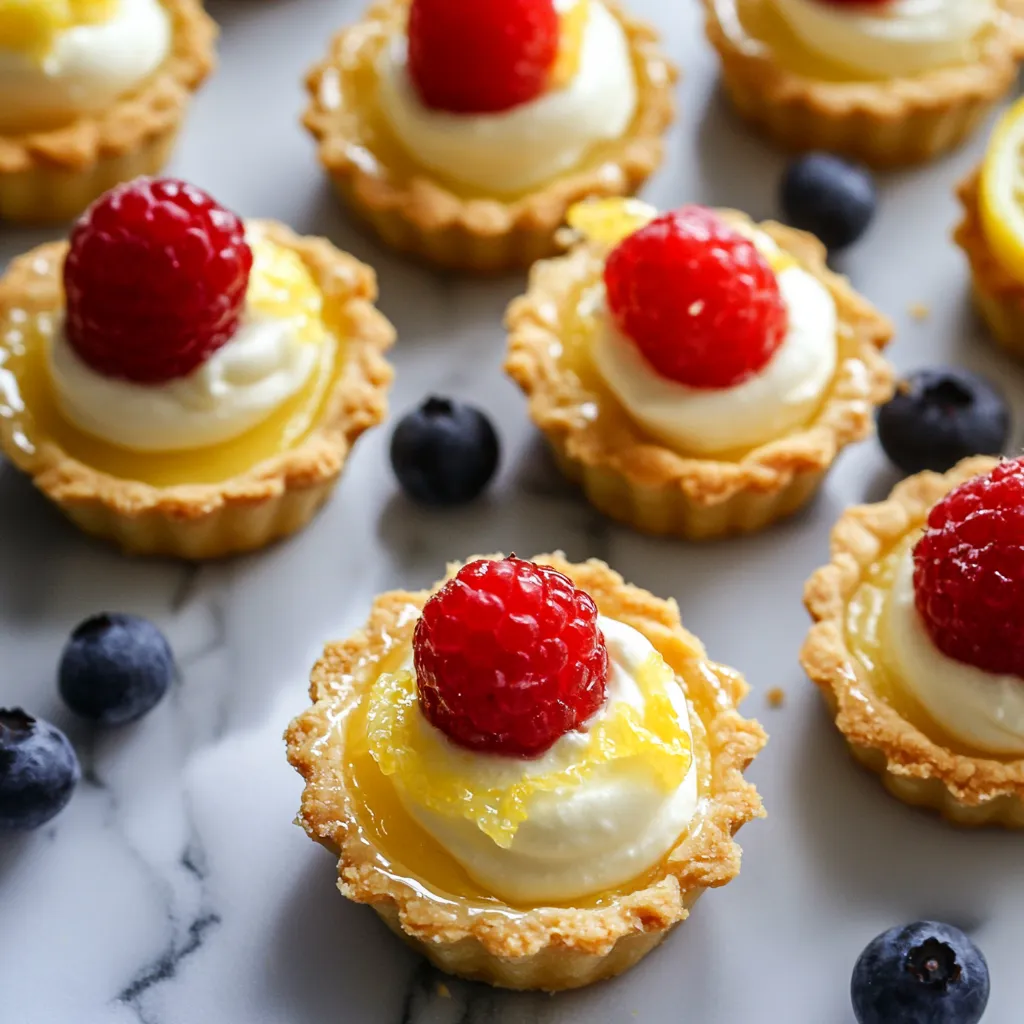
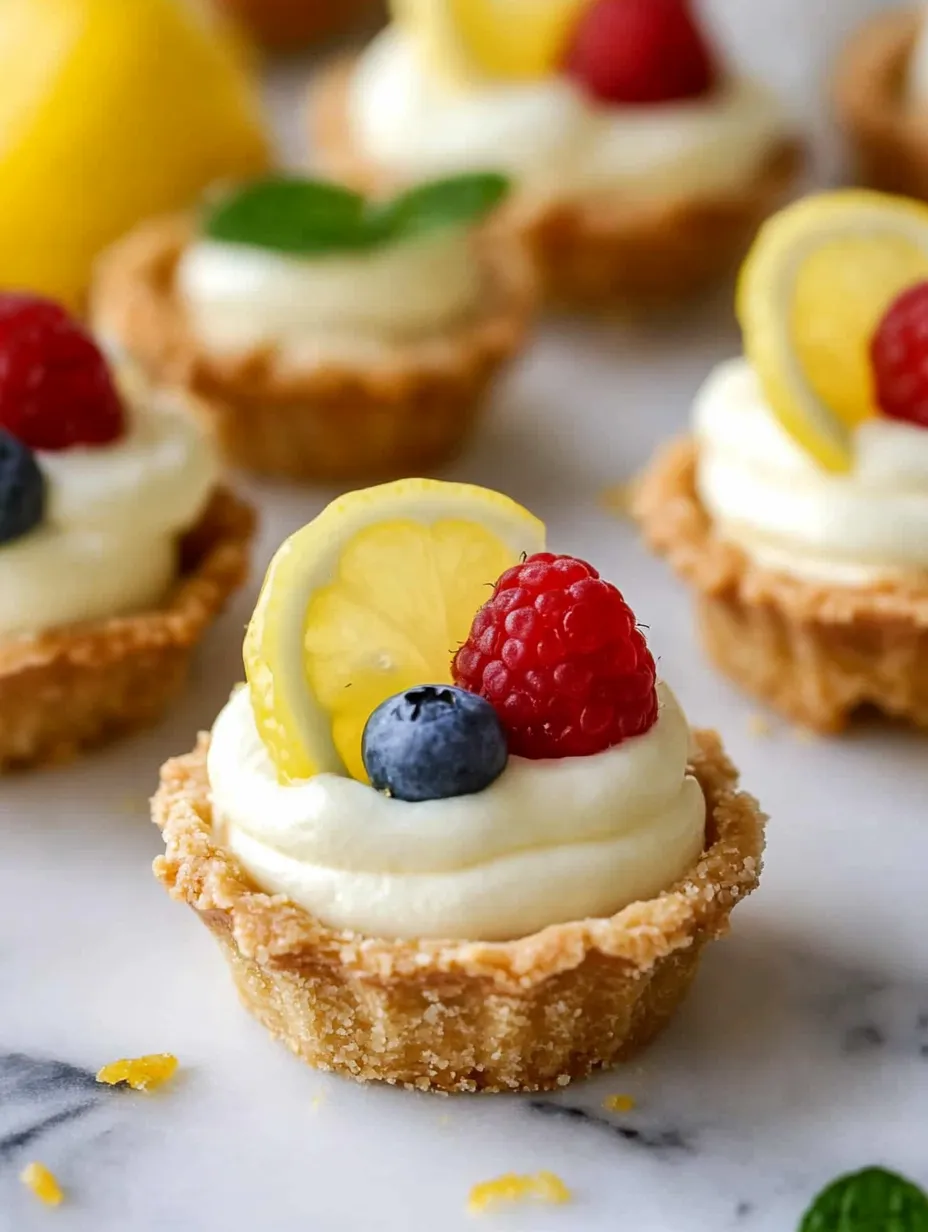
- Raspberry and lemon topped with fresh berries and mint sprigs
- Orange and vanilla using fresh orange zest and real vanilla
- Lime and coconut finished with toasted coconut on top
When hosting big groups, set them up on a multi-level stand with some fresh flowers between layers for a show-stopping display.
 Pin it
Prep-Ahead Planning
These little treats are so good for planning ahead:
- Get the crusts done up to a month early and freeze them
- Whip up the filling as far as 2 days before you assemble
- Save the fruit garnishes until right before serving so they look perfect
Fixing Common Problems
If your filling seems runny, try whipping the cream a bit stiffer next time. For crusts that fall apart, just mix in another spoon of melted butter. When tarts won't come out of the pan, pop them in the freezer for 5-10 minutes first.
Temperature Advice
Work with ingredients that are cool but not cold for better mixing
Put your tools and bowls in the fridge before whipping
Take tarts out of the fridge about 5 minutes before serving
Year-Round Variations
Spring: Finish with fresh strawberries and mint leaves
Summer: Top with a mix of berries and pretty edible flowers
Fall: Pour some warm caramel sauce over the top
Winter: Add some candied lemon peel as decoration
Fancy Finishing Touches
Try a piping bag with star tip for pretty swirled tops
Put berries in patterns that look planned
Sprinkle with powdered sugar right before you serve
Add tiny mint sprigs for a pop of green
I've learned from making these tarts that often the easiest recipes can look the fanciest. Their bright flavor and pretty appearance hide how simple they are to make, which works great for both beginners and pros. Just take your time and pay attention to little details to make these tarts really special.
Whenever I bring these to parties, casual or fancy, people always smile and ask for the recipe. Hope you enjoy making them and they bring as much happiness to your table as they have to mine!
Frequently Asked Questions
- → Can I prepare them early?
- Sure, keep them refrigerated for up to 3-5 days or freeze for 3 months.
- → Why do they need to stay cold?
- They’ll soften and fall apart if left in warmer temperatures since they’re no-bake.
- → Which fruits work as toppers?
- Fresh berries, citrus slices, or fruit spreads are all great choices.
- → Is a different crust okay?
- Absolutely, swap graham crackers for vanilla wafers or gingersnaps.
- → How do I store extras?
- Use an airtight container, then refrigerate or freeze them.