 Pin it
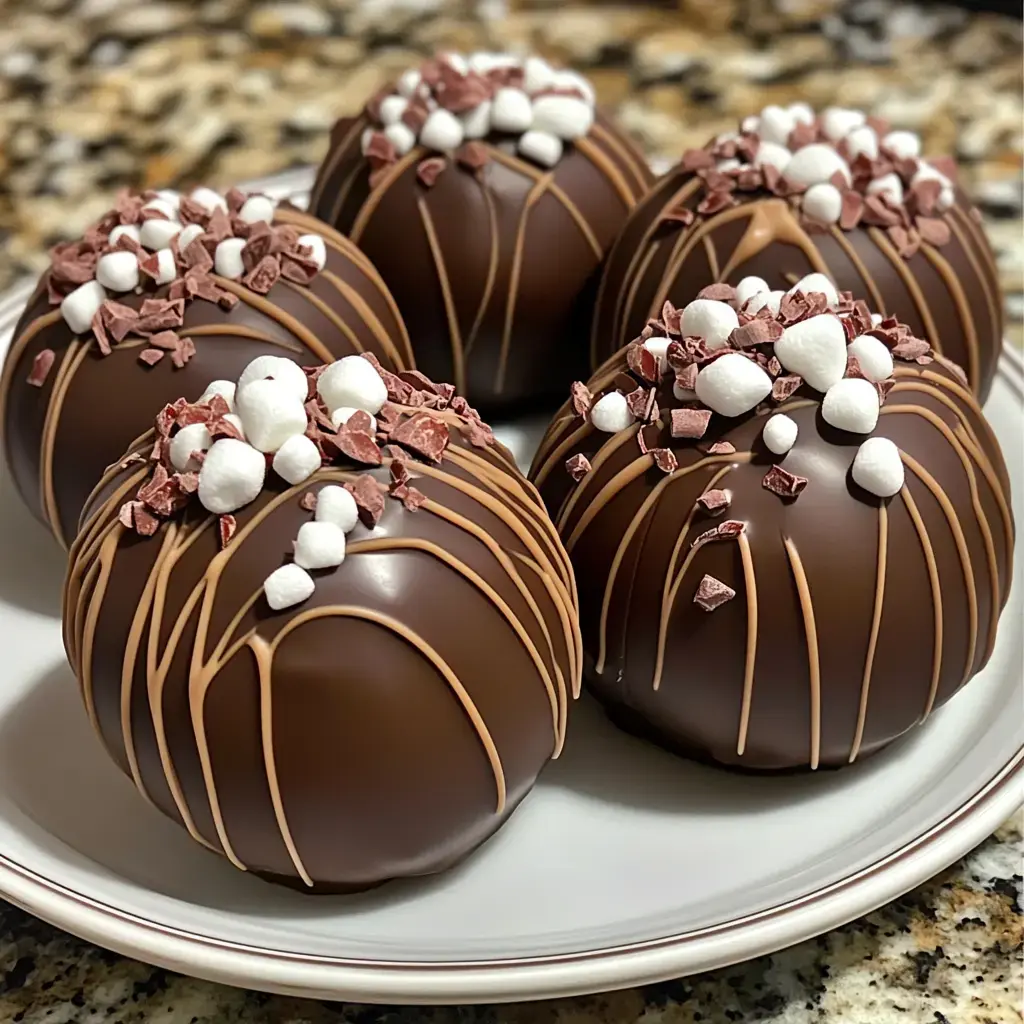
I discovered this simple DIY cocoa bomb method last holiday season when my children wanted me to copy the fancy ones they spotted in the local boutique. After several chocolate-covered flops (with plenty of sampling by my willing family!), I finally nailed it. These pretty treats have now become what everyone expects from me during the holidays, and my buddies start dropping hints about them whenever it gets chilly outside.
The Soul of Delicious Cocoa Bombs
- Picking Your Chocolate
- My biggest takeaway was to spend more on quality chocolate. I tried regular baking chips once and ended up with a gooey disaster! Go for chocolate containing at least 31% cocoa butter - I'm a fan of Callebaut, though Ghirardelli does the job nicely too.
- What Goes Inside
- For the cocoa mix filling, Dutch-process cocoa really stands out. Combine it with premium powdered sugar and a tiny bit of salt - the salt makes all the difference, believe me!
- Added Touches
- You'll want new, puffy mini marshmallows. The stale ones from your old hot cocoa supply just won't work right.
Preparing Your Work Area
- Getting Ready
- Empty your counter completely - things can get untidy until you're used to making these. Set everything out like you're doing surgery: thermometer, sphere molds (silicone ones work best for me), brushes. I actually use a clean makeup brush to spread the chocolate - it works better than any kitchen brush I've bought!
- Watching The Heat
- Something I wish I knew from day one: your kitchen should be cool, about 70°F. I found this out the hard way during a summer try that turned into a melty mess.
Time To Create Wonder
- The Tempering Process
- Cut your chocolate into tiny bits - think confetti-sized pieces. Warm about two-thirds slowly in the microwave, 30 seconds at a time. Mix between each round, even when it doesn't seem melted. When it's smooth, add the rest bit by bit. This trick gives us that beautiful shine!
- Shaping Your Bombs
- Coat your molds with a thin chocolate layer. Stick them in the fridge for just 5 minutes - any longer and water droplets form. Add another coat, making the rims a bit thicker. I figured out about stronger edges after some sad breakages!
Dealing With Problems
- Handling Troubles
- Seeing streaks in your chocolate? Your heat probably went off course. Dark chocolate wants 88-91°F, milk likes 86-88°F, and white chocolate needs 84-86°F. I keep these numbers on a note stuck to my microwave!
- Easy Solutions
- Shells won't come out? Throw them in the freezer for 3 minutes. Got fingerprints on your bombs? A quick touch with a warm brush cleans that up nicely.
 Pin it
Unleashing Your Imagination
- Cool Twists
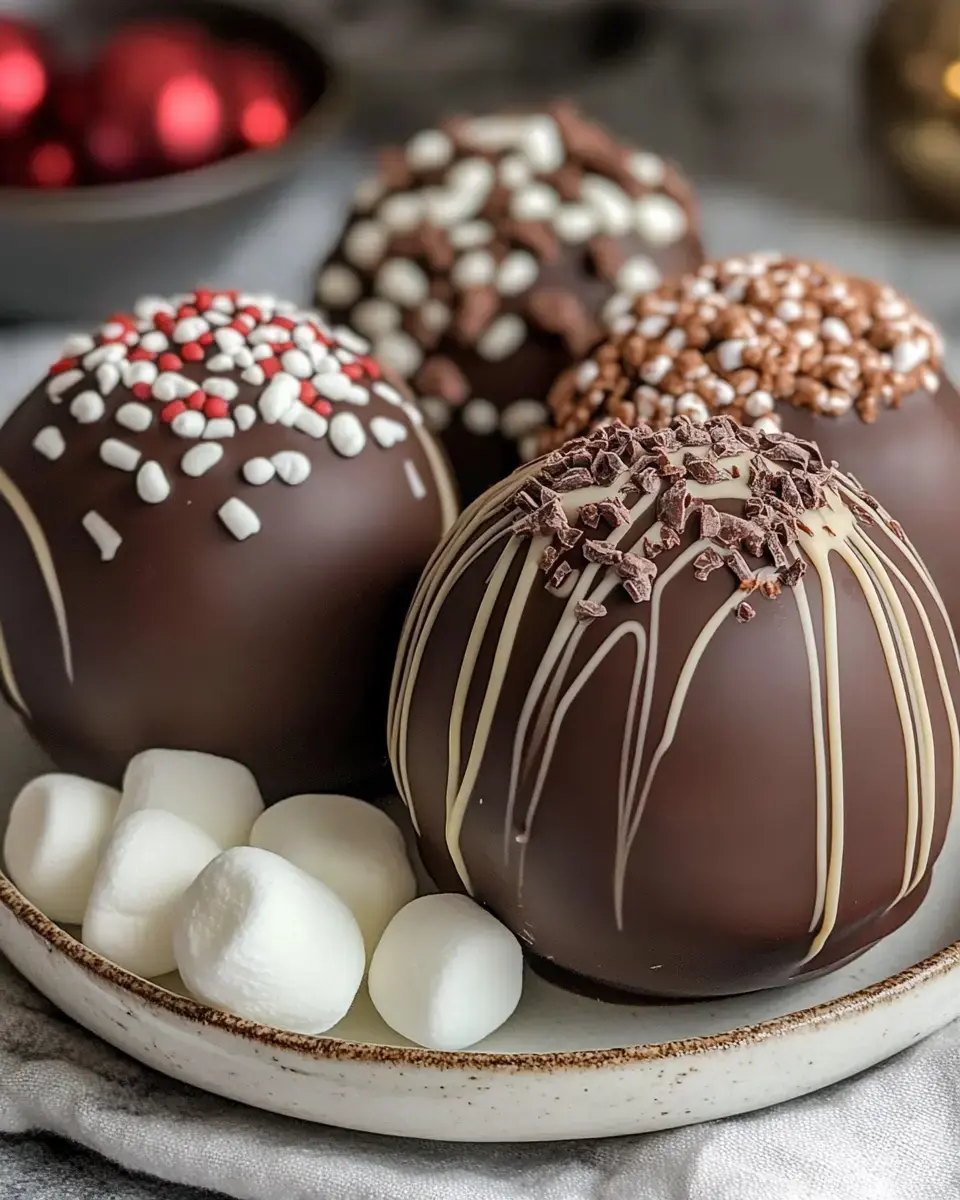
- After you've mastered the basics, get creative! My children go crazy for galaxy bombs - paint the molds with colored cocoa butter before adding chocolate. During Christmas, I mix peppermint oil into the shells and stuff them with smashed candy canes.
- Making Them Pretty
- A touch of shimmer dust or edible gold paint transforms these into something special. Just make sure they're fully hardened before you start decorating.
Keeping And Sharing
- Maintaining Quality
- Don't put these in the fridge - I found out when my shiny bombs turned dull! Keep them in a cool place (around 65-70°F) in a sealed container. I put a silica packet inside to keep dampness away.
- Sharing Advice
- They need careful handling! I cover each one in cellophane and place them in boxes with tissue paper. I add a small card saying: 'Put in hot milk (180°F), watch it open, stir and sip!'
Frequently Asked Questions
- → What kind of chocolate should I use?
Go with couverture or good bar chocolate. Avoid candy melts or cheap chips—they don't temper well and won't taste as good.
- → Should I use silicone or acrylic molds?
Silicone is slower but simpler. Acrylic is quicker but needs practice. Either will work fine if you follow the steps right.
- → Why is my chocolate getting stuck?
If the chocolate won't come out of acrylic molds, it probably wasn't tempered correctly. Chill it well to allow easy release.
- → Why does temperature matter?
If it hits more than 90°F, the temper is gone. Carefully handled chocolate stays shiny and makes a pleasing snap.
- → Why don't mine look glossy?
Glossy finish comes from keeping chocolate at the right temperature. Be patient and follow the heating carefully.
Conclusion
Mastering shiny hot chocolate bombs involves proper temperature control. With good-quality ingredients and clear tips, create smooth, professional-looking chocolate spheres loaded with marshmallows and cocoa mix.
