
 Pin it
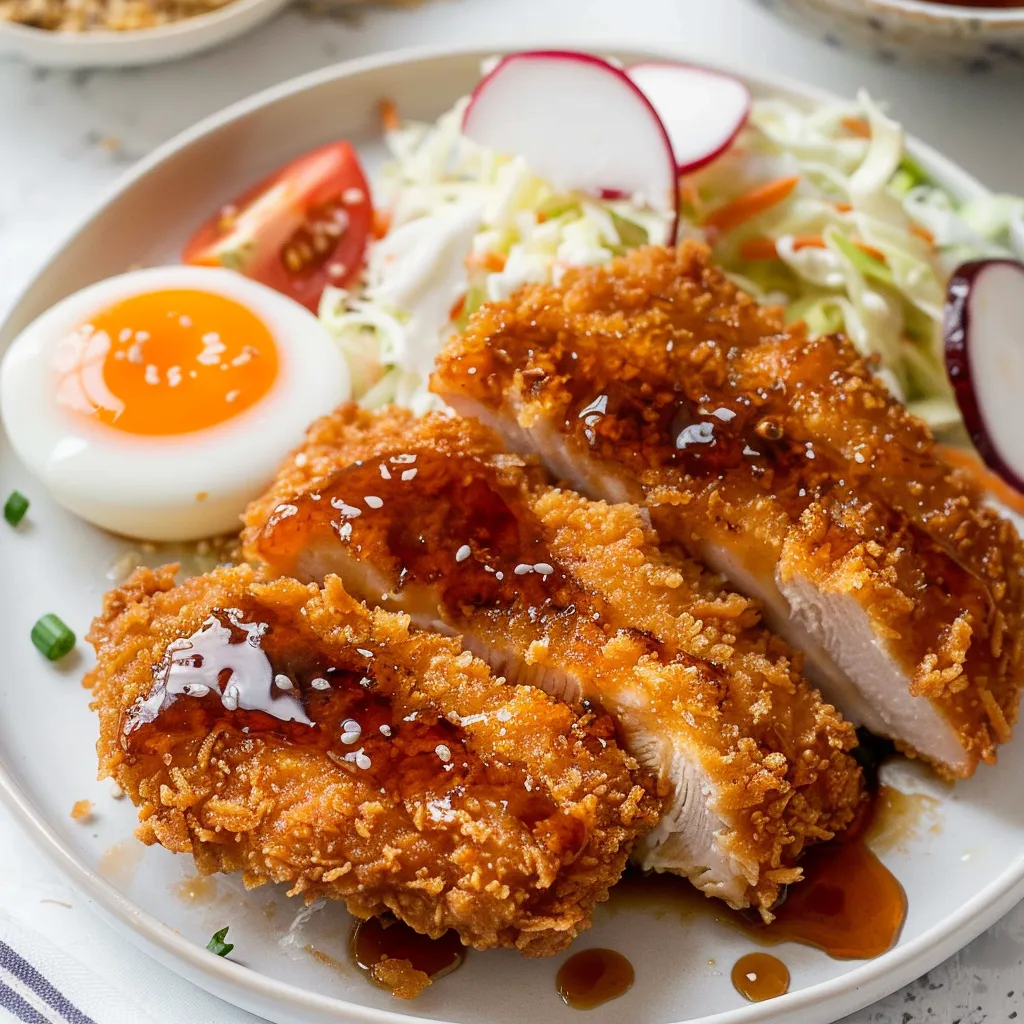
Golden-brown, crunchy chicken katsu stands out as the ultimate Japanese comfort food. This treasured dish turns basic chicken breasts into a mouthwatering meal with its super crunchy panko outer layer and soft, moist inside. Each mouthful delivers that trademark crackling sound that's made this a regular hit at my family's table.
I've made chicken katsu countless times over the years, and it's now my favorite choice when friends come for dinner. My kids get excited whenever they hear we're having katsu night, and even my super picky nephew always wants more.
Key Ingredients
- Boneless chicken breasts: Try to find ones that are about the same thickness so they cook evenly. I think organic chicken tastes better and has a nicer texture
- Japanese panko breadcrumbs: These fluffy, light crumbs give you that special crunch. Regular breadcrumbs just won't work the same way
- Neutral vegetable oil: Pick one that can handle high heat to get that perfect golden outside without any burnt flavor
 Pin it
Simple Cooking Instructions
- Step 1: Get Your Chicken Ready
- - Put chicken between plastic wrap, making sure to push out air bubbles
- Pound it carefully to the same thickness all around, being careful not to tear it
- Add salt and pepper while the chicken sits at room temperature - Step 2: Make The Coating
- - Arrange your coating ingredients in this order: flour, whisked eggs, panko
- Use your left hand for dry stuff and right hand for wet to keep things clean
- Push the panko onto the chicken firmly but gently so it sticks well - Step 3: Fry It Just Right
- - Get your oil to the perfect temperature (350°F) for that golden coating
- You should hear a gentle fizz when chicken touches the oil
- Keep the heat steady the whole time so it browns evenly
 Pin it
We found out that eating katsu right after it's cooked while standing around the kitchen counter creates the best family moments. Everyone gets excited waiting for that first crunchy bite.
Getting The Heat Just Right
The oil temperature can make or break your katsu. If it's too hot, the outside burns before the chicken cooks inside. Too cool and the breading soaks up oil and gets soggy. I've figured out how to listen for that soft sizzling sound and watch the bubbles around the chicken - they should be steady but not too wild.
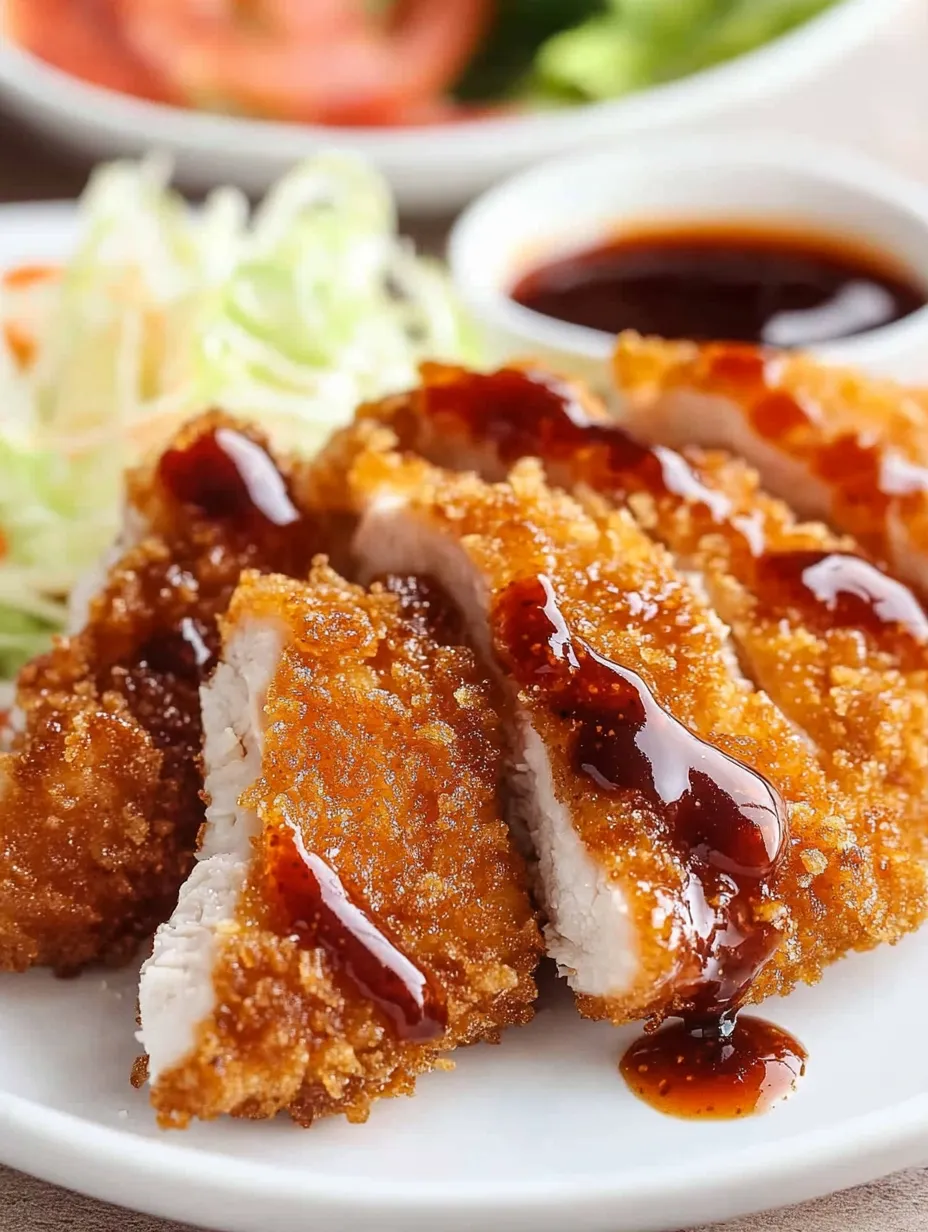
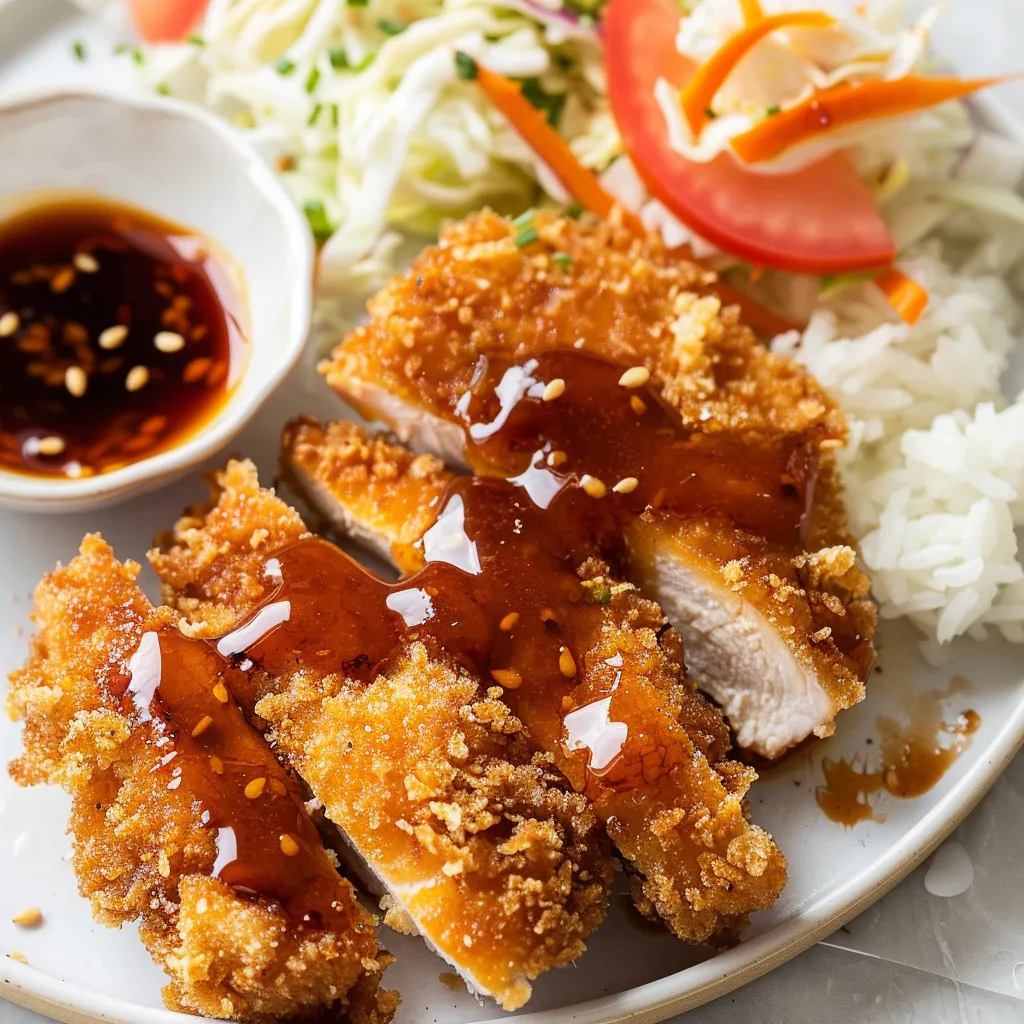
Tasty Dipping Options
The classic tonkatsu sauce works great, but trying different dips can give you whole new flavors. My homemade curry sauce has become what my family asks for most, turning basic katsu into a complete dinner. Sometimes just a squeeze of fresh lemon is enough to cut through the richness with its bright flavor.
Putting Your Own Spin On It
After making katsu for years, I've learned that tiny changes can make it specially yours. Adding a bit of garlic powder to the flour or mixing in some sesame seeds with the panko creates subtle but yummy differences. Some nights I cut it up for katsu sandwiches with shredded cabbage and sauce.
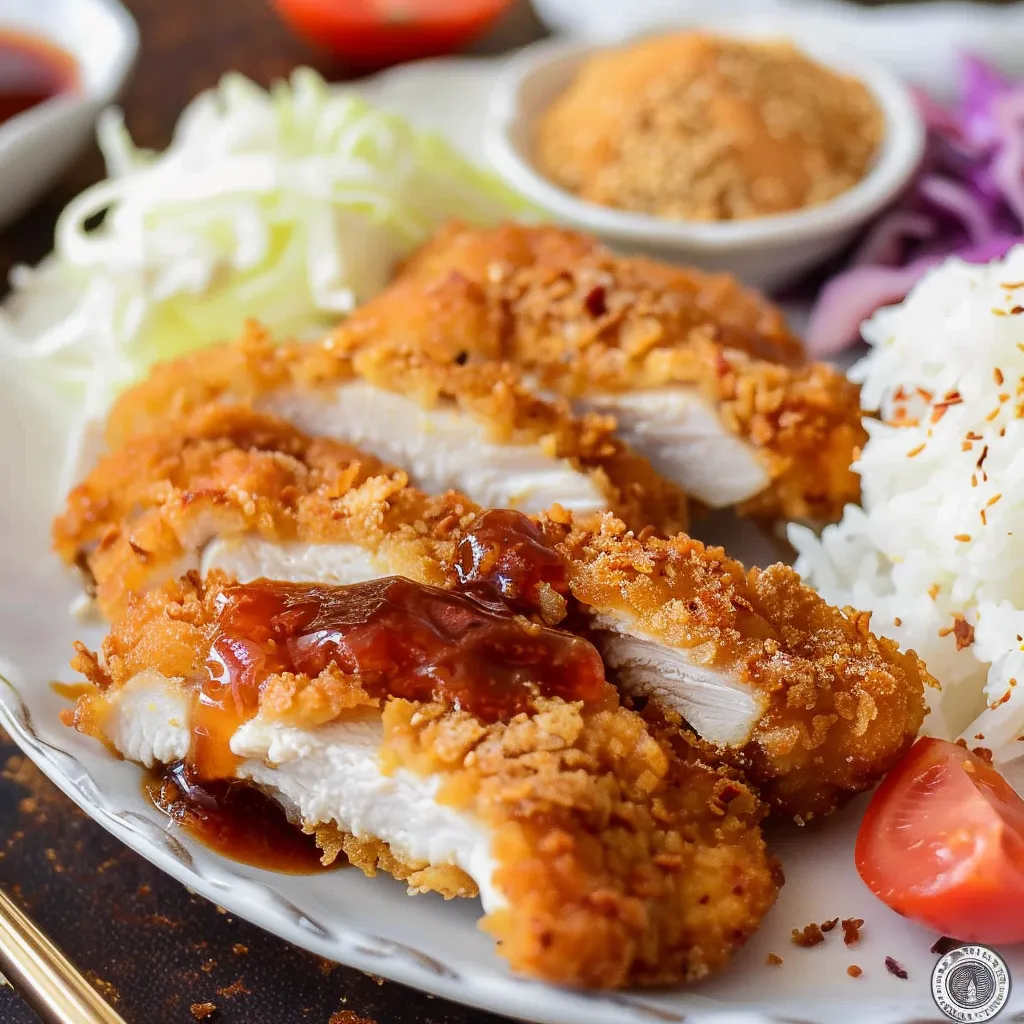
How We Serve It
At my house, we always have katsu with a big pile of thinly sliced cabbage, hot rice, and miso soup. The fresh cabbage balances out the crunchy chicken perfectly, and the rice soaks up any sauce you add. It's become our Sunday night tradition that brings everyone together at the weekend's end.
Keeping Leftovers Fresh
Though katsu tastes best when freshly made, storing it right can keep it good. I've found that putting it on a wire rack in the fridge helps keep the coating crispy. A quick warm-up in a hot oven brings back most of that original crunch.
 Pin it
Perfecting Your Breading Method
The key to amazing katsu is all about how you handle the wet and dry ingredients. I learned through lots of trial and error that a light coating of flour followed by just enough egg creates the perfect base. Then you should press the panko on gently but firmly, so each little breadcrumb makes its own tiny crispy pocket when fried. It took me forever to get this right, but now watching that coating turn golden brown makes me happy every time.
Planning Meals Ahead
Katsu has become a big part of how I plan our weekly meals. I often prep extra chicken pieces on Sunday and freeze them before adding the coating. This lets me quickly make a fresh batch midweek when I'm short on time. The uncooked, flattened chicken keeps well in the freezer for up to three months, making spur-of-the-moment katsu nights super easy.
The Story Behind The Dish
Whenever I cook katsu, I think about its interesting background. This dish shows how Japanese cooking precision blended with Western influences. My Japanese neighbor told me how her grandma would make katsu for special family events, serving it with carefully chosen sides that went well with both the texture and taste. Learning these cultural bits has made me appreciate this seemingly simple dish even more.
Creating A Full Dinner
Chicken katsu can be more than just the main dish. I've started serving it with quick-pickled cucumbers that add a cool crunch and help clean your palate between bites. A small bowl of miso soup helps balance the richness, while some steamed edamame makes a protein-packed starter that keeps everyone happy while the katsu is cooking.
Tools That Help
Having the right kitchen stuff really helps when making katsu. A heavy pan ensures the heat spreads evenly, while a good meat pounder helps you get that important even thickness. I keep a special pair of long cooking chopsticks just for frying - they let me flip the chicken precisely and don't damage the coating like metal tongs might.
Cooking With Kids
Making katsu has turned into a favorite cooking lesson in our family. The easy steps are great for teaching kids kitchen skills, from how to season food to safe frying methods. My daughter now proudly makes her own version, adding her personal touch with a sprinkle of furikake on top. These cooking times together make wonderful memories while passing down food traditions.
Adjusting For Special Diets
I've changed this recipe many times for different dietary needs over the years. For guests who can't eat gluten, rice flour and gluten-free panko work just as well for crispiness. When cooking for folks watching their fat intake, I've come up with an oven-baked version that, while not exactly the same as the original, still tastes great. The trick is keeping what makes the dish special while swapping ingredients thoughtfully.
Wrapping Up
After making this dish countless times, I still get excited when I hear that first sizzle as the coated chicken hits the hot oil. Chicken katsu means more than just food in our home - it's a celebration of cooking skills, traditions, and family time. Whether you're trying it for the first time or you've made it a hundred times, each batch brings its own special joy.
Frequently Asked Questions
- → Why should I flatten the chicken?
- Flattening helps it cook evenly and stay tender throughout.
- → What if I don’t have panko?
- While panko is best for crunch, regular breadcrumbs can work too.
- → How can I tell if the oil’s ready?
- Test by dropping in a crumb; it should bubble right away without burning.
- → Is baking possible instead of frying?
- Sure, but frying keeps it crispier. Try baking at 400°F for about 20 to 25 minutes.
- → What exactly is tonkatsu sauce?
- A sweet-savory Japanese sauce, similar to Worcestershire, found in most Asian stores.