
 Pin it
These eye-catching blueberry cookies take basic ingredients and turn them into something extraordinary, blending the warm feel of a blueberry muffin with the tempting charm of a well-baked cookie. Their natural blue color and juicy berry bits make these snacks look as good as they taste, showing that plant-based treats can be both gorgeous and yummy.
While testing this recipe many times, I've noticed these cookies always amaze people. The first time I brought them to a party, nobody could believe the color came from real berries and that they were vegan - they were gone in minutes!
Key Components
- All-purpose flour: Measure it carefully - using too much makes dry cookies
- Frozen blueberries: Keep them rock-hard until use - this helps lock in their color
- Vegan butter: Should be slightly cool but workable - too warm and cookies will flatten
- White chocolate chips: Go for premium ones - they nicely balance the berry tang
- Baking powder: Make sure it's not old for good rising
 Pin it
Baking Method
- Step 1:
- Start by mixing your vegan butter and sugar in a stand mixer with the paddle tool. Beat them for 3-4 minutes at medium until puffy and smooth. This puts air in the mix for soft cookies.
- Step 2:
- With the mixer running fast, slowly add your frozen blueberries. Watch the mix change to a beautiful blue-purple shade. Keep mixing until the berries break down completely.
- Step 3:
- In another bowl, mix your flour, baking powder, and salt together. This spreads out the rising stuff evenly.
- Step 4:
- Slowly add the dry stuff to your wet mix, using low speed just until mixed. Clean the sides of the bowl as needed.
- Step 5:
- Stir in white chocolate chips by hand, don't mix too much. The dough will feel pretty soft, which is okay.
- Step 6:
- Cover the bowl and stick it in the freezer for 30 minutes. This makes the dough easier to handle and stops it from spreading too much.
- Step 7:
- Using a cookie scoop or scale, make 35g balls and put them on a baking sheet lined with parchment.
- Step 8:
- Bake at 350°F for 12-15 minutes, until the edges look done but centers seem a bit underbaked.
 Pin it
I started making these cookies when I wanted to find a natural way to replace food dye. When I saw the first batch come out of the oven with that amazing color just from berries, I knew I'd found something awesome.
Natural Color Tricks
Through lots of testing, I've found that temperature really matters for keeping that pretty blue color: Don't thaw your berries before using them. Don't let the butter get too warm while mixing. Make sure to chill the dough fully. Let cookies cool completely on racks.
Changing With The Seasons
While frozen berries work all year, I've tried different twists: Summer: Throw in fresh lemon zest. Fall: Add some cozy spices. Winter: Mix in broken candy canes. Spring: Toss in some lavender.
Fixing Common Problems
Easy solutions for baking issues: Cookies too flat: Freeze dough longer. Not blue enough: Try wild blueberries. Dough too sticky: Add a bit more flour. Need more sweetness: Put in extra white chocolate chips.
Using Plant-Based Stuff
Things to know about vegan baking: Vegan butter brands don't all work the same way. Check labels to make sure your white chocolate is truly vegan. Different sugars might change the color. Plant milk can fix dough that's too thick or thin.
The Fun of Real Ingredients
These cookies show that natural stuff can make amazing treats. Kids especially love watching the magic happen when blue berries turn the dough into purple-blue swirls. It's a fun way to teach them about natural food colors and baking science.
Don't rush when making these cookies. Taking time to chill the dough and bake them carefully gives you treats that taste amazing and look stunning. As one little baker told me, 'They look like they're made with fairy magic!' - and sometimes, that's exactly what we need in our kitchens.
Making Them Look Amazing
After many batches, I've found ways to make these cookies look even more magical: Put them on blue or white plates to make the color pop. Add a tiny bit of edible sparkle. Make sandwich cookies with vanilla filling. Stack them in clear jars for gifts.
Keeping Them Fresh
Good storage keeps flavor and looks: Use sealed containers with parchment between layers. Keep away from bright light to save the color. Freeze unbaked dough balls separately. Store baked cookies away from strong-smelling foods.
Next-Level Methods
For folks who want to step it up: Toast the vegan butter for deeper flavor. Add blueberry powder for stronger color. Mix plain dough with blue dough for swirls. Try different sizes of chocolate chips.
Learning Moments
These cookies can teach us about: How colors change in natural foods. What happens chemically when we bake. Why exact measurements matter. How plant foods can replace animal products.
What Makes The Texture
Understanding what affects cookie texture: Flour protein changes chewiness. Sugar amount affects spreading. Fat type changes crispness. Moisture balance impacts how long they stay fresh.
 Pin it
After making tons of batches and watching happy people eat them, I've realized these cookies aren't just snacks - they start conversations, teach lessons, and show how natural ingredients can make something amazing. Whether you bake all the time or are just starting out, these blueberry cookies take you on a fun plant-based baking adventure.
Keep in mind that each batch will be a bit different, just like the natural stuff that gives them their pretty color. Enjoy the differences and have fun making these magical treats.
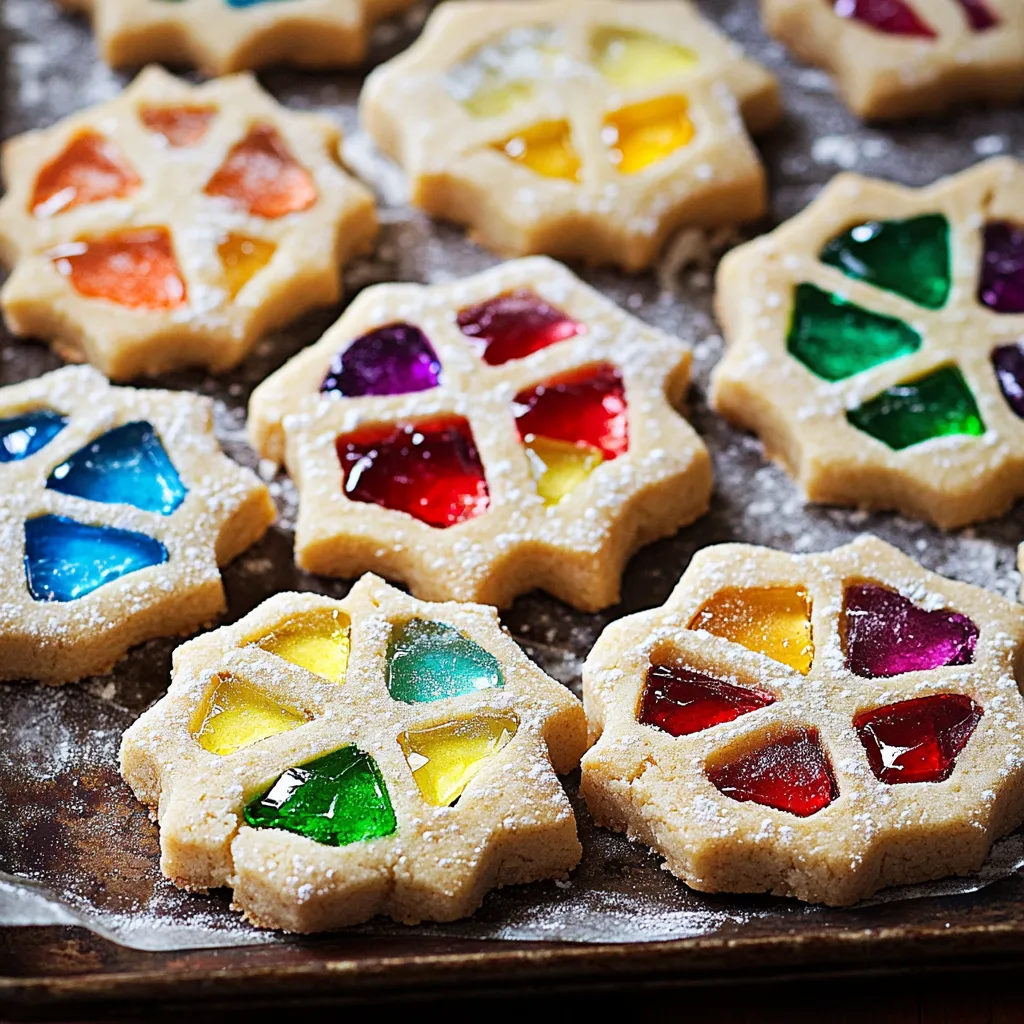
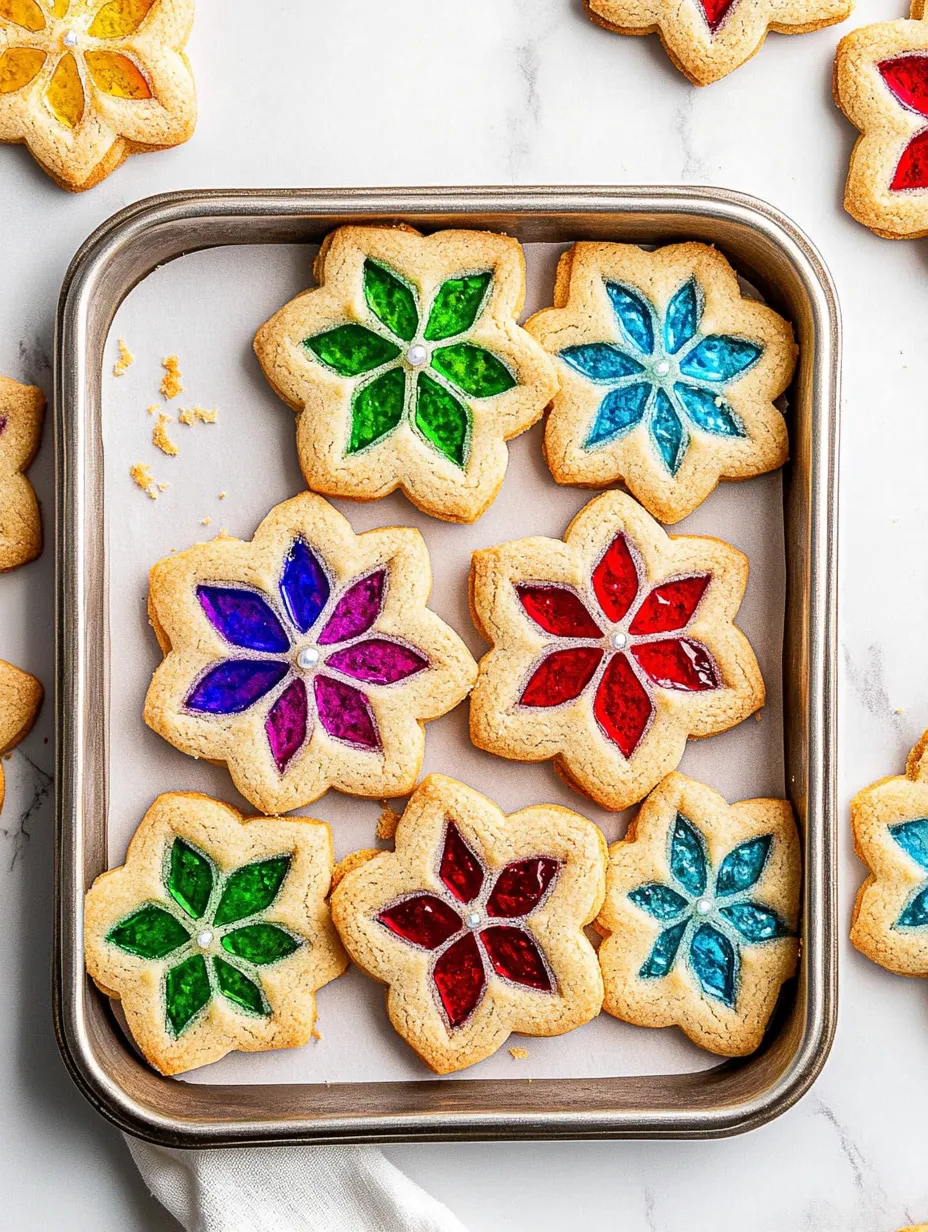
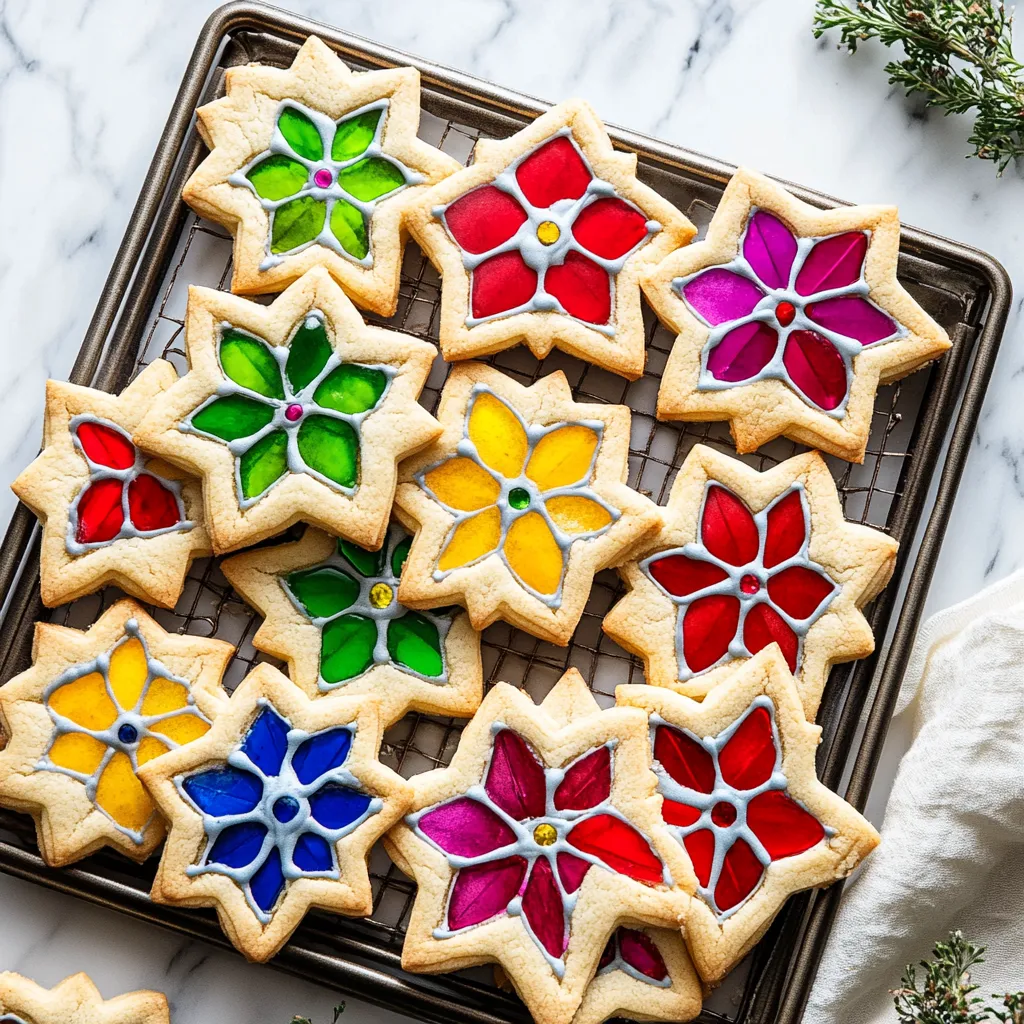
These magical stained glass window cookies turn basic items into edible art pieces. Their shiny candy centers catch light like gems while the buttery cookie frames hold everything together, adding wonder to any holiday plate. Hang them on Christmas trees or give them as gifts - they bring moments of joy to people of all ages.
Frequently Asked Questions
- → What candies work best for this?
- Hard candies like Life Savers or Jolly Ranchers are ideal. Skip chocolate or chewy types.
- → Why is chilling the dough important?
- It helps the cookies keep their shape and makes cutting out designs easier.
- → Can I prep these in advance?
- Sure, they’re fine at room temp for a week or up to 10 days in the fridge.
- → My candy centers look cloudy. What went wrong?
- Crush the candies into small chunks, avoid overfilling, and bake just until all pieces are melted.
- → Can I turn these into decorations?
- Yes! Poke a hole up top before baking and tie a ribbon once they’re cool.