
 Pin it
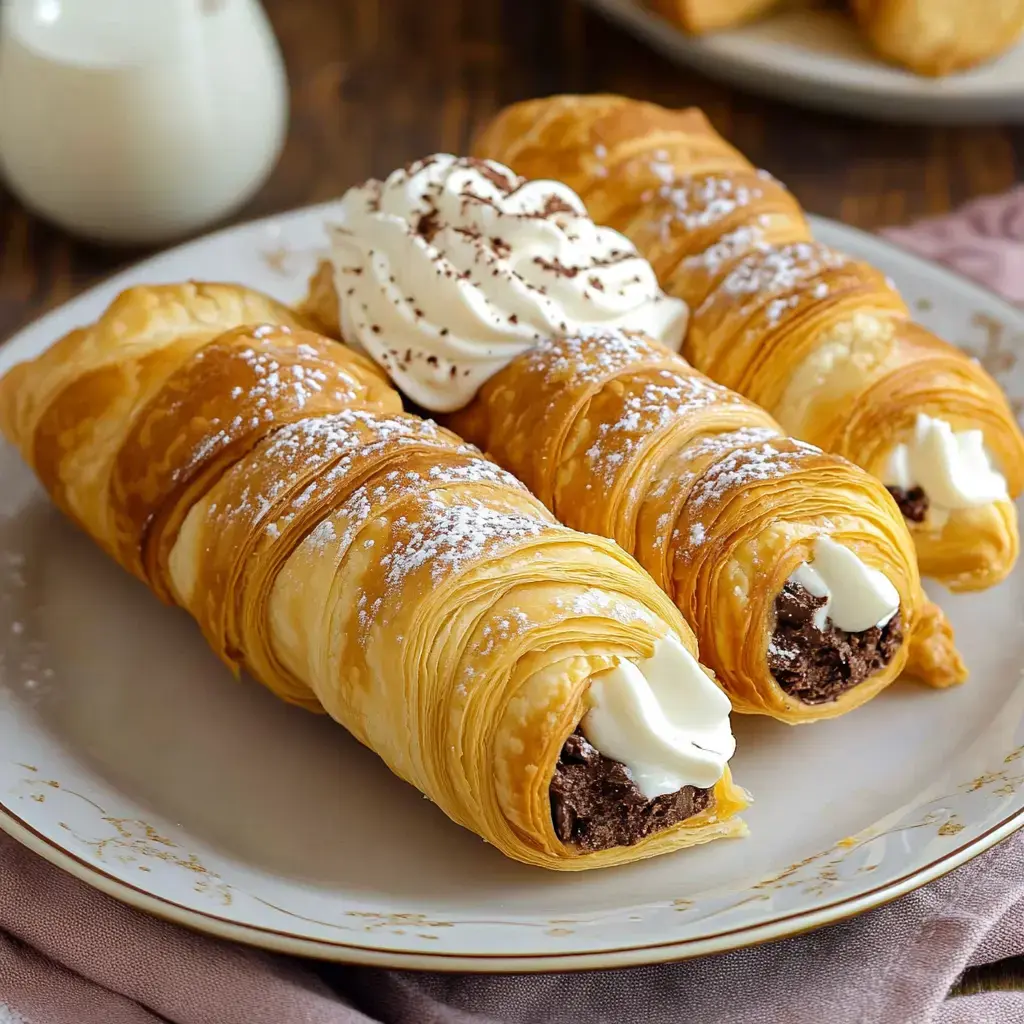
Simple DIY Pastry Trumpets
After binging plenty of cooking competitions, I came up with this no-fuss pastry trumpet method that's now my favorite showstopper sweet. These cute treats look fancy but actually come together quickly using supermarket puff pastry and a smooth filling you can tweak to suit your taste. They're just the thing when you want something that wows guests without keeping you stuck in the kitchen forever.
What Makes These Pastries So Fantastic
You'll fall for these DIY pastry trumpets because:
- Perfect for making ahead when you're planning a party
- A no-fuss filling you can flavor however you like
- The quickest way to get crispy layers using pre-made sheets
- A beginner-friendly approach that looks totally professional
Basic Supplies for Pastry Trumpets
- Puff Pastry Sheets: Just thaw and they're good to go.
- Cream Cheese: Forms the foundation of our yummy filling.
- Powdered Sugar: Gives everything the right sweetness.
- Vanilla Extract: Adds that special touch to your filling.
- Heavy Cream: Creates those fluffy mountains of goodness.
- Unsweetened Cocoa Powder: Throw some in if you're into chocolate.
Quick Assembly Guide
- Set Up Your Workspace
- First, warm your oven to 400°F. Grab your baking trays and cover them with parchment. Spray those trumpet molds really well with cooking spray so they won't stick later.
- Form Your Shells
- Stretch your puff pastry on a slightly floured counter until it's thin. Slice it into strips about an inch across. Wrap each strip around a mold with a bit of overlap. Put the seam on the bottom and brush some beaten egg all over for shine.
- Bake to Golden Perfection
- Arrange your wrapped molds on your trays with gaps between them. Cook for around 15 minutes, keeping an eye out until they puff up and turn a nice golden color. Let them cool completely while still on the molds so they keep their shape.
- Whip Up Your Filling
- In a big bowl, whip your cream cheese until it's smooth. Mix in your sugar and vanilla bit by bit. While mixing, slowly add the heavy cream and beat until it stands up in stiff peaks. If you want chocolate cream, split your mix and stir cocoa into half.
- Put It All Together
- When shells feel completely cool, gently pull them off the molds. Load a piping bag with your cream mixture and squeeze it into each shell. Finish with a light dusting of powdered sugar. Enjoy them right away for maximum crispness.
Tricks for Perfect Results
- Chill Everything: Cold filling works best in these trumpet shells.
- Grab a Piping Bag: It makes filling your trumpets super easy.
- Try Them Frozen: Pop them in the freezer for a cool treat option.
- Play with Flavors: Switch up your extracts for totally different tastes.
 Pin it
Keeping Them Fresh
Your empty shells will stay good for a couple days if kept dry. Once filled, they're tastiest right away, but you can freeze them if needed. Just let them soften a bit before you serve your fancy creation.
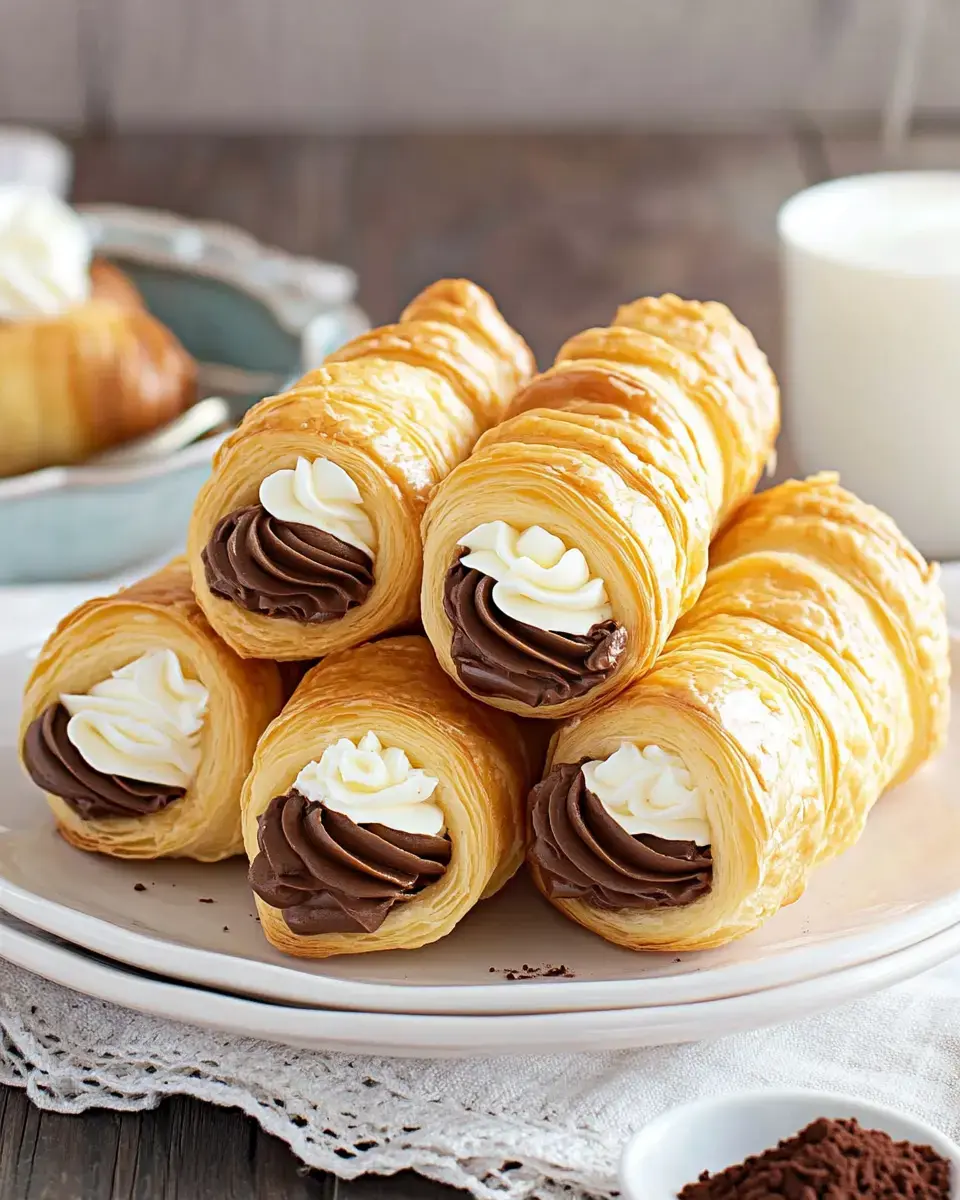
Crowd-Pleasing Dessert
These DIY pastry trumpets work for birthdays, dinner parties, or just because it's Tuesday. Stick with regular vanilla, go for chocolate, or dream up your own twist - this straightforward approach will have everyone thinking you trained in France. Your friends won't believe you made these yourself!
Frequently Asked Questions
- → Why grease the molds?
This keeps the puff dough from clinging, so you can slide them off easily once baked.
- → Can I prep beforehand?
You can bake the shells earlier but only fill them right before eating to avoid soggy pastry.
- → What's the purpose of the egg wash?
It helps seal the ends of the dough and gives that shiny toasted finish on the pastry.
- → Are the unfilled rolls freezable?
Absolutely, store unused shells in the freezer for up to three months without issue.
- → Should I soften cream cheese first?
Definitely, it makes for a creamier mixture without any chunks when blending in the cream.