
 Pin it
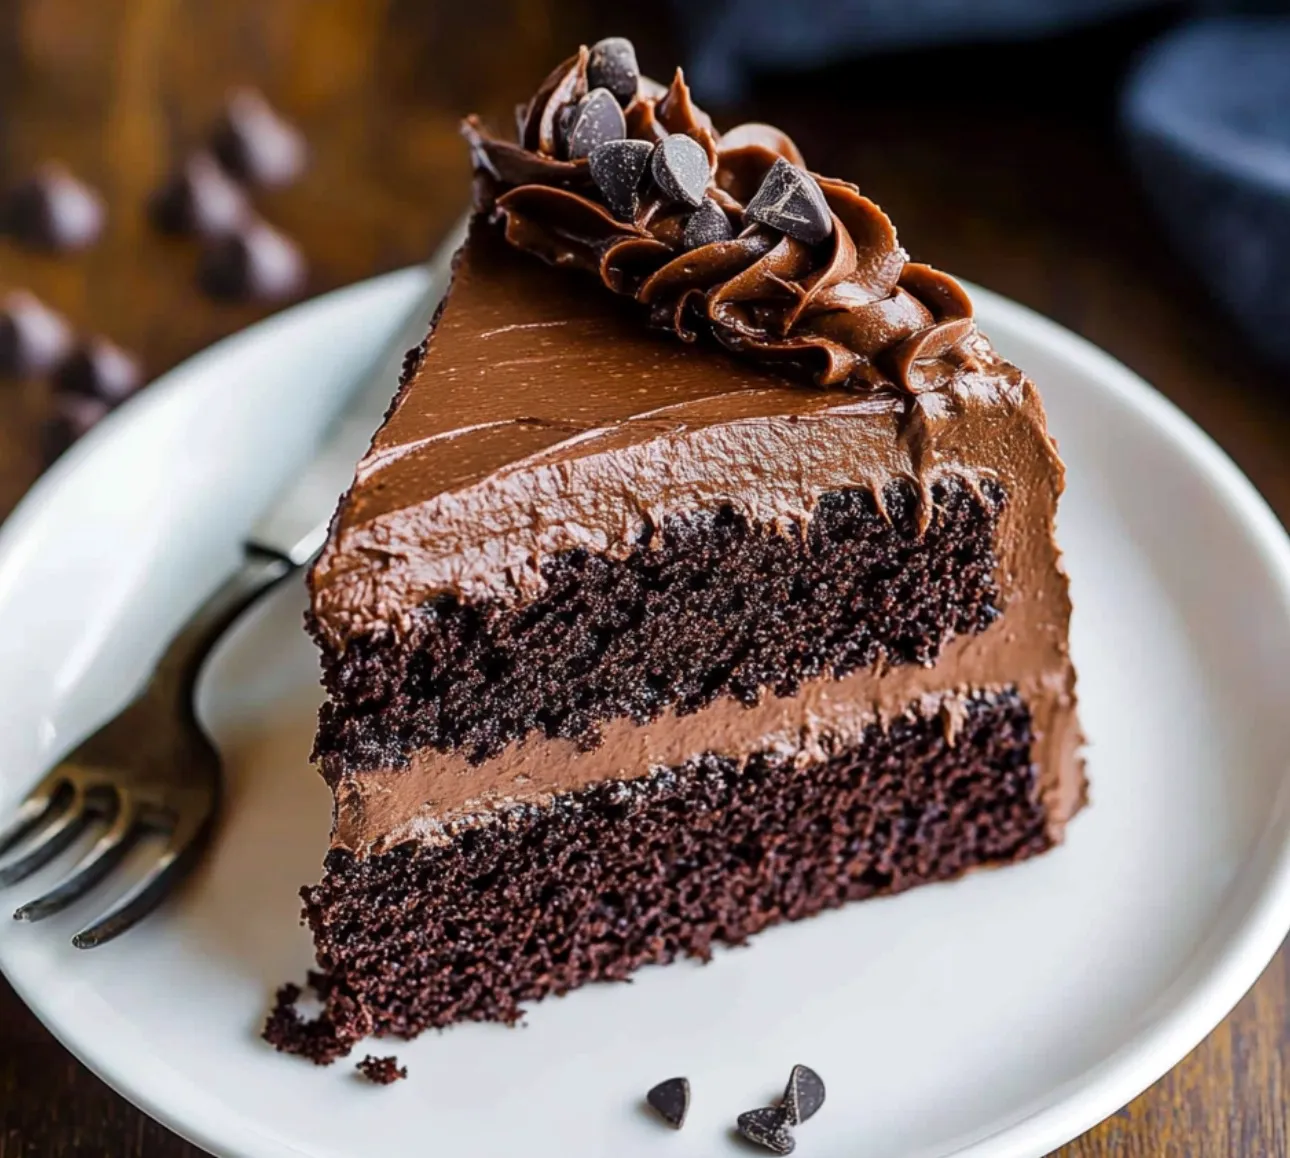
As the Triple Chocolate Cake comes out of the oven, your kitchen fills with a rich, tempting chocolate scent. This cake goes beyond ordinary - it's a chocolate lover's fantasy with three intense layers of flavor building on each other. You'll notice the cake's reddish-brown inside shows its Devil's Food roots, while the super moist texture hints at something way better than your typical chocolate cake.
I baked this for my nephew's birthday last week. The absolute delight on his chocolate-covered face told me why this has become my favorite chocolate cake recipe. Even my dessert-avoiding sister couldn't help asking for another piece.
Key Ingredients and Smart Selection Advice
- Natural Cocoa Powder - Go for quality unsweetened stuff. Its natural acids help create that beautiful reddish color and soft texture
- Oil - Pick something bland like canola or grapeseed oil. Unlike butter, it keeps your cake super moist even when chilled
- Hot Coffee - Freshly made coffee brings out chocolate flavors without making your cake taste coffee-like. The warmth helps activate the cocoa
- Sour Cream - Don't skip the full-fat version for a richer, thicker cake. I've found this one thing transforms good cakes into amazing ones
After years of baking, I've learned that ingredients at room temperature aren't just nice to have - they're absolutely needed for that silky-smooth cake texture.
Step-by-Step Process
- Getting Started Right
- 1. First, put your oven rack in the middle and heat to 350°F. Get your pans ready thoroughly - I grease them, add parchment circles, then grease the paper too. Seems like overkill but you'll thank yourself when the cakes pop right out.
- Making Your Foundation
- 2. Mix your dry stuff first. Whisk flour, cocoa, baking soda, baking powder, and salt in a big bowl. Don't just toss it together - really work out any cocoa lumps with your whisk. These small touches really matter for the end result.
- Mixing The Wet Stuff
- 3. In another bowl, mix your oil, eggs, buttermilk (or sour cream), and vanilla until smooth. Everything should look well combined. If you're using sour cream, spend an extra moment making sure it's completely mixed in.
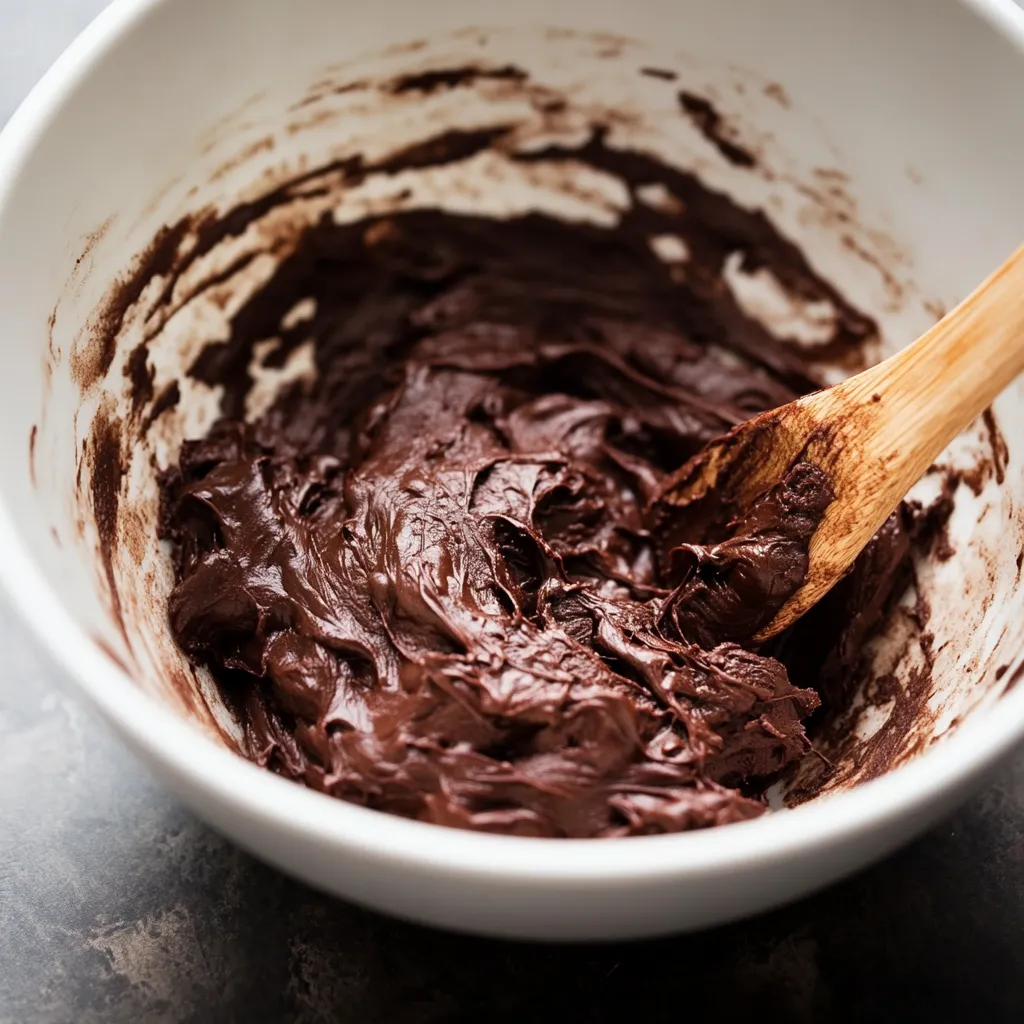
- The Transformation
- 4. Add your wet mix to your dry ingredients, then whisk until barely combined. Now for the game-changer - pour in your hot coffee or water. Watch how your batter turns into a thin, shiny chocolate mixture.
- Baking Time
- 5. Split the batter between your prepared pans. Tap each pan gently on your counter to get rid of air bubbles. Put them in your hot oven and wait about 24-26 minutes while the magic happens.
 Pin it
My favorite memory with this cake happened when I poured in coffee that was too hot and thought I'd ruined everything. Surprisingly, the cake turned out with an even stronger chocolate flavor. Sometimes mistakes turn into the best discoveries!
Smart Timing Tricks
Knowing when your cake is done takes practice. The top should bounce back when you touch it lightly, and you'll see the edges pulling away from the pan sides. Don't just rely on the toothpick - watch for these visual signs too.
 Pin it
Fantastic Frosting Basics
Your chocolate buttercream needs the right prep work. Start with butter that's truly warmed to room temp - you should be able to press into it easily. Mix the cocoa with butter before adding powdered sugar to get the creamiest texture possible.
Smart Assembly Techniques
When you put your layers together, take time to flatten each cake if needed. A level surface makes your cake look professional and keeps it from tilting or sliding apart. Cool the cake between your first thin layer and final frosting for the best finish.
Pro Baker Secrets
- Always mix cocoa with something hot to bring out more chocolate flavor
- Try using coffee instead of water for deeper taste
- For extra smooth frosting, run cocoa and sugar through a sieve first
After making this cake countless times, I've found that waiting is crucial - especially letting layers cool completely before frosting. Nothing's worse than seeing perfect cake layers fall apart because you rushed the assembly.
Smart Storage Know-How
Getting the storage right keeps this triple chocolate cake at its best. Under a cake dome at room temp, it stays fresh about 4 days. In the fridge, it's good for a week, but always let it warm up before serving for the best texture and taste. This lets the buttercream soften and the cake return to its velvety feel. For storing longer, wrap unfrosted layers in plastic wrap then foil while they're still slightly warm before freezing. This locks in moisture for up to 3 months. I figured this out after planning many events where I had to make things ahead.
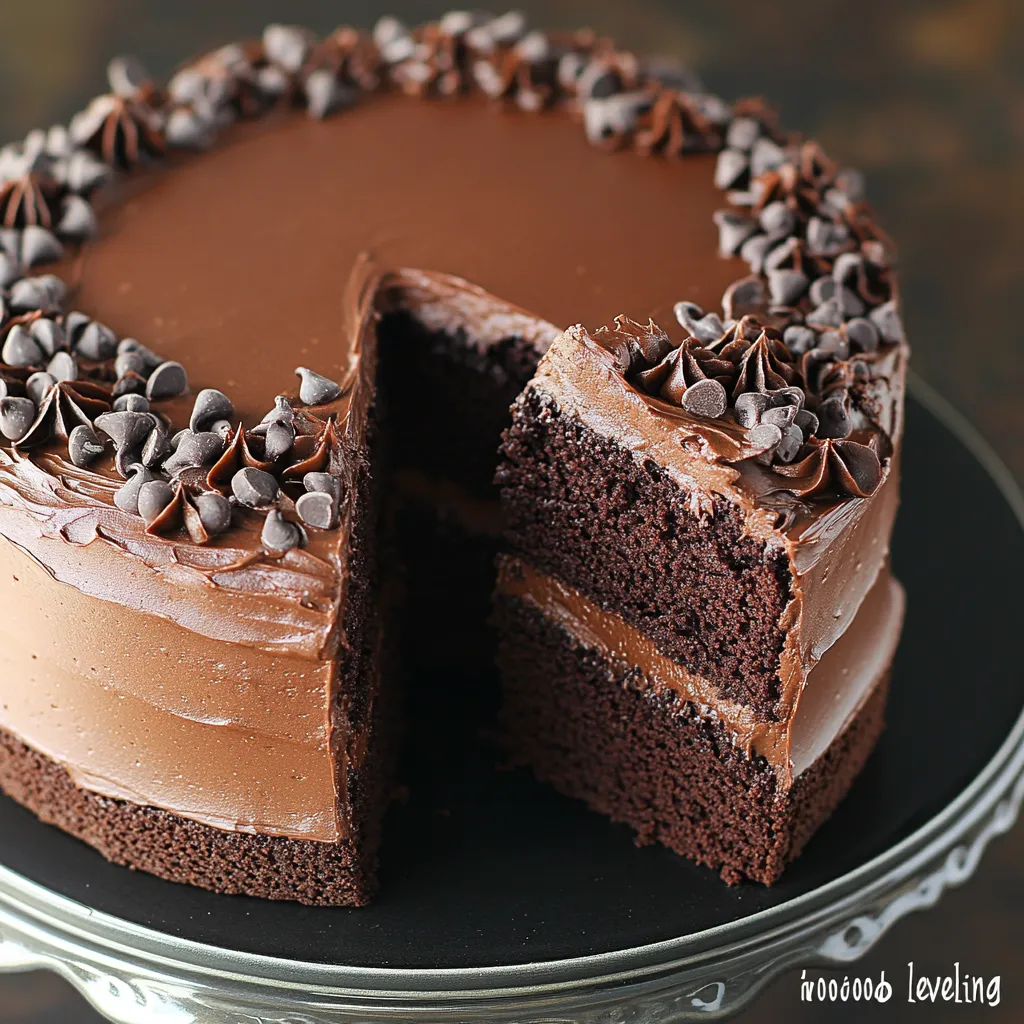
Balancing Your Chocolate Trio
The real trick is getting the three chocolate elements just right: rich cocoa cake, smooth chocolate buttercream, and chunky chocolate chips. Each part plays an important role in creating the full chocolate experience. Through lots of testing, I've found that mixing up your chocolate chip types creates interesting flavor differences. Semi-sweet chips work great for most people, while dark chocolate adds a grown-up touch. For special events, I mix both kinds - 60% dark with semi-sweet chips - creating layers of complex chocolate flavors. I first tried this combo at my daughter's wedding, and it quickly became our family's most requested version.
 Pin it
Closing Thoughts
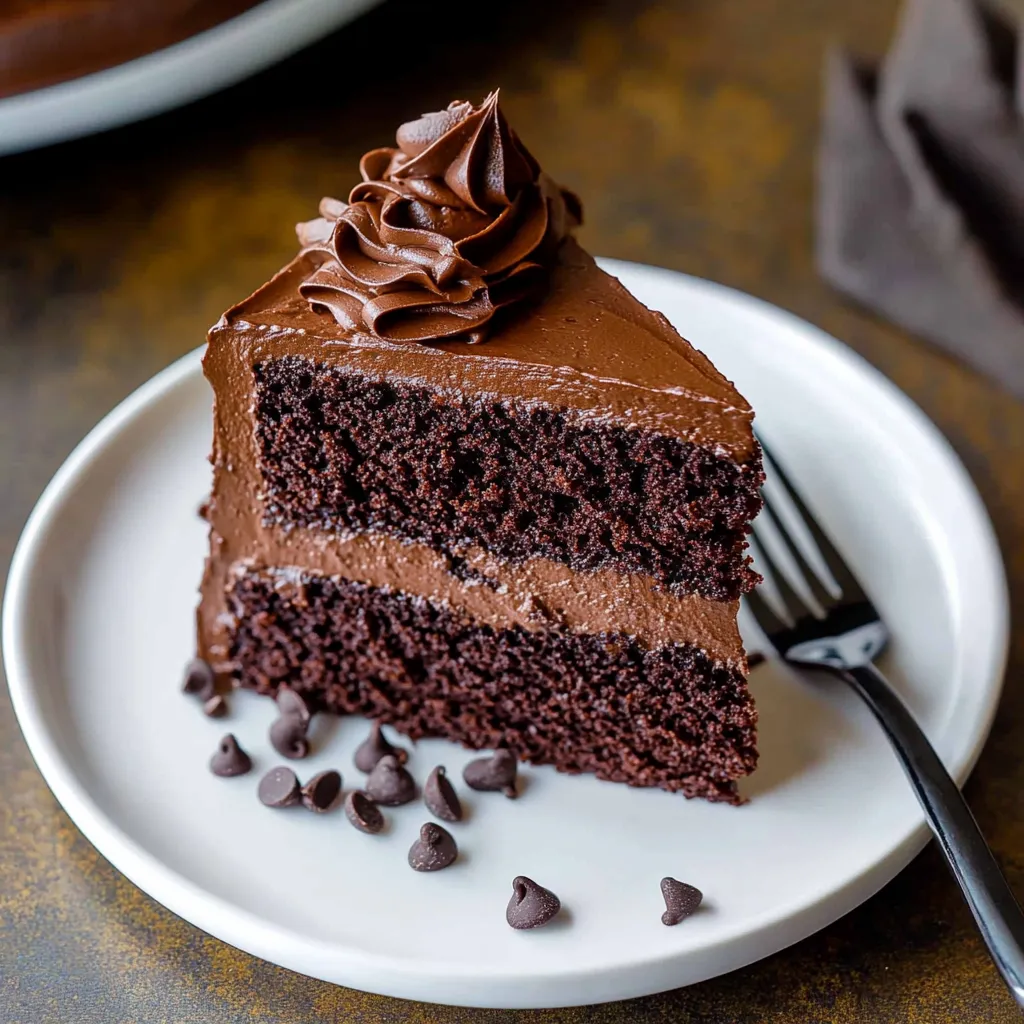
This Triple Chocolate Cake has grown beyond just another recipe in my collection. It's now our go-to for celebrations, comfort food moments, and proof of what great chocolate can do. Whether you're celebrating something special or just want an amazing chocolate treat, this cake always delivers. The combo of moist cake, creamy frosting, and chocolate chips creates something you'll keep thinking about long after the last bite is gone.
Frequently Asked Questions
- → Why use coffee?
- Makes chocolate taste better without any coffee flavor
- → Can I make this early?
- Sure, cake layers keep in freezer up to 3 months
- → Why pick natural cocoa?
- Interacts with rising agents for proper fluffiness
- → Will other pans work?
- Fits in 9x13, bundt, or makes cupcakes with timing changes
- → Why room temp items?
- Gives better blending and improved cake texture