
 Pin it
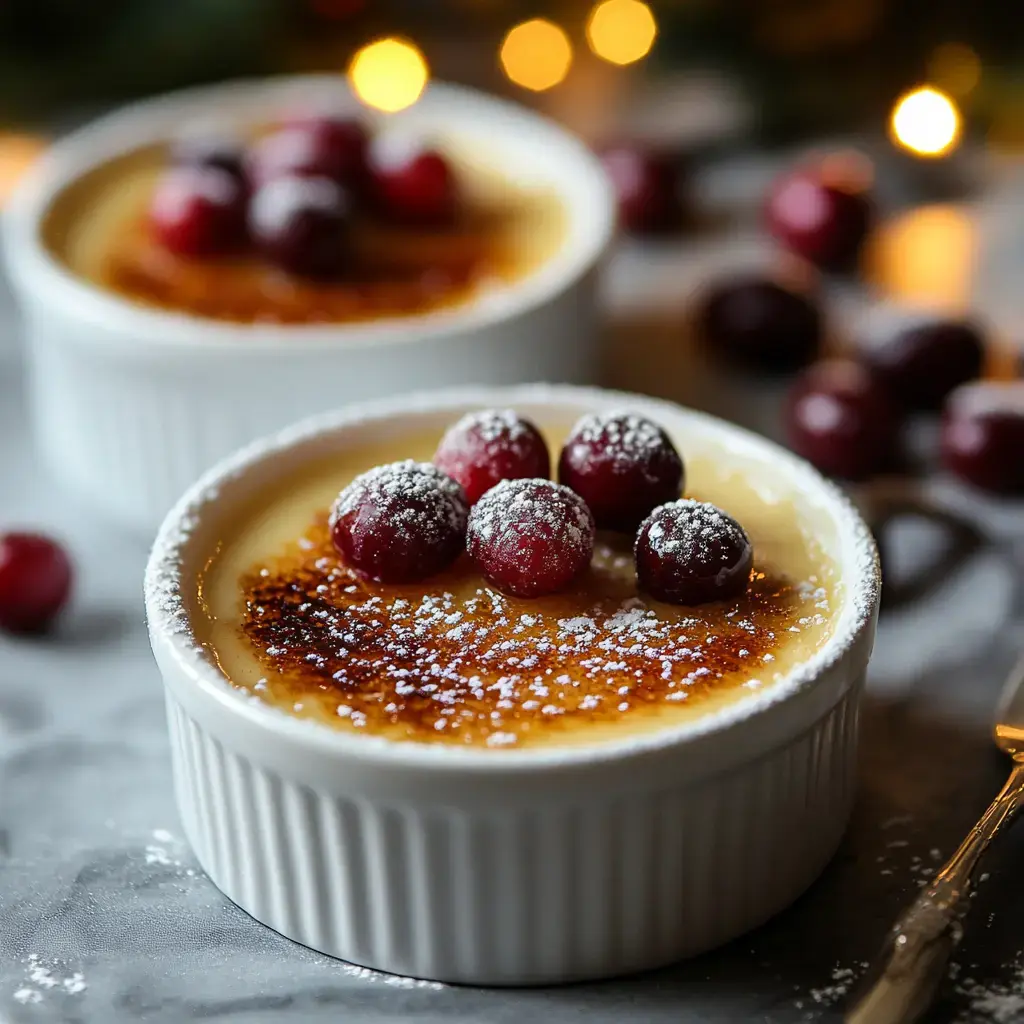
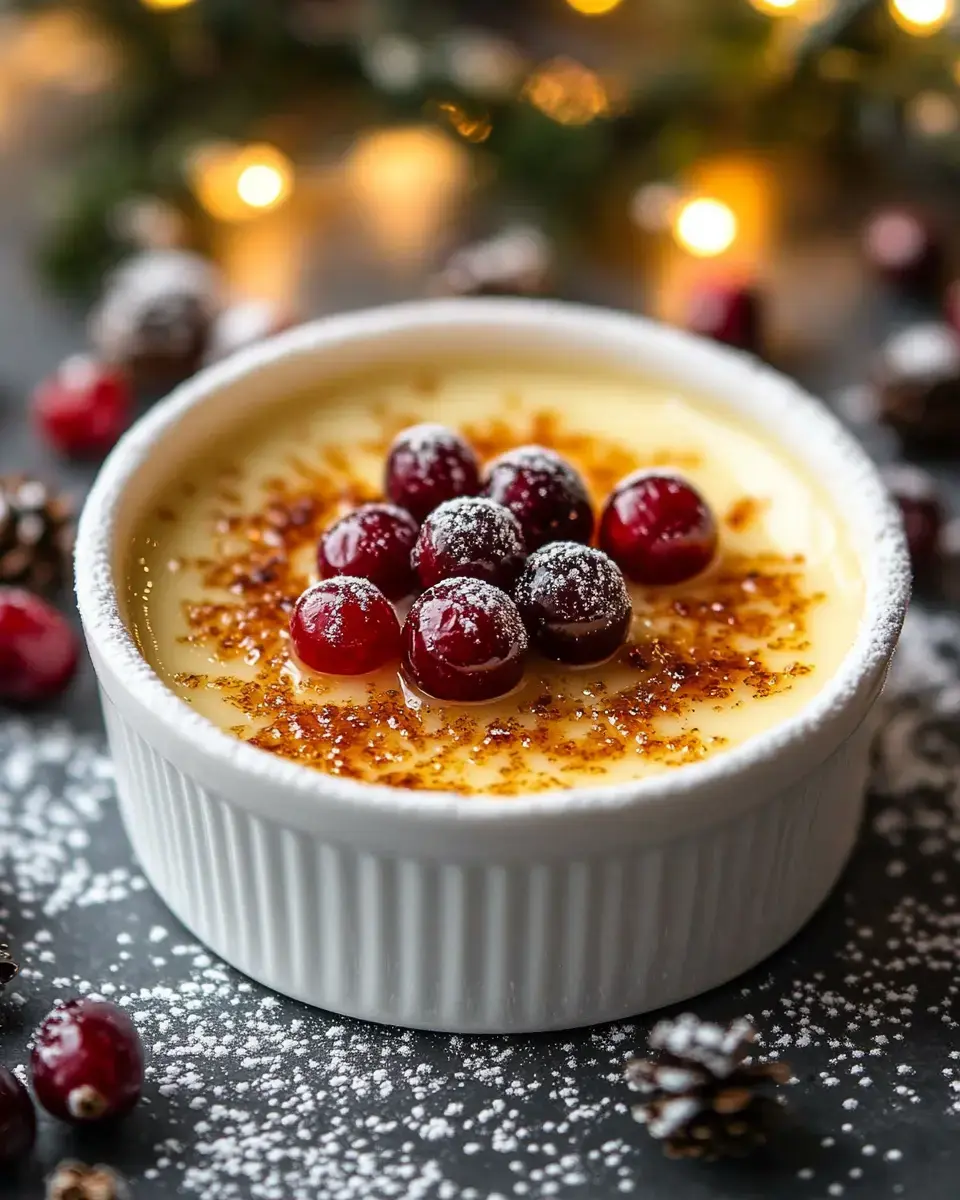
Here's a holiday dessert trick that seems super fancy but it's actually pretty easy. I stumbled upon this eggnog custard idea after Christmas when I had extra eggnog in the fridge. These days my family won't let me skip it during the holidays. There's nothing like breaking through that sweet crunchy top into smooth eggnog custard underneath – it's what holiday dreams are made of.
The Secret Behind This Method
What makes this work so well is how the eggnog pulls double duty by adding flavor and making the custard extra smooth. Regular crème brûlée can be tricky to get right, but eggnog actually makes the custard more stable and almost impossible to mess up. Better yet, it only needs five things you'll likely have around your kitchen during holiday time.
Ingredients and Tools
- Main Ingredients:
- 1 cup heavy cream
- 1 cup eggnog
- 5 large egg yolks
- 1/4 cup granulated sugar (plus extra for tops)
- 1/4 teaspoon ground nutmeg
- Equipment:
- 4 (5-ounce) ramekins
- Large baking dish
- Fine-mesh strainer
- Kitchen torch
- Large measuring cup with spout
Step-by-Step Directions
- Prep Work
- First, warm your oven to 300°F. Put your ramekins in a baking dish and start some water boiling. In a bowl, mix the yolks and sugar until they turn light and fluffy – this should take around 2-3 minutes.
- Mix Your Base
- Warm the cream and eggnog until tiny bubbles form at the edge. Now comes the important part – pour this hot mixture slowly into your eggs while constantly whisking. This keeps them from cooking too fast. Stir in the nutmeg and run everything through a strainer.
- Baking Setup
- Fill each ramekin with your custard mix, then carefully pour hot water into the baking dish until it reaches halfway up the sides of the ramekins. This gentle heat helps create that perfect smooth texture.
- Sweet Crunchy Top
- After they've cooled, dust sugar evenly across the tops and use your torch to melt it until it bubbles and turns golden. Let it cool down so it forms that classic hard shell.
Insider Tricks
Always strain your mixture before baking to catch any little egg bits for the smoothest result. The water bath isn't optional – it stops the custard from splitting. You'll know they're done when they wobble like jello but don't slosh around like liquid. My top trick for torching? Go in tiny circles for the most even brown crust.
My Best Tips
Always strain your mixture before baking to catch any little egg bits for the smoothest result. The water bath isn't optional – it stops the custard from splitting. You'll know they're done when they wobble like jello but don't slosh around like liquid. My top trick for torching? Go in tiny circles for the most even brown crust.
 Pin it
Tasty Variations
I sometimes put a dash of bourbon in the mix for extra coziness. Try different eggnog flavors too – the spiced rum version tastes amazing. No kitchen torch? Your broiler can work in a pinch, just keep a close eye on them. I've tried making these in shallow teacups for an old-school holiday look, but you'll need to tweak the cooking time a bit.
How to Serve and Store
You can make these up to three days before your event, but save the sugar burning step until right before serving. I like to add some sugared cranberries and a tiny rosemary sprig on top for a festive look. Store them covered in the fridge, but remember that crispy top won't stay crunchy forever, so try to serve them within an hour after torching.
Frequently Asked Questions
- → Why do my eggs look cooked?
The cream was too hot when you added it. Drizzle it in nice and slow while whisking hard. If lumps form, strain the mix before baking.
- → How can I tell it’s baked?
Jiggle the pan gently. The centers should wiggle slightly like jello but not look runny. They’ll set fully as they chill.
- → Can I prepare these in advance?
You can bake the custards up to 48 hours ahead. Just sprinkle the sugar and caramelize the tops right before eating.
- → Don’t have a torch?
Use the broiler in your oven instead, but keep a close watch. The sugar burns really fast, so don’t walk away.
- → How did water get in my dish?
Be careful pouring the water bath! A tip: put the pan in first, then add water. If water leaks in, start over—the consistency won’t work.