
 Pin it
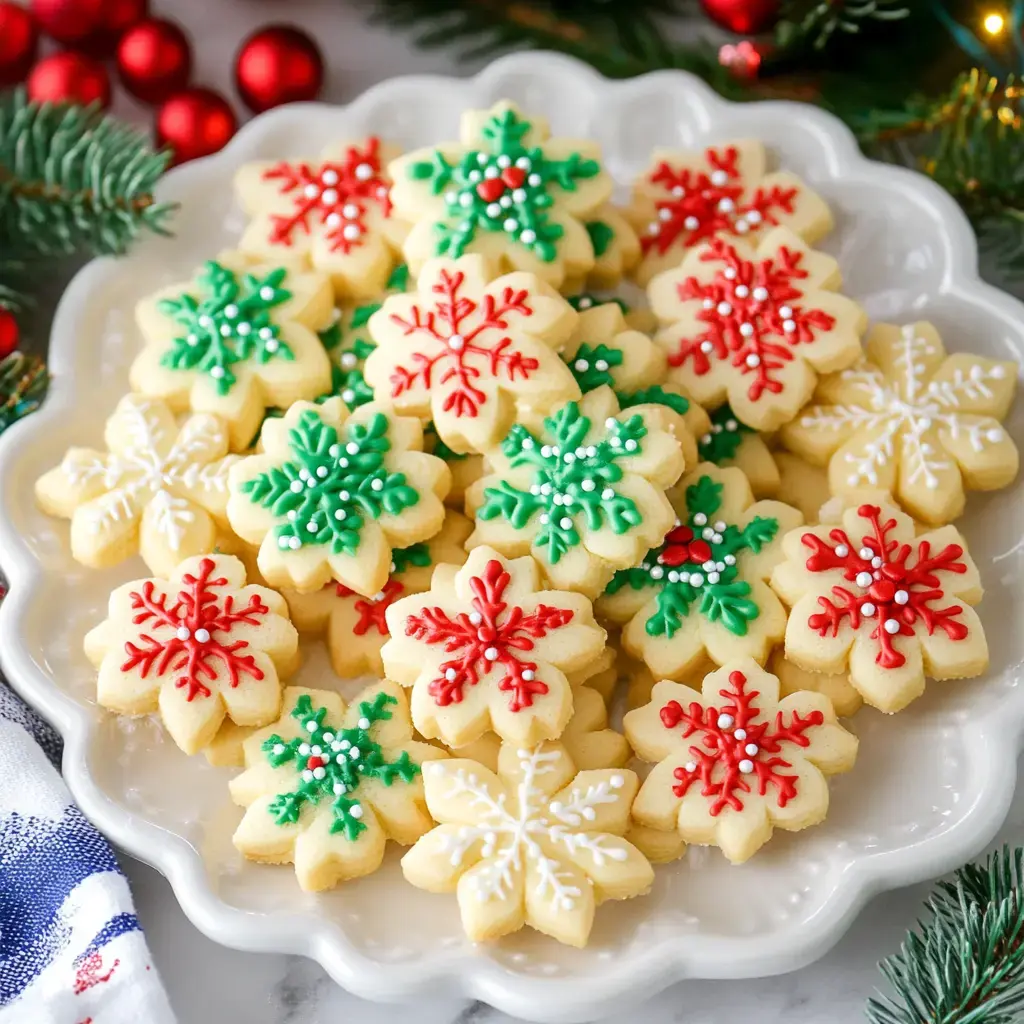
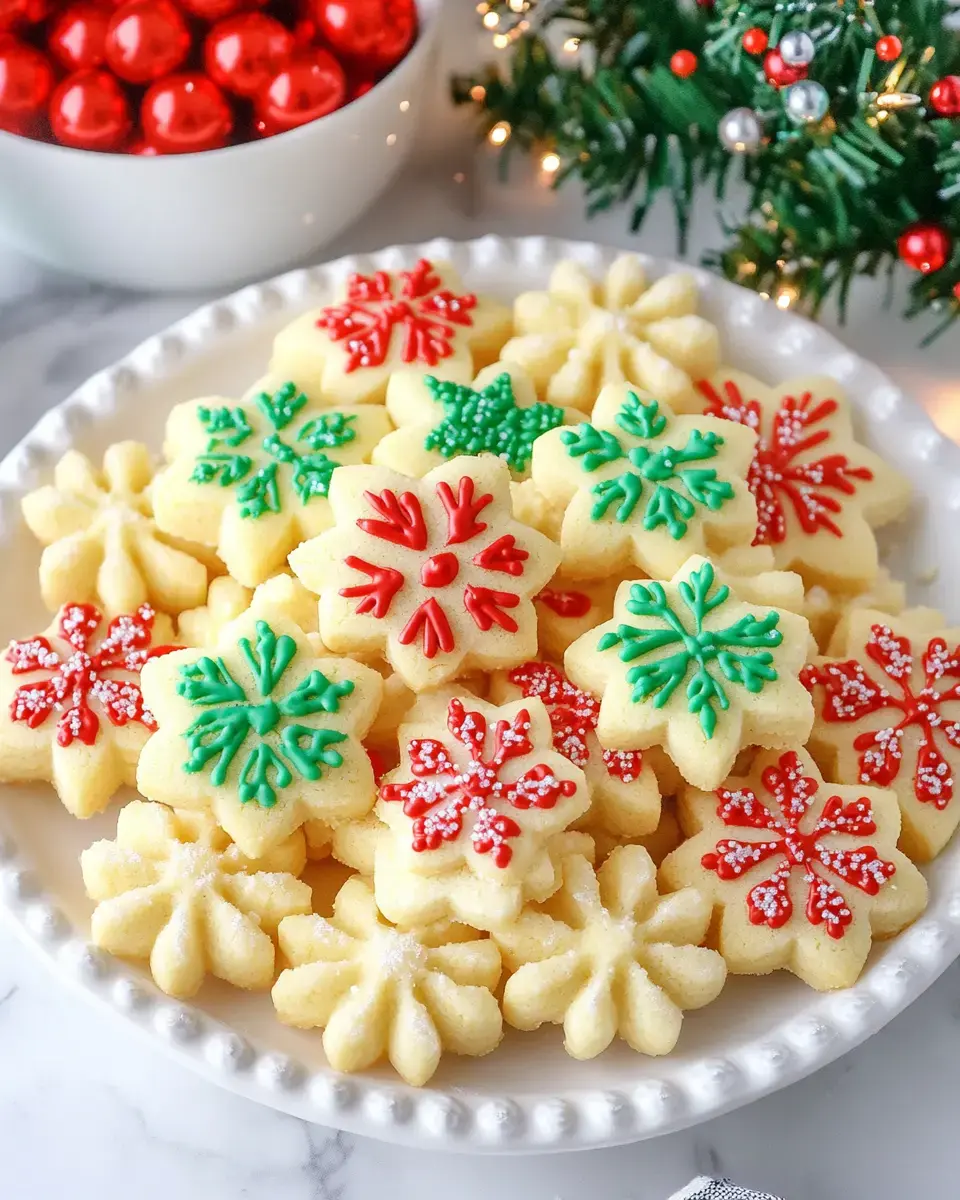
These homemade Spritz Cookies have a super easy method that results in wonderfully buttery, soft bites that'll upgrade your holiday baking game. By using a cookie press to shape these goodies into fun designs, you'll recreate these German-inspired treats with their amazing buttery foundation and subtle almond and vanilla notes. They look great with just a sprinkle of colored sugar or fancied up with chocolate bits and colorful sprinkles – they'll stand out on any cookie tray.
What Makes These Cookies Special
These spritz cookies blend the taste of butter cookies with shortbread's crumbly goodness, creating that divine melt-away feeling you won't find in any packaged version. You don't need to chill the dough, so they're super quick to make, and you'll get tons of cookies from just one batch. You can switch up their shapes and decorations however you want for birthdays, Christmas, or any celebration.
What You'll Need for Spritz Cookies
- Cookie Dough Stuff:
- 2 cups unsalted butter, softened
- 1 cup granulated sugar
- 2 large eggs, room temperature
- 2 teaspoons vanilla extract
- 1/2 teaspoon almond extract
- 4 1/4 cups all-purpose flour
- 1/2 teaspoon salt
- Fun Decorations:
- Colored sugar
- Nonpareils
- Mini chocolate chips
- Gel food coloring
- Tools You'll Want:
- Cookie press with design plates
- Ungreased baking sheets
- Electric mixer
- Cooling racks
Easy Baking Guide
- Mix Your Dough
- Whip butter and sugar together until it's fluffy and pale, roughly 3 minutes. Drop in eggs one by one, then pour in vanilla and almond extracts. Gently stir in flour and salt just until everything comes together.
- Add Some Color
- Split the dough and add gel food coloring to each chunk if you want. Mix until the color looks even but don't go overboard with mixing.
- Get Your Press Ready
- Stuff dough into your cookie press with whatever design plate you fancy. Press cookies straight onto cool, clean baking sheets without greasing them.
- Decorate Before Baking
- Scatter colored sugar or other pretty bits on top before they go in the oven. Push lightly so they stick well.
- Bake Till Perfect
- Cook at 375°F for about 5-7 minutes until they're done but not turning brown. Let them sit on the sheet for 2 minutes before moving to cooling racks.
Tricks for the Best Results
Always go with room temp butter for smooth dough. Don't let your dough get too warm while working. Wipe off the press plates between batches for crisp designs. If cookies aren't sticking to your pan, try cooling the baking sheet in the fridge. Never grease your baking sheets as it stops cookies from sticking properly. Always try one test cookie to check if your dough feels right.
 Pin it
Creative Finishing Touches
Mix and match different press shapes and dough colors for eye-catching treats. Pour some melted chocolate over cooled cookies. Stick two cookies together with chocolate or jam filling. Shake a bit of powdered sugar on top for a simple fancy look. During Christmas or other holidays, match your colors and sprinkles to the season. They make lovely gifts wrapped in clear bags or pretty tins.
Keeping Them Fresh
Keep them in a sealed container at room temp for up to a week. Put some wax paper between each layer so the designs stay nice. You can freeze the baked cookies for up to 3 months in airtight containers. Just let them warm up before you serve them. You can also make the dough 3 days ahead and keep it in the fridge, but remember to bring it back to room temp before using your press.
Frequently Asked Questions
- → What’s wrong with parchment paper?
The dough won’t stick properly on parchment, which is too slippery. Silicone mats are a better choice for pressing the dough.
- → How do I know the butter and sugar are ready?
You’ll see the mix turn pale and fluffy, usually after around 3-4 minutes of blending.
- → Can I give the dough some color?
Absolutely! Gel colors work well. Add small bits gradually so the dough doesn’t get runny.
- → How long can I store these cookies?
If you keep them sealed airtight, they stay tasty for up to 7 days.
- → Why are my cookies flattening too much?
If they spread too much, the dough’s probably soft or warm. Give it a quick chill in the fridge to firm it up.
Conclusion
These delicate cookies are a staple for holidays. Their soft texture comes from the buttery dough, carefully mixed and pressed into festive designs. Get creative with sprinkles or colors!