
 Pin it
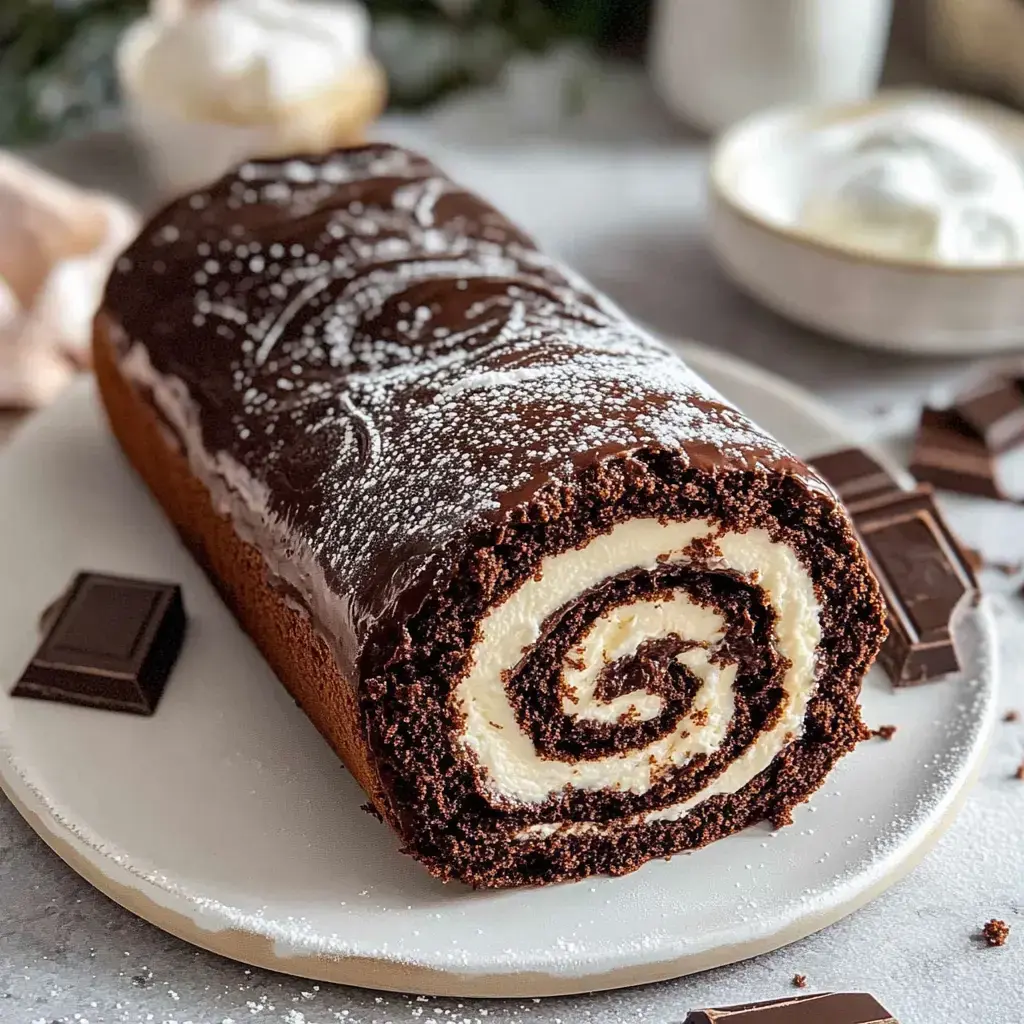
Luxurious Chocolate Swiss Roll Cake
After binge-watching so many cooking shows, I finally mastered this Swiss Roll Cake that's now my favorite showstopper dessert. Picture this: feather-light chocolate cake wrapped around billowy cream, all covered in smooth chocolate ganache. It might look complicated but once you get how to roll it properly, you'll actually enjoy making it. And nothing beats that wow moment when you cut into it and everyone's jaws drop.
What Makes This Treat Special
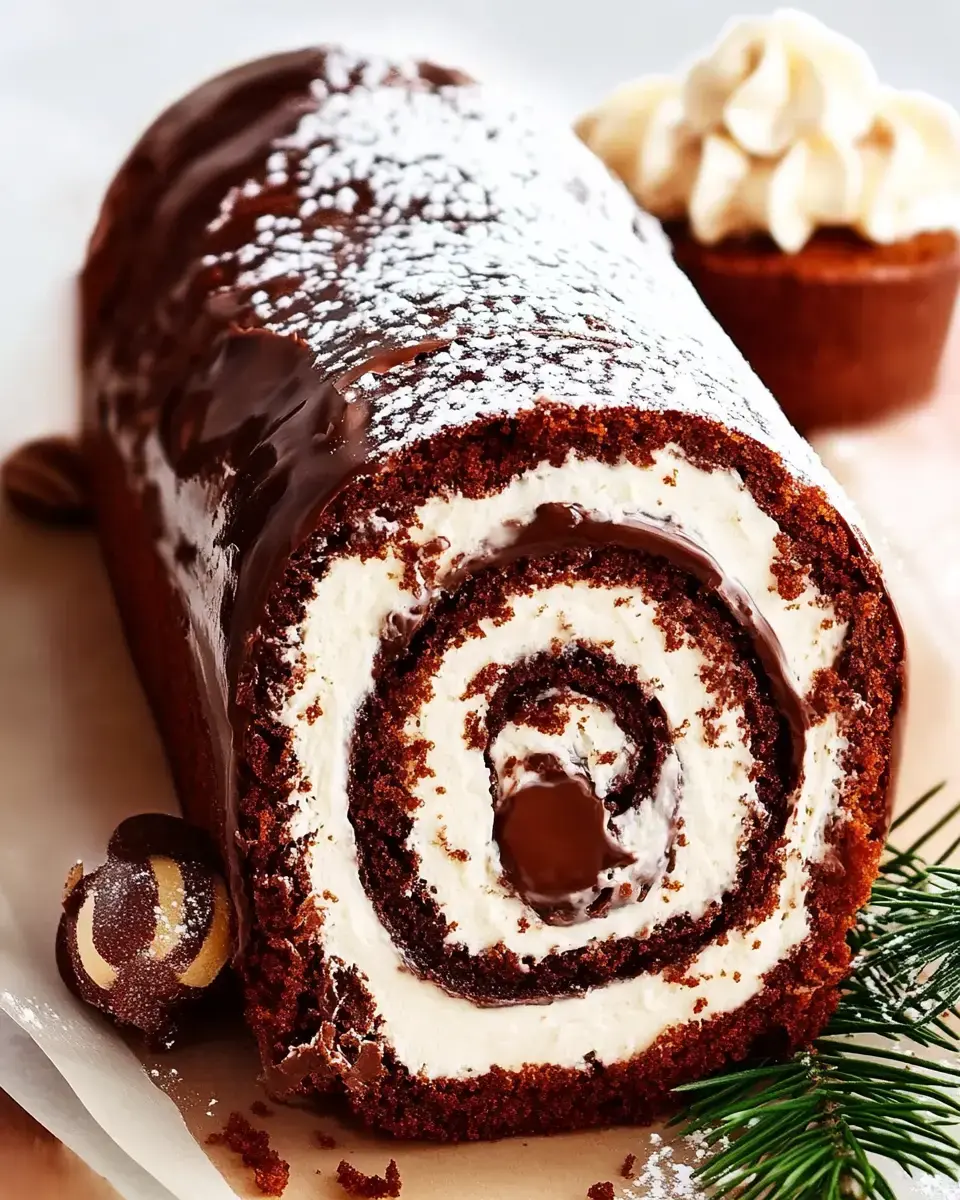
There's something truly wonderful about crafting a roll cake. I love how the still-warm cake curls up in its sugar dust blanket, then opens again for that luscious filling. You get the ideal mix of soft cake and thick cream in every mouthful. Whenever I take this to gatherings, nobody believes I made it myself.
What You'll Need for Chocolate Swiss Roll
- All-Purpose Flour: Basic pantry flour works great, no specialty types needed.
- Unsweetened Cocoa Powder: Don't skimp here - quality cocoa really matters.
- Sugar: Cuts through the cocoa bitterness and gives our cake its softness.
- Eggs: The key players for creating that incredibly airy texture.
- Vanilla Extract: Just makes the whole thing taste better.
- Heavy Cream: You'll use this for both the ganache topping and creamy filling.
- Powdered Sugar: Adds sweetness to the filling and helps with the rolling process.
- Cream Cheese: Brings a lovely richness and slight tang to your filling.
- Chocolate Chips: These will transform into your gorgeous ganache coating.
How To Make It
- Mix Your Batter
- Combine the dry stuff first, then add your eggs, sugar and vanilla until it's all smooth. Spread the mixture evenly across your lined baking tray.
- Cook It
- Stick it in the oven for around 11 minutes. Watch it carefully, we want it just barely done so it stays pliable.
- Do The Roll
- Turn your warm cake onto a tea towel sprinkled with powdered sugar, take off the paper and start rolling it up. Don't stress if it isn't perfect.
- Whip Up The Filling
- While the cake cools down, beat your filling until it's fluffy and light. Carefully unroll the cake, spread your filling all over and roll it back up tightly.
- Add The Ganache
- Warm up your cream, pour over the chocolate chips and watch them transform into shiny goodness. Cover your cake with it and let it firm up in the fridge.
Making Sure It Works
- Get The Right Pan: This particular size creates the ideal thickness for a good roll.
- Don't Let It Cool First: Rolling while it's still warm stops those annoying cracks from forming.
- Wait Till It's Cold: Your filling won't melt or leak out this way.
- Chill Before Cutting: This makes those pretty spiral slices much cleaner.
 Pin it
Keeping It Fresh
Your roll will stay great in the fridge for up to three days if you wrap it well. Want to plan ahead? Wrap it tight before adding ganache and stick it in the freezer for up to two months. Just let it thaw overnight in the fridge and add your shiny coating right before you serve it.
Mix It Up
- Try Different Fillings: I sometimes swap in marshmallow spread or chocolate mousse for something different.
- Change The Toppings: A simple sugar dusting or some caramel drizzle can really change things up.
- Seasonal Twists: During winter I love throwing in some peppermint flavor to make it more holiday-friendly.
Frequently Asked Questions
- → What’s the reason for rolling warm?
It stops cracks from forming when the cake cools and gets filled.
- → How does the towel help?
It keeps the cake from sticking and soaks up moisture while it cools down.
- → Can I prep this early?
Absolutely, make it up to 2 days early and keep it in the fridge.
- → Why cut the edges?
It makes the cake look tidy and shows off the pretty swirl inside.
- → Tips to avoid cracks?
Make sure not to overbake, and roll it gently while it’s warm.