
 Pin it
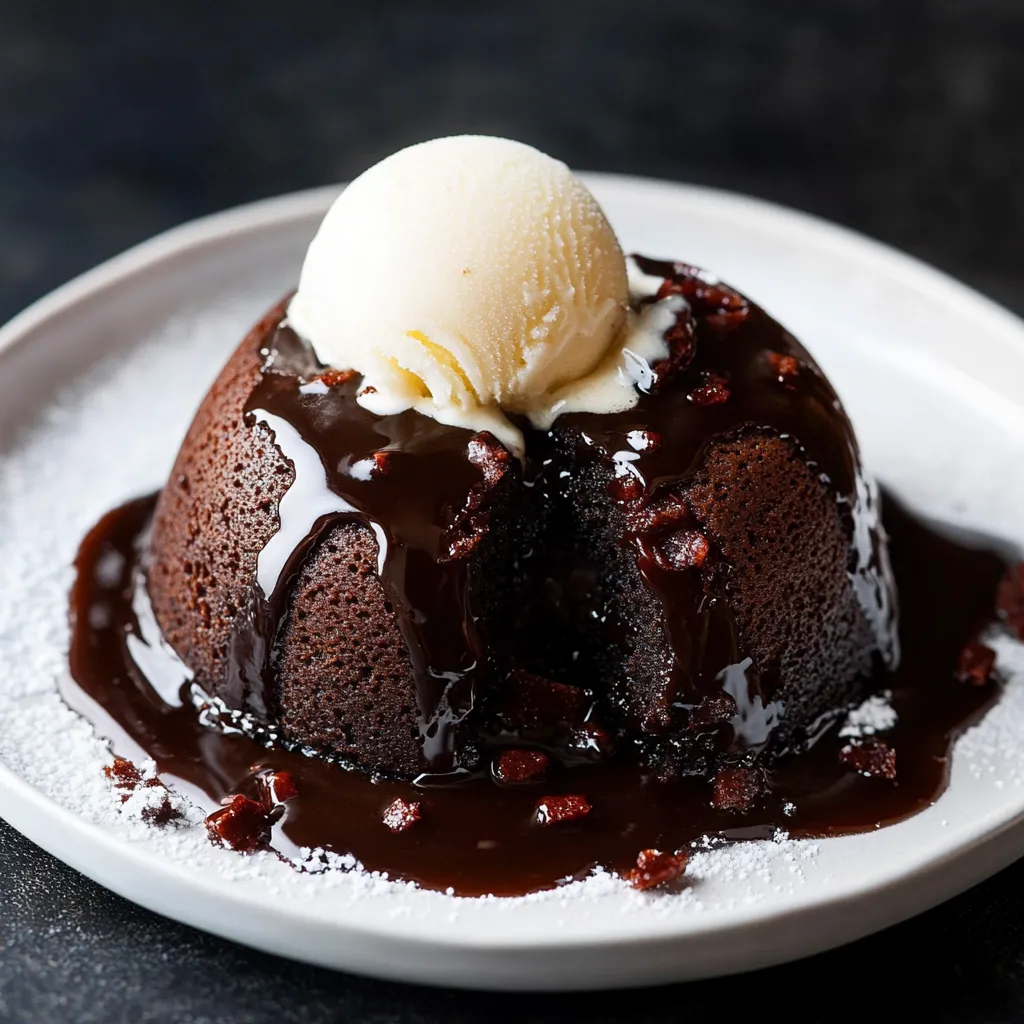
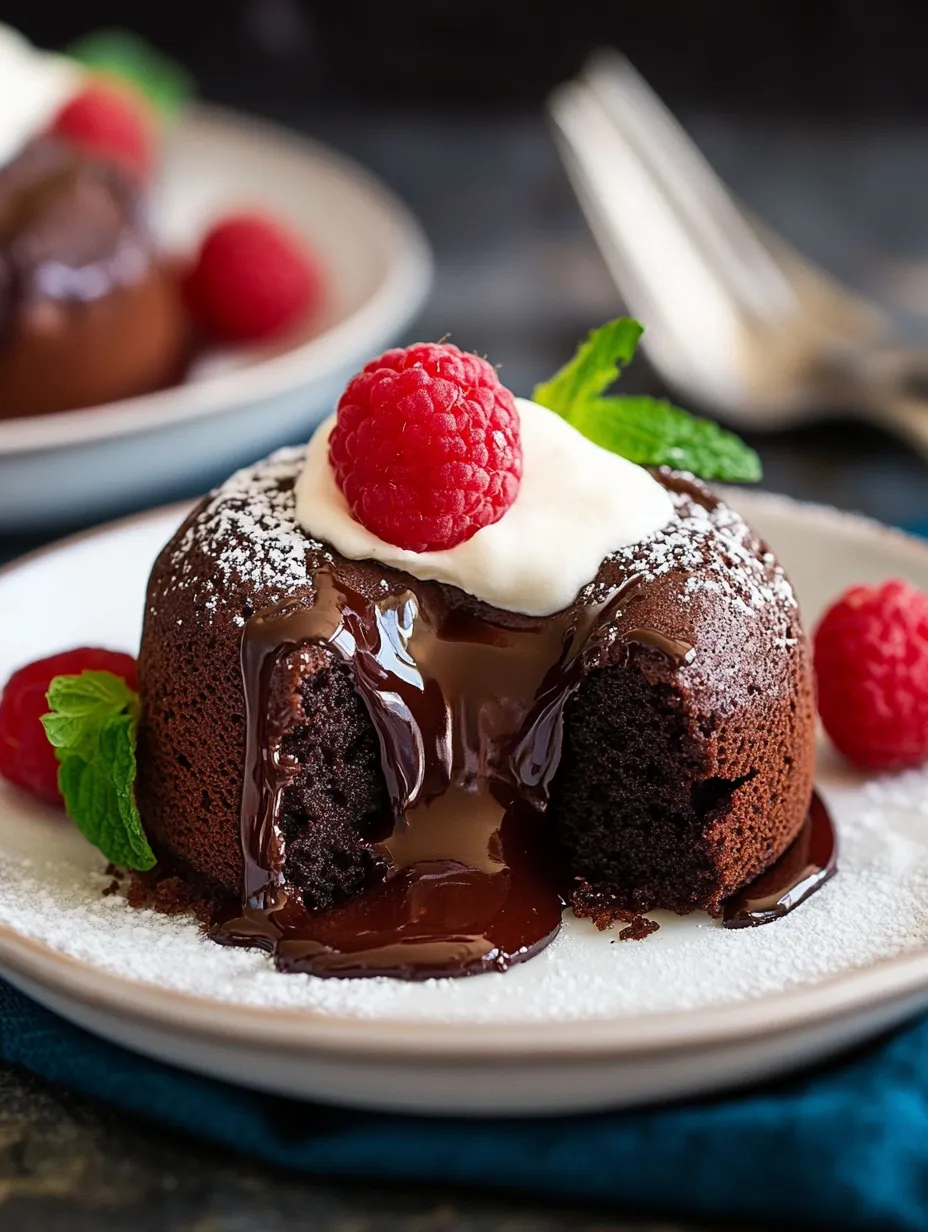
Picture slicing into a beautifully baked chocolate cake and seeing warm, gooey chocolate stream onto your plate. These Chocolate Lava Cakes make that magic happen every single time, using just 6 simple ingredients and taking only 25 minutes to make. Each cake has a soft outside that breaks open to reveal an amazingly runny center.
I tried these for a special night in and they completely changed how I think about homemade treats. The secret? Getting the timing just right and making sure your pans are properly prepped for that perfect gooey middle.
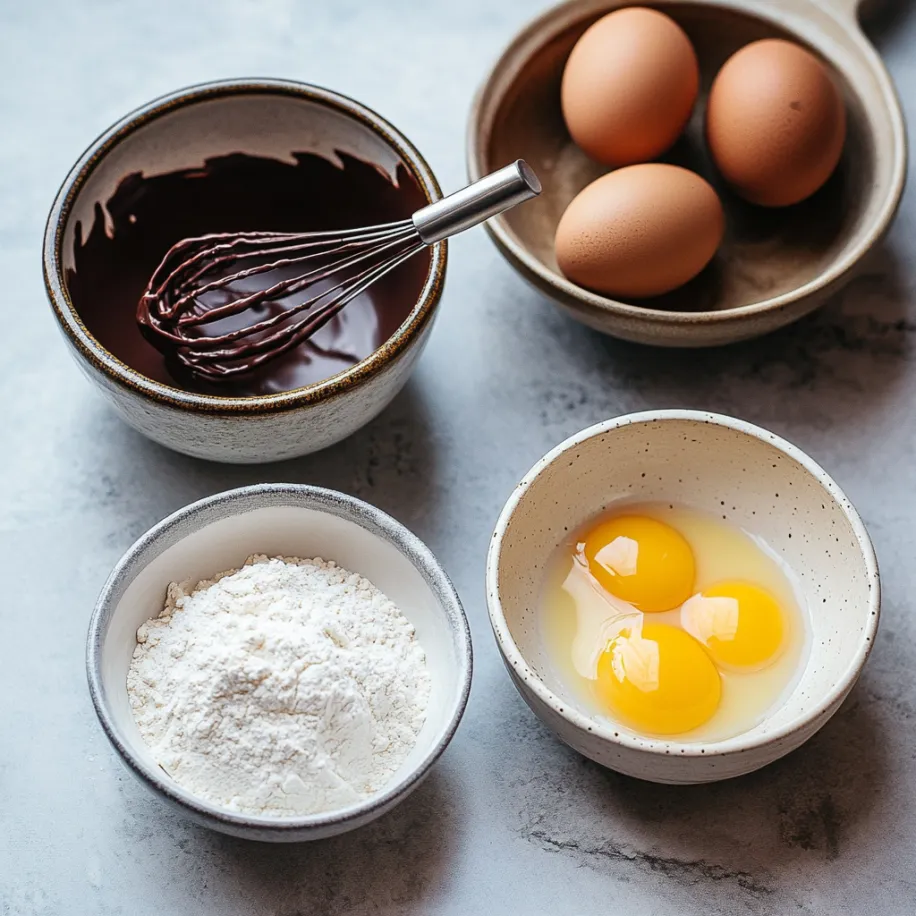
Key Ingredients and Helpful Picking Advice
- Semi-sweet Chocolate - Go for good quality baking bars, don't use chocolate chips
- Butter - Pick the unsalted kind to control how salty your cakes are
- Eggs - Let them sit out till they're not cold for better cake texture
- Flour - You'll need just a tiny bit to hold everything together while keeping centers runny
After trying loads of options, I've found chocolate with 60-70% cocoa gives you the best mix of sweet and rich flavors.
Step-by-Step Directions
- Getting Everything Ready
- 1. First, heat your oven to 425°F. Thoroughly coat four 6-ounce ramekins or six muffin cups with butter, then sprinkle with cocoa powder. This helps your cakes come out cleanly.
- Making The Chocolate Mix
- 2. Slowly melt your chocolate and butter until it's completely smooth. You can use low heat on the stove or zap it in 20-second bursts in the microwave, stirring after each. You want a shiny mixture with no lumps.
- Creating The Base
- 3. Beat the sugar and eggs hard until they're well mixed and a bit lighter colored. Add vanilla. Slowly pour in your melted chocolate while constantly stirring so you don't accidentally cook the eggs.
- Putting It All Together
- 4. Carefully mix in flour and salt just until they disappear. Don't stir too much or your cakes won't be soft. Pour the batter evenly into your prepared containers.
- Baking Just Right
- 5. Cook for 12-13 minutes in ramekins or 8-10 minutes in muffin tins. The sides should be set but the middles should still look soft. Don't leave them in too long!
 Pin it
From my experiments, I've learned it's always better to take them out a bit early than too late - you can't fix an overcooked middle once it's done.
Managing The Heat
Getting the temperature right matters a lot. Every oven works a bit differently, so check your cakes a minute before the time's up. Your perfect cake should have firm edges but wiggle a little in the middle.
Getting Them Out Perfectly
Let your cakes sit for exactly one minute after baking. Slide a knife around the edges, put a plate on top, then quickly flip everything over. Count to 10 before lifting the ramekin away.
 Pin it
Why Chocolate Type Matters
The chocolate you pick directly affects how your cake feels and flows. While any decent chocolate between 55-70% cocoa works fine, around 60% hits the sweet spot. Darker chocolates can make the center too thick, and sweeter ones might taste too sugary. I've noticed that cutting the chocolate into same-sized pieces before melting spreads the cocoa butter evenly, which really matters for getting that perfect gooey middle.
Using Different Pans Successfully
Though ramekins are the usual choice, muffin tins work great too. The metal heats up faster, so your baking time gets shorter. Small mini muffin tins make cute two-bite treats that only need 6-7 minutes to bake. If you're using dark-colored pans, turn the heat down by 25°F so the edges don't cook too fast before the middle sets right.
Getting The Serving Time Just Right
The trick is having everything ready when your cakes come out of the oven. Warm up your plates and get your toppings ready beforehand. I find setting up a little area with heated plates, prepared garnishes, and any extras makes the tight timing much easier. If you're adding ice cream, scoop it ahead of time and keep it in the freezer until the very last moment.
 Pin it
Pro Kitchen Tricks
- Make sure everything sits out till it reaches room temperature
- Get your ramekins ready before you start mixing anything else
- Check your oven with a thermometer to be sure it's right
After years of making these cakes, I've found that being prepared and watching the clock are what make them turn out great.
Wrapping Up
These Chocolate Lava Cakes show that amazing desserts don't need fancy techniques. With good timing and the right prep work, you can make restaurant-quality molten cakes at home. Whether you're cooking for someone special or celebrating something big, these cakes always create that wow moment when the chocolate center flows out.
Frequently Asked Questions
- → What's the best chocolate to use?
- Go for baking bars such as Baker's or Ghirardelli instead of chocolate chips
- → Can I make these with Double-Stuf Oreos?
- Stick with regular Oreos for the best texture and outcome
- → Why should I mix oil with the chocolate?
- It helps the coating flow better and makes dipping much easier
- → Is it okay to freeze these treats?
- Absolutely, they'll stay good for up to 2-3 months in the freezer
- → What about trying different Oreo types?
- Regular, Golden, and Mint varieties all turn out great