
 Pin it
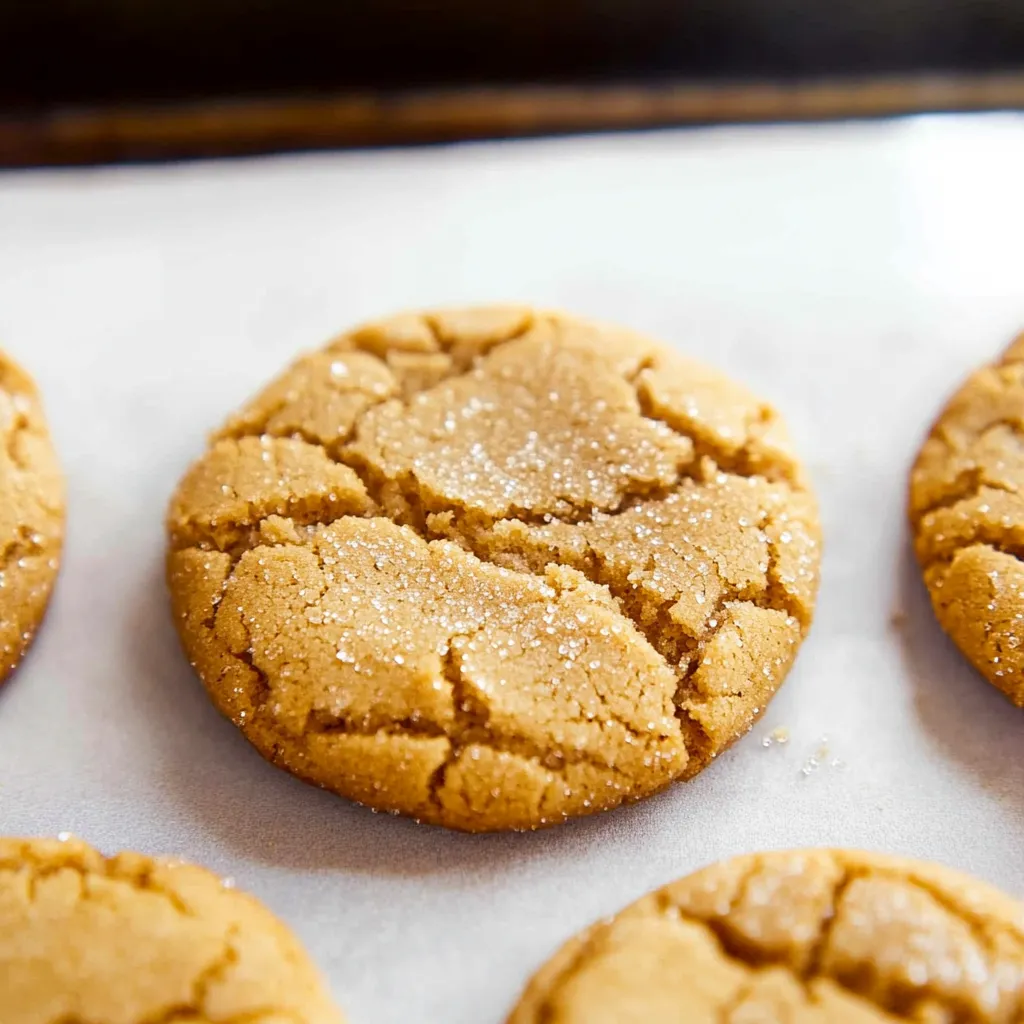
Caramel-like brown sugar cookies combine deep flavors with a soft, chewy bite and cracked tops that look amazing. These buttery treats work great as an upgrade from plain sugar cookies with their richer taste that doesn't need any frosting to be delicious.
I whip these cookies up when friends drop by without warning or when I'm craving something sweet but don't want to spend hours in the kitchen. The wonderful butter smell that fills up the house while they're cooking makes the whole process almost as good as eating them.
Essential Cookie Components
- Unsalted butter: Go for good quality with 82% fat or more for the best taste and feel. Let it sit out for 30 minutes to soften naturally. You'll brown half of it for flavor while the other half helps with structure.
- Brown sugar: Gives these cookies moisture and chewiness thanks to its molasses content. Light brown offers subtle sweetness while dark brown brings stronger molasses flavor. Both work great depending what you like.
- Large egg plus one more yolk: Creates just the right mix of structure and richness. That extra yolk really boosts chewiness and gives these cookies their amazing melt-in-your-mouth quality.
- Pure vanilla extract: Boosts all the warm flavors. Try to find real vanilla without fake stuff. Madagascar bourbon vanilla pairs wonderfully with brown sugar tastes.
- All purpose flour: Gives cookies their shape while keeping them soft. Unbleached flour has more protein that helps cookies hold together and get the right chewiness.
- Baking soda: Works with the acid in brown sugar to make cookies rise and then sink into those beautiful cracks we love.
- Fine sea salt: Cuts the sweetness and makes every flavor pop. Don't ever leave this out as it turns plain sweetness into something much more interesting.
Cooking Steps
- Getting The Butter Ready:
- Take half the butter and melt it in a light-colored pan over medium heat. Keep an eye on it as it melts, foams up, and starts turning golden with a nutty smell. Pour it into a bowl right away (with all those tasty brown bits) and let it cool a bit before moving on.
- Making Your Dough:
- Put your slightly cooled brown butter, the rest of your soft butter, and the brown sugar in a big bowl. Beat everything with a mixer until it looks fluffy and light, about 2-3 minutes. Add your egg, extra yolk, and vanilla, then mix another minute until everything's blended well.
- Putting In Dry Stuff:
- Add your flour, salt, and baking soda to the wet mix. Stir carefully and scrape the sides of the bowl so everything mixes evenly. Your dough should look soft but stick together. Put the bowl in the fridge and let it chill for at least 30 minutes.
- Forming And Baking:
- Heat your oven to 350°F and line baking sheets with parchment. Use a scoop to form even balls of dough, putting them at least 2 inches apart since they'll spread a lot. Bake around 10 minutes until the edges turn golden but centers stay soft.
- Letting Them Rest:
- Leave cookies on the hot baking sheet for 3-5 minutes after taking them out of the oven. They'll keep setting up during this time and will break if you move them too soon. After this short rest, carefully move them to a wire rack to finish cooling.
 Pin it
My family really loves the deep sweet taste in these cookies. Even my sister, who usually stays away from desserts, asks for these when she visits because they're not just sugary but complex. The brown butter adds a grown-up flavor that even picky eaters enjoy.
Tasty Flavor Boosters
The brown butter step turns these from good cookies into amazing ones. When you cook butter until the milk solids turn brown, you get amazing toffee flavors throughout the cookie. This quick five-minute trick gives you huge flavor payoff for very little work.
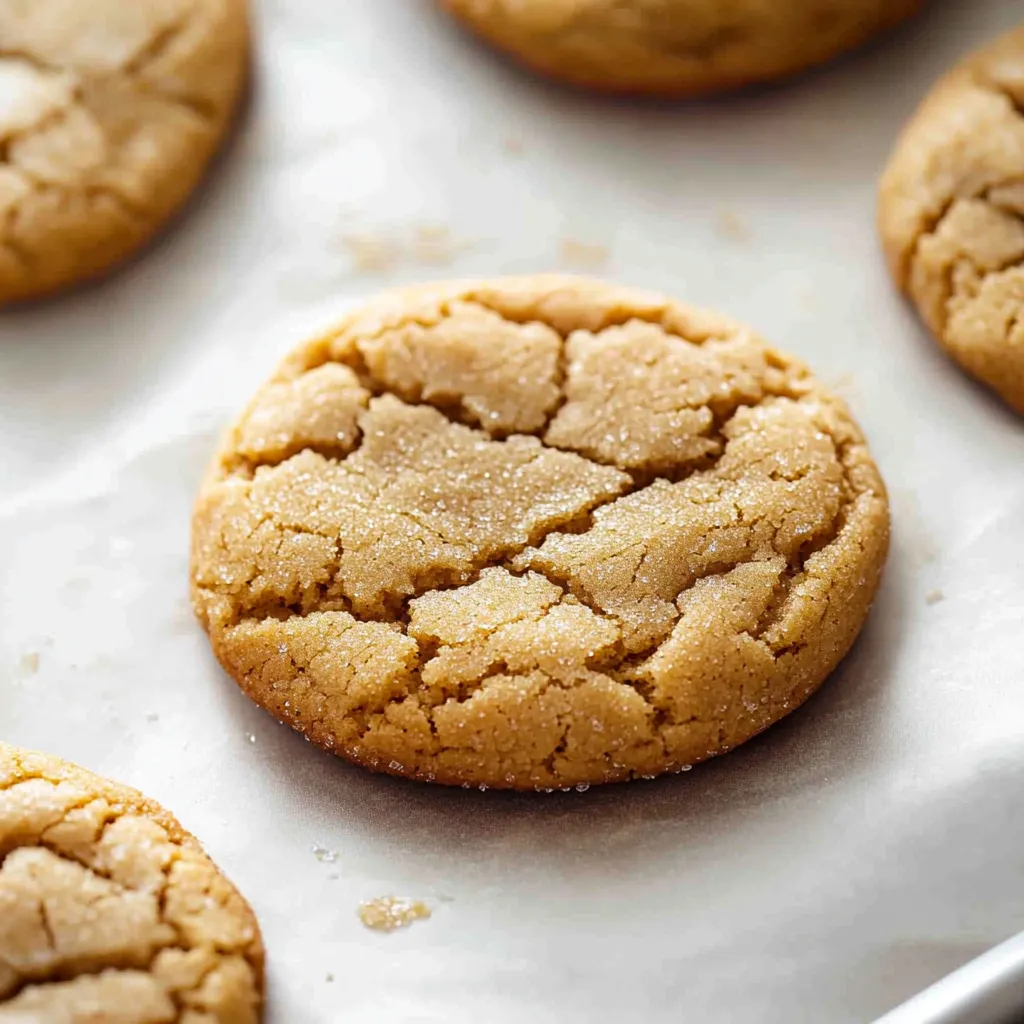
Getting The Right Softness
The key to perfect texture is timing. You want to slightly underbake them so they stay soft in the middle but get crispy around the edges. Look for golden edges with middles that still look a bit raw when you pull them out.
Think About How Many
Think about how many cookies you need. This dough freezes really well, so you can bake just what you want. Roll the dough into balls, freeze them on a tray until hard, then put them in freezer bags for up to three months. You can bake them straight from the freezer, just add a minute or two to the cooking time.
Tasty Changes
Using light or dark brown sugar makes noticeably different cookies. Light brown gives you a milder, more classic cookie while dark brown creates intense cookies with stronger molasses flavor. Try using half of each type for something in between.
Keeping Them Soft
Once they've cooled completely, store your cookies in sealed containers at room temperature. Put parchment between layers so they don't stick together. They'll stay perfectly chewy for about five days, though they rarely last that long in most homes.
Saving For Later
These cookies freeze great as dough or after baking. Baked cookies can be frozen up to three months if wrapped well. Let them thaw at room temp while still wrapped so moisture doesn't make them soggy.
 Pin it
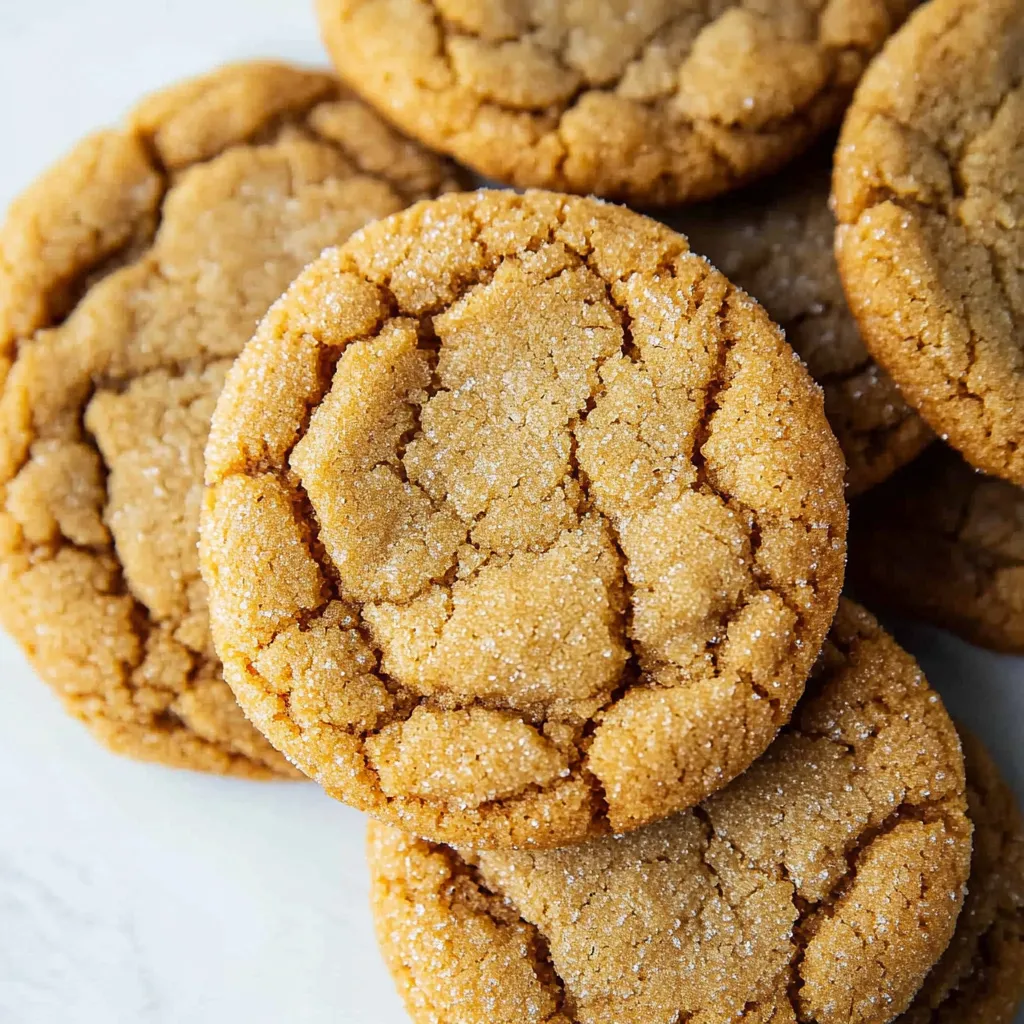
These brown sugar cookies are comfort food baking at its best. They might look simple, but they pack complex flavors that wow people with every bite. When I bring these out with coffee after dinner, everyone goes quiet for a moment as they enjoy that first amazing taste. Sometimes the easiest recipes end up being the most memorable.
Frequently Asked Questions
- → What’s different about light and dark brown sugar?
- Dark brown sugar has more molasses, which means deeper caramel hints. Light brown sugar’s flavor is more subtle. A mix strikes a good balance.
- → How can I tell if butter’s browned enough?
- You’ll know the butter’s ready when it changes to a golden-amber color and smells nutty. After melting, this takes another 3-5 minutes.
- → Is it okay to freeze the dough?
- Yep! Scoop the dough into balls, freeze them on a tray, then store in a freezer bag for up to three months.
- → Why did my cookies turn out flat?
- This might happen if the butter was too warm, there wasn’t enough flour, or the dough wasn’t chilled enough. Try adding a touch more flour and chilling longer.
- → What’s the best way to store these?
- Pop them in an airtight container, and they’ll stay fresh for up to 5 days at room temp. You can also freeze them for up to 3 months.