 Pin it
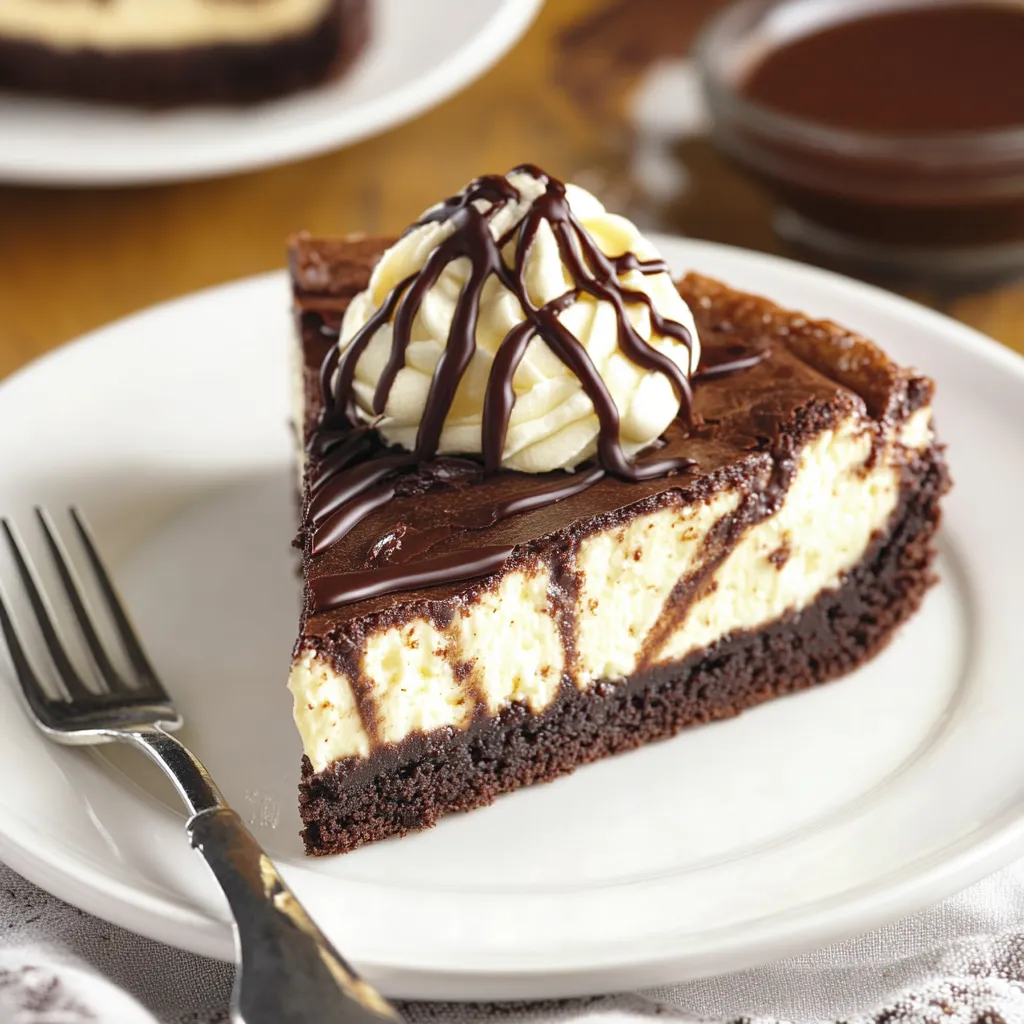
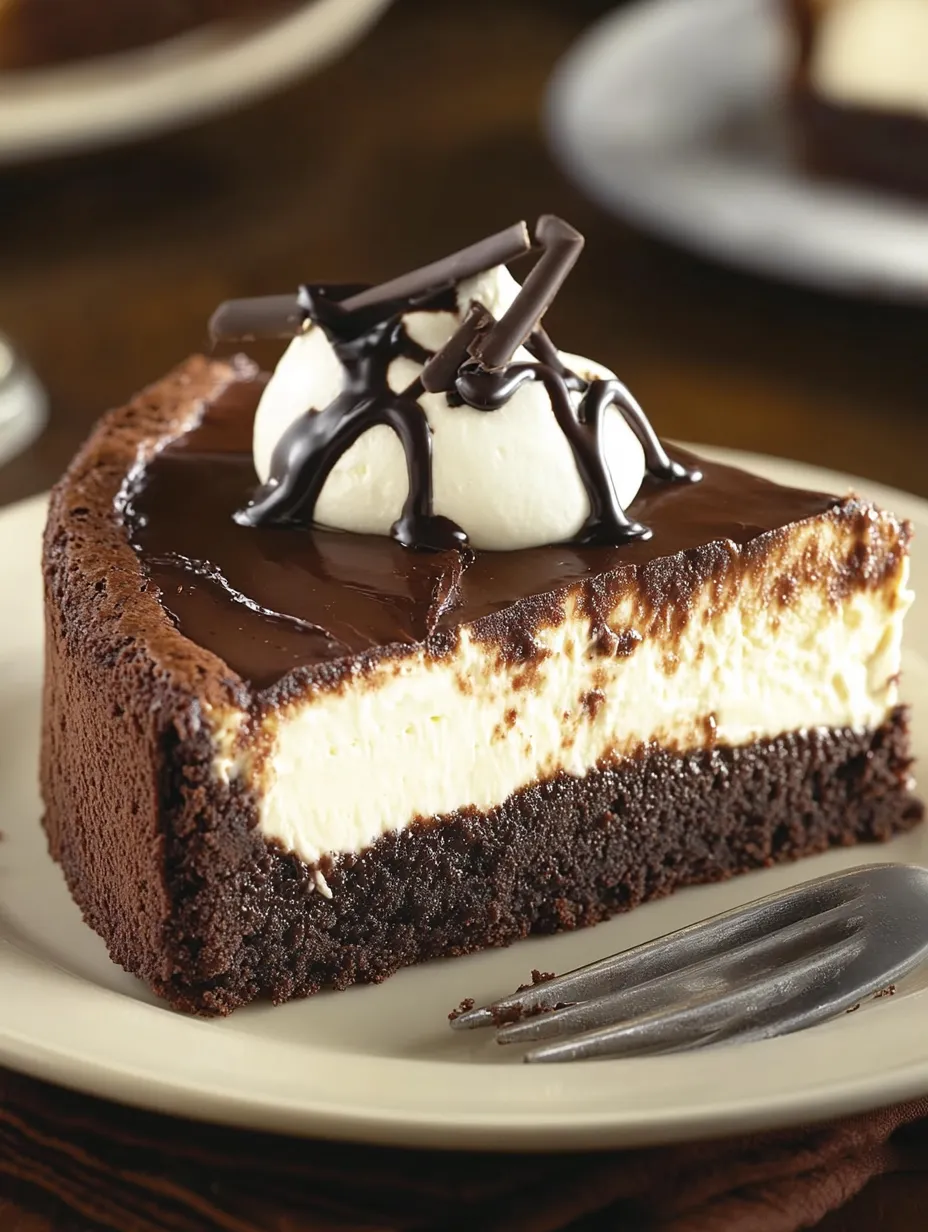
Chocolate-dense brownie meets smooth, creamy cheesecake in this mouthwatering dessert that brings two favorite classics together in one mind-blowing treat. The way the thick chocolate foundation contrasts with the silky cheesecake top creates something truly special for your palate. I've made this Brownie Bottom Cheesecake my standard pick for birthdays and celebrations, and it's become such a hit in our house that it's gone before anyone can ask for another piece!
The first time I whipped up this cheesecake for my sister's birthday party, everybody's jaws dropped when we saw those perfect layers. The brownie base had those slightly crunchy edges but stayed super gooey in the middle - it completely changed our family get-togethers forever.
Key Components and Smart Selection Advice:
- Cream cheese: I always go with Philadelphia because it makes the creamiest cheesecake around. Stick with full-fat for the most luxurious results
- Sour cream: This gives you that slight tanginess and creates the texture we all love in New York cheesecakes. Get the full-fat kind and let it warm up completely
- Heavy cream: Try to grab "heavy whipping cream" instead of regular "whipping cream" since the extra fat helps everything stay firm
- Brownie mix: Go for something fudgy rather than cakey. I've tried lots and Ghirardelli Double Chocolate works amazingly well
Clear Step-by-Step Cooking Guide:
- Getting everything ready
- Put your oven rack right in the middle so heat spreads evenly
- Take your time with the parchment paper, making sure it's snug in all the corners
- Give the pan sides a good spray of cooking oil, especially where the pieces connect
- Make sure cold ingredients sit out at least 2 hours to warm up properly
- Making a killer brownie base
- Just mix until everything comes together - too much mixing makes tough brownies
- Knock the pan on the counter a few times to get air bubbles out
- Keep an eye on it during the first bake - you want it just firm enough to hold cheesecake
- The top should look slightly dry but still be soft inside
- Nailing the cheesecake part
- Beat the cream cheese by itself first until it's completely smooth
- Clean the sides and bottom of your bowl often with a spatula
- Pour in other stuff slowly to avoid lumps
- Use a rubber spatula to mix in the eggs by hand, counting as you stir
- The cooking method
- Keep that oven door shut the whole time - don't check on it!
- Look for the wiggle test - the edges should be set but the middle still wobbles
- Set timers for each cooling stage - don't rush this part
- You'll know it's done when it starts pulling away from the sides slightly
 Pin it
I learned the trick to that perfect brownie foundation from my grandma, who always told me slight underbaking was the secret. She showed me that a fudgy brownie layer would keep everything moist and stop the cheesecake from drying out during its long stint in the oven.
Getting That Instagram-Worthy Slice:
Getting the temperature right is everything for beautiful slices. I keep hot water in a tall glass nearby and dunk my knife between cuts, wiping it clean with a paper towel. This little trick makes every piece look like it belongs in a fancy cookbook.
How It Changes Overnight:
What's really cool about this dessert is how it gets better after sitting. The brownie gets even more fudgy while the cheesecake turns silkier. That's exactly why I always make it a day early - waiting really does pay off.
Ways to Serve It Up:
It's awesome by itself, but I love setting up different toppings. Fresh fruit, warm caramel, chopped nuts, and chocolate shavings let everyone fix their slice just how they want it. This DIY approach was super popular last time I had friends over.
Keeping It Fresh:
The trick to storing this cheesecake is wrapping it right. Once it's totally cool, I put a paper towel on top (it soaks up moisture) before covering with plastic. This stops those annoying water drops from forming on your beautiful cheesecake.
I've tried tons of cheesecake recipes over the years, but this Brownie Bottom version still stands as my best accomplishment. The mix of rich, fudgy brownie with smooth, vanilla cheesecake creates something truly special. It takes some patience and care, but the final product is totally worth every minute you spend. Just remember, even if you get a crack or two, some whipped cream can hide anything, and it'll still taste amazing. In my life, I've found the slightly imperfect desserts often carry the most love and create the best memories when we're all gathered around the table.
Tasty Twists to Try:
Don't be scared to play around with this recipe! You can swap the brownie base for blondies or even cookie dough. For the cheesecake part, try adding almond, lemon, or peppermint flavors for something different. You can also mix in fruit purees, chocolate chips, or nuts into the batter for extra flavor and texture. Some combos I really love include:
- Peanut Butter Dream: Use peanut butter brownie mix and swirl peanut butter through the cheesecake. Sprinkle chopped peanut butter cups on top.
- Cookie Madness: Mix crushed Oreos into both the brownie and cheesecake parts. Finish with more crushed cookies on top.
- Sweet and Salty: Pour caramel sauce over the brownie before adding cheesecake. Add a pinch of sea salt before serving.
 Pin it
Why Cooling Matters So Much:
Cooling your cheesecake slowly is super important if you want to avoid cracks. When you take something hot from the oven and put it in cool air, it shrinks too fast and splits. By letting it cool down gradually in the oven with the door cracked open, you help it adjust to the temperature change slowly, which stops those cracks from forming. Don't skip this step if you want it to look amazing.
Making It Look Extra Special:
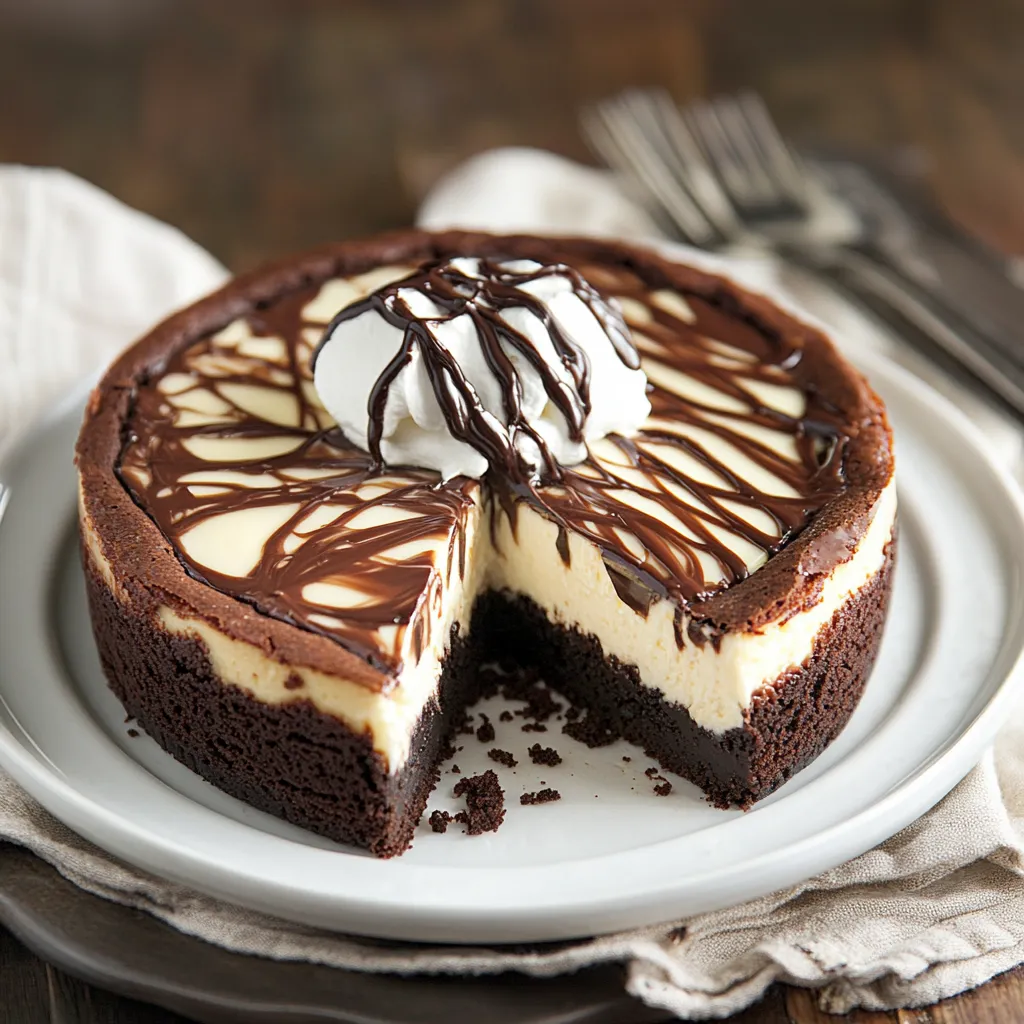
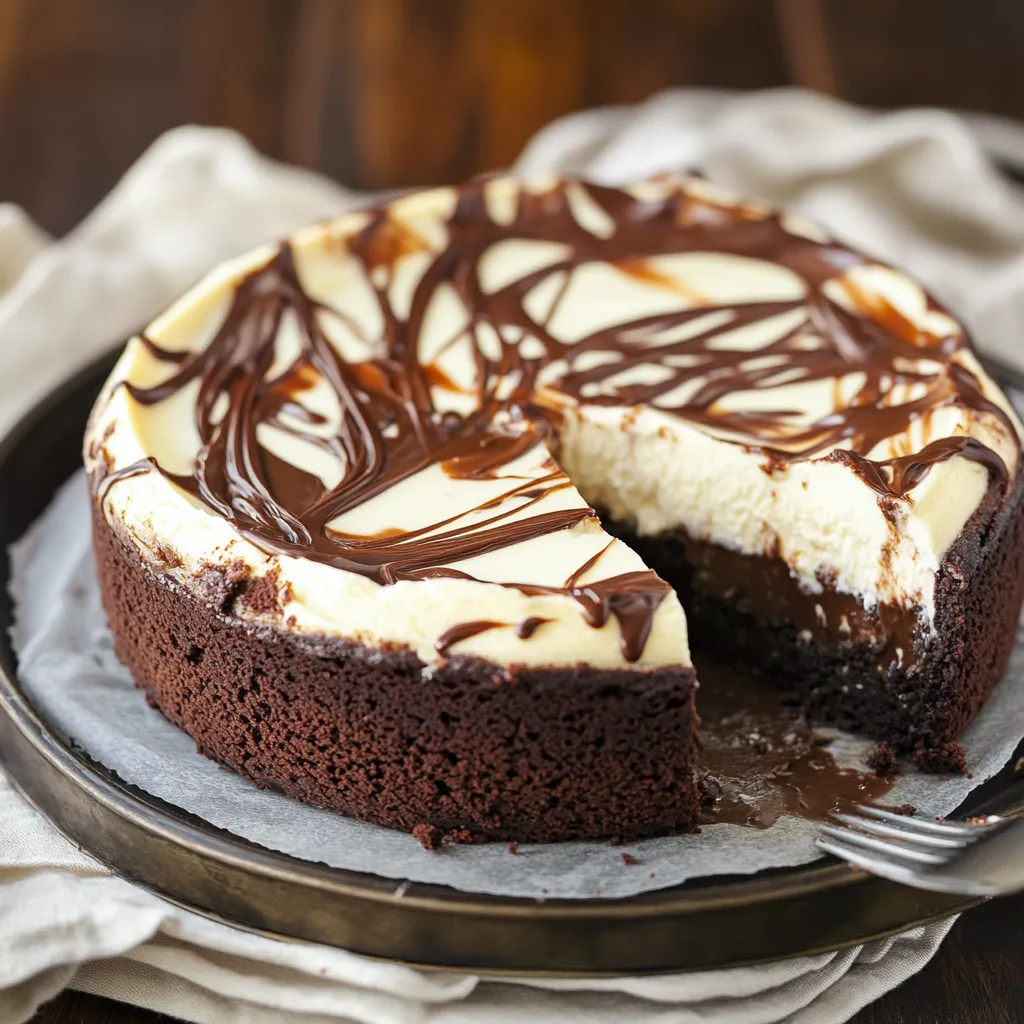
A nice presentation turns this from just tasty to totally impressive. I like to take off the springform sides after the cheesecake is fully chilled, then run a thin knife around the bottom to free it from the base. This gives you clean, neat edges. You can move it to a pretty plate and dress it up with fresh berries, whipped cream, or chocolate curls. A drizzle of chocolate or caramel sauce makes it look even fancier.
 Pin it
No Gluten Needed:
If you or your friends can't eat gluten, you can still enjoy this amazing dessert. Just use a gluten-free brownie mix and double-check that all your other ingredients don't contain gluten. There are lots of great gluten-free brownie mixes out there that make a super fudgy base. You could also make a crust from almond flour, butter, and sugar instead. This way, everyone gets to enjoy this yummy treat.
From all my years in the kitchen, I can tell you this Brownie Bottom Cheesecake wins people over every time. It's the perfect mix of fudgy, chocolatey brownie and smooth, tangy cheesecake. It takes some time and care to make it right, but trust me, it's so worth it. Your family and friends will be amazed, and this might become your go-to dessert for special times. Remember, baking is about sharing love and making memories, so enjoy making it and savor every bite!
Frequently Asked Questions
- → Why avoid overmixing eggs?
- Stirring eggs gently keeps air out, helping to stop cracks from forming in your cheesecake.
- → Is a water bath needed for this?
- Nope, you can skip the water bath! Letting it cool slowly takes care of any cracking worries.
- → Can I make this dessert in advance?
- Absolutely! Cover it well and it’ll stay fresh in the fridge for up to five days.
- → Why bake the brownie part first?
- This guarantees a gooey, dense base rather than a dry, overdone bottom layer.
- → Is it freezer-friendly?
- Yes! Keep it safely wrapped and it’ll freeze up to three months. Just thaw it overnight in the fridge.
