
 Pin it
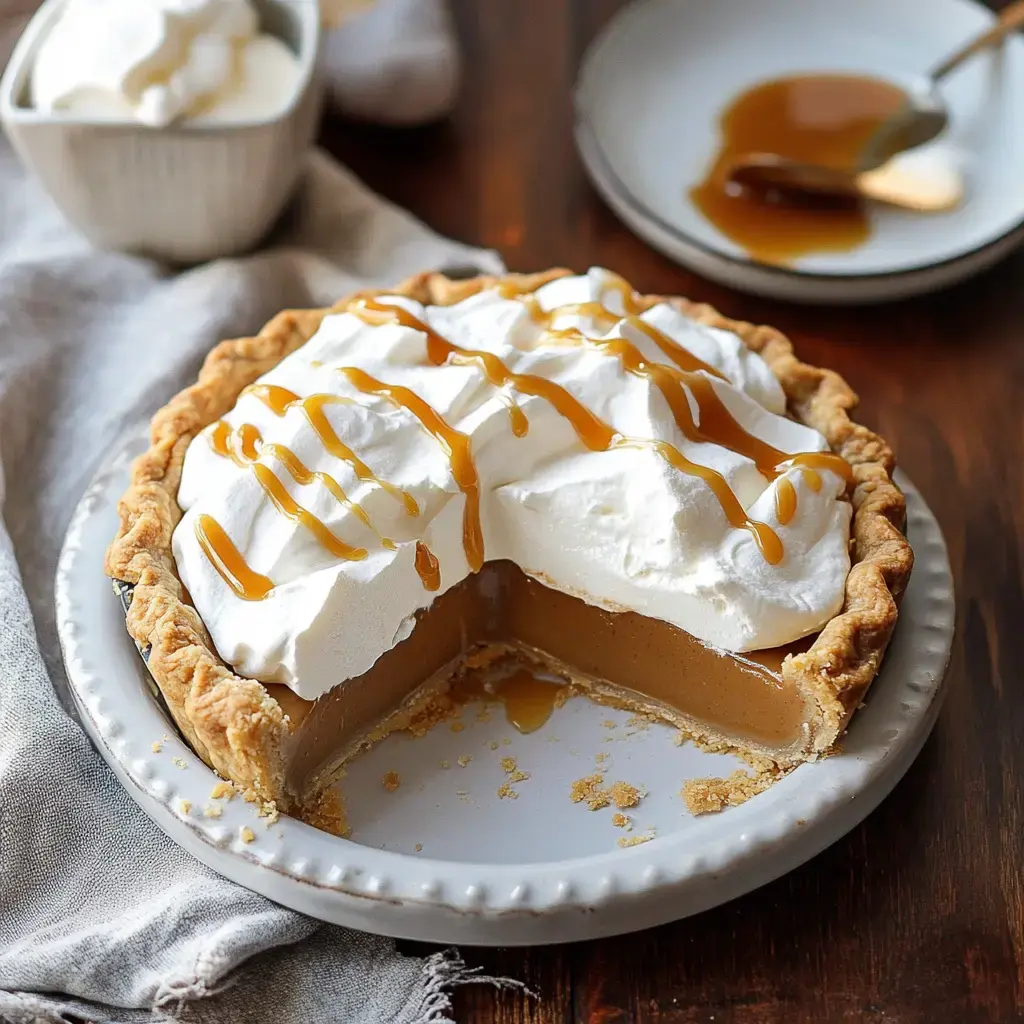
Velvety Golden Butterscotch Pie
Making this Butterscotch Pie always sends me straight back to grandma's kitchen. We're not talking about the quick boxed pudding stuff here—this is authentic butterscotch, slowly cooked until it turns super deep and intense, then poured into a crispy crust with fluffy fresh whipped cream on top. It's the dessert that makes folks shut their eyes and let out a happy sigh with that first taste.
What Makes This Recipe Special
There's something truly wonderful about crafting butterscotch by hand. You get to see sugar change into amber treasure, then melt into cream and set up as a smooth, silky filling. What I love most? You can fix it up beforehand to cut down on party stress. And don't forget that priceless moment when everyone's faces light up as you set it on the table.
What You'll Need For Butterscotch Pie
- Pie Crust: Cook this until it's perfectly brown—it holds everything together.
- Dark Brown Sugar: The secret behind that intense butterscotch flavor we're looking for.
- Egg Yolks: These make our filling incredibly lush and velvety.
- Heavy Cream: You'll want this for both the filling and that dreamy whipped topping.
- Whole Milk: Don't skimp with low-fat—the real stuff makes your custard extra smooth.
- Butter: Adds that magic touch, especially in our filling.
- Vanilla Extract: A little bit pulls all the flavors into harmony.
- Rum, Bourbon, or Scotch: Add a dash if you're feeling adventurous—it's not needed but tastes amazing.
- Cornstarch: This gets our filling to stand up perfectly.
Making It Step By Step
- Get Your Crust Ready
- Begin with a beautifully baked golden crust. I usually do this part the day before—saves tons of time on baking day.
- Create Your Butterscotch Base
- Combine your dark brown sugar, cornstarch, egg yolks and milk in a container. Then comes the exciting part—making caramel and watching sugar transform into gold. It's pure kitchen magic. Keep whisking as you add cream—it'll hiss and bubble but don't stop.
- Mix And Heat Everything
- This step needs some patience—slowly pour that egg mix into your caramel while whisking non-stop. Keep cooking until your thermometer hits the sweet spot, then throw in your butter, vanilla and maybe that splash of booze if you want.
- Put It Together
- Pour your golden treasure into the crust, smooth it out and let it cool overnight. The waiting is definitely the toughest part.
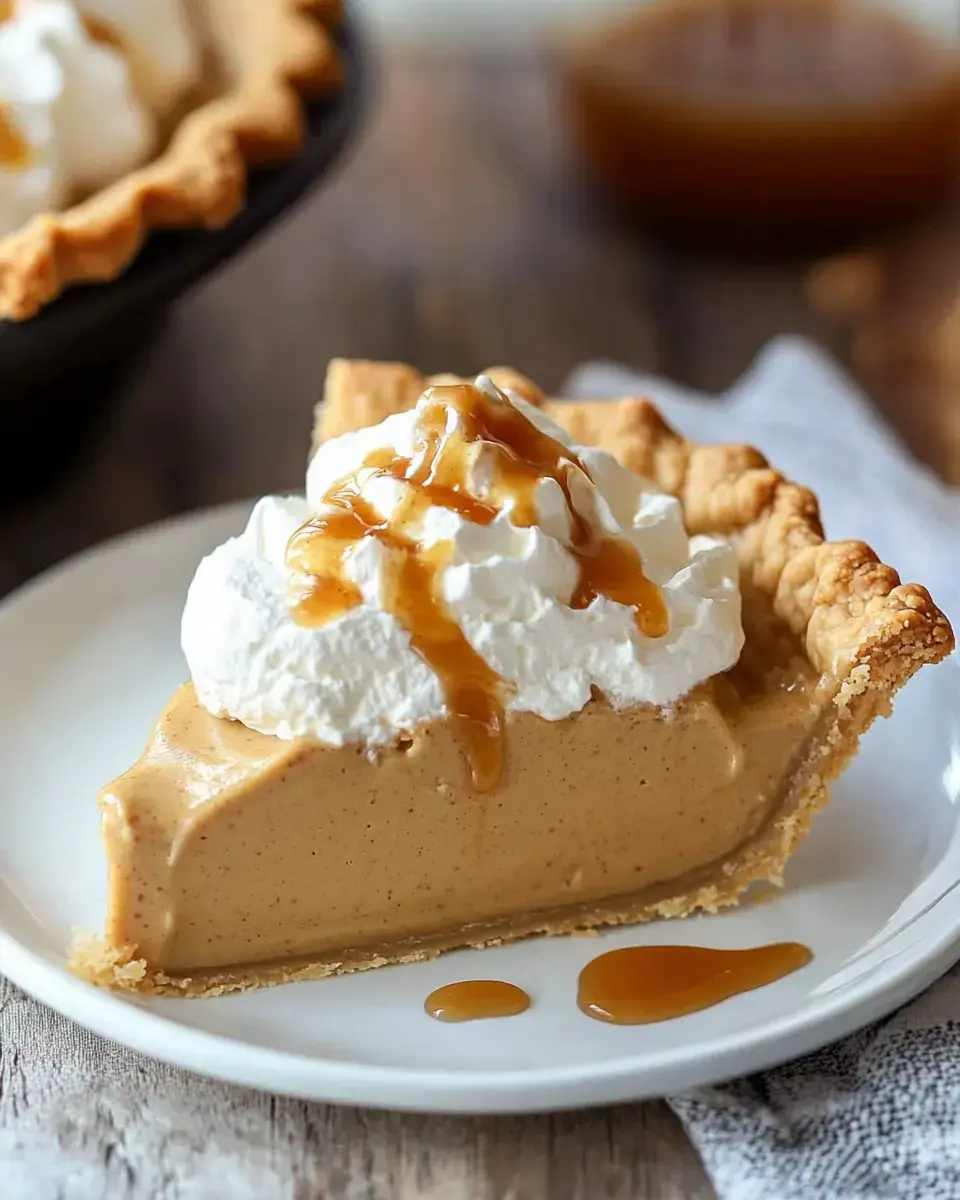
- Finish With Cream
- When you're all set, beat some cream with a bit of dark brown sugar and vanilla. Stack it high on your pie and watch everyone get excited.
Making It Perfect
- Use Dark Brown Sugar: Go find the dark stuff for that rich, molasses taste.
- Watch Your Caramel: Don't turn your back—it can burn in just moments.
- Use A Thermometer: It takes away all the guessing for perfect results.
- Split The Work: Doing it in stages makes the whole process way easier.
 Pin it
Keeping And Serving It Fresh
This pie stays good in your fridge for three days, but don't add that fluffy whipped cream until right before you serve it. Want to make it super early? Pop it in the freezer without the topping, then let it thaw in your fridge overnight when you need it.
Different Ways To Make It
- Salty Sweet Version: Pour some salted caramel sauce on top for an amazing twist.
- Add Some Crunch: I sometimes sprinkle roasted pecans over the whipped cream—it's absolutely wonderful.
- Try A Chocolate Base: How about a slim chocolate layer between the crust and filling? So good!
Frequently Asked Questions
- → Why let ingredients warm up?
Stops the pudding from curdling or clumping while cooking.
- → Can pre-made crust work?
Sure, but make sure to bake it empty first.
- → Why skip crumb crust?
It’s too fragile to hold the rich, creamy filling properly.
- → How far ahead can I prep this?
Make it up to two days in advance, or pop it in the freezer for up to three months.
- → Why is dark sugar better?
It gives a richer, deeper flavor that light sugar can’t match.