
 Pin it
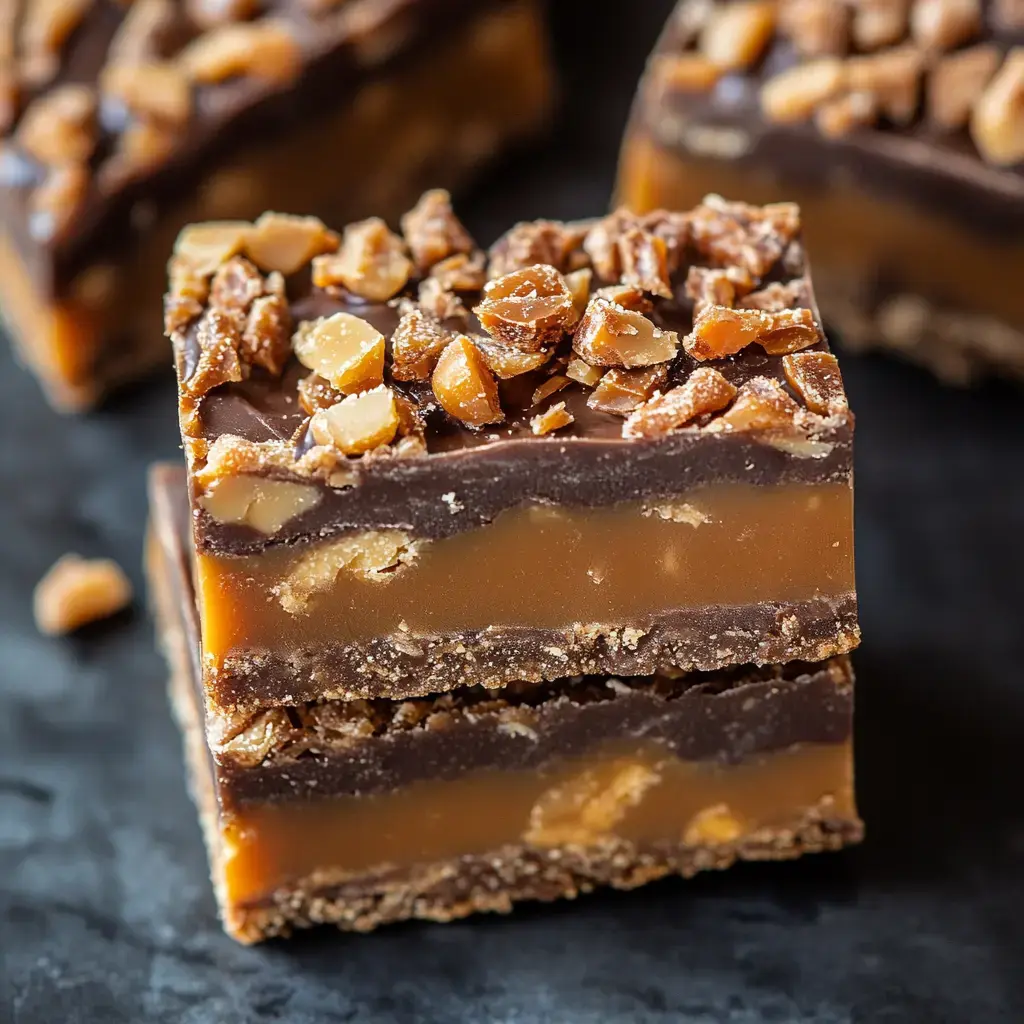
I gotta tell you about these dessert bars that started a friendly free-for-all at our community bake sale! I played around with different candy mixtures until I came up with these Butterfinger Caramel Crunch Bars that everyone now begs me for. The combo of that buttery graham base, sticky caramel, and Butterfinger chunks all covered with silky chocolate is truly candy paradise! My children actually fought over who'd get to finish the last square.
What Makes These Bars So Tempting
These aren't your run-of-the-mill treats! Each section adds something unique from the snappy graham foundation to the glossy chocolate coating. Just last month when I shared them at my kid's team celebration, the coach wanted them for every upcoming match! Even my buddy who swears she doesn't like sweet stuff couldn't stop grabbing more.
Ingredients You'll Want
- For The Base:
- Graham cracker bits homemade works best
- Actual butter melted down
- White sugar
- For The Filling:
- Chewy caramels or caramel chunks
- Thick cream
- Loads of crushed Butterfinger candy
- For The Top:
- Quality semi-sweet chocolate morsels
- Extra butter
- Additional Butterfinger bits for decoration
Getting Down To Baking
- Building Your Tasty Foundation
- We start by making that rich graham cracker base. While it bakes your home fills with cookie shop smells! My kids always hang around hoping to clean the mixing bowl.
- Creating Caramel Wonder
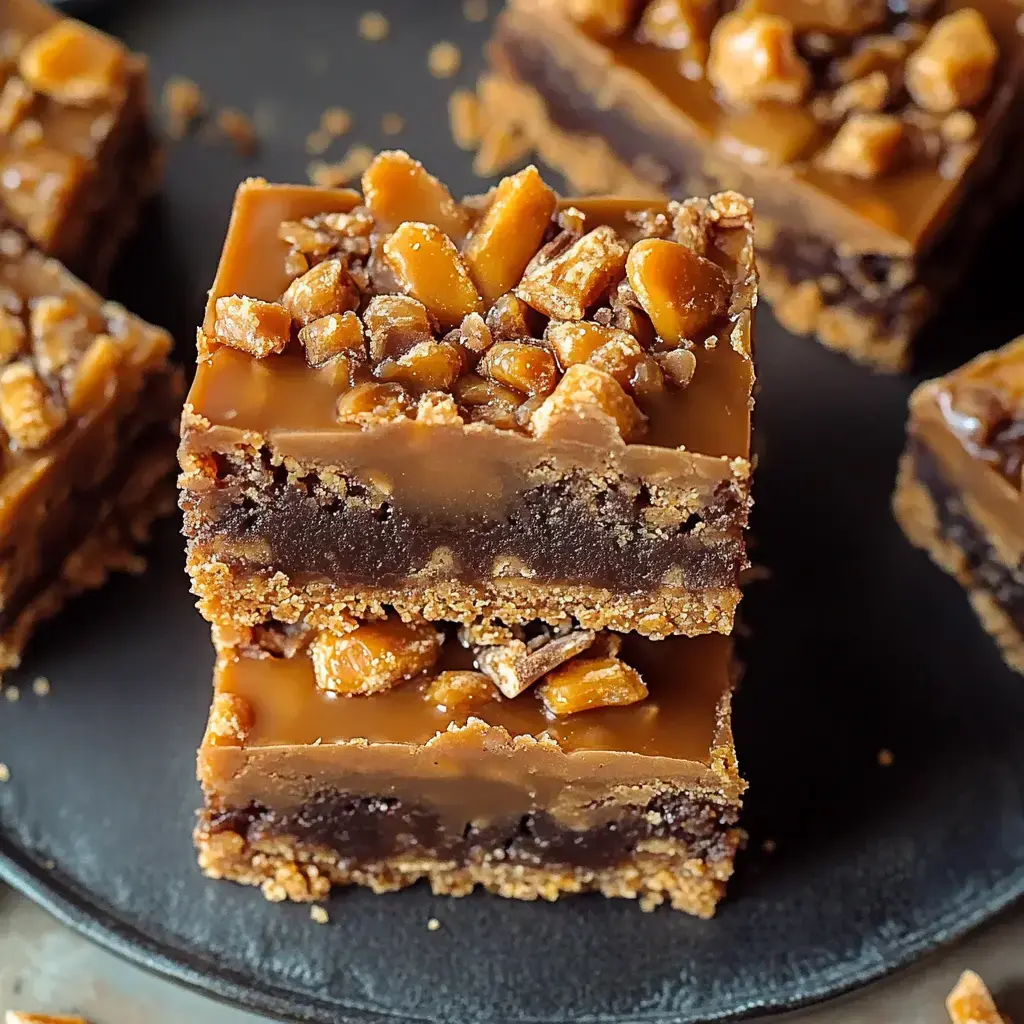
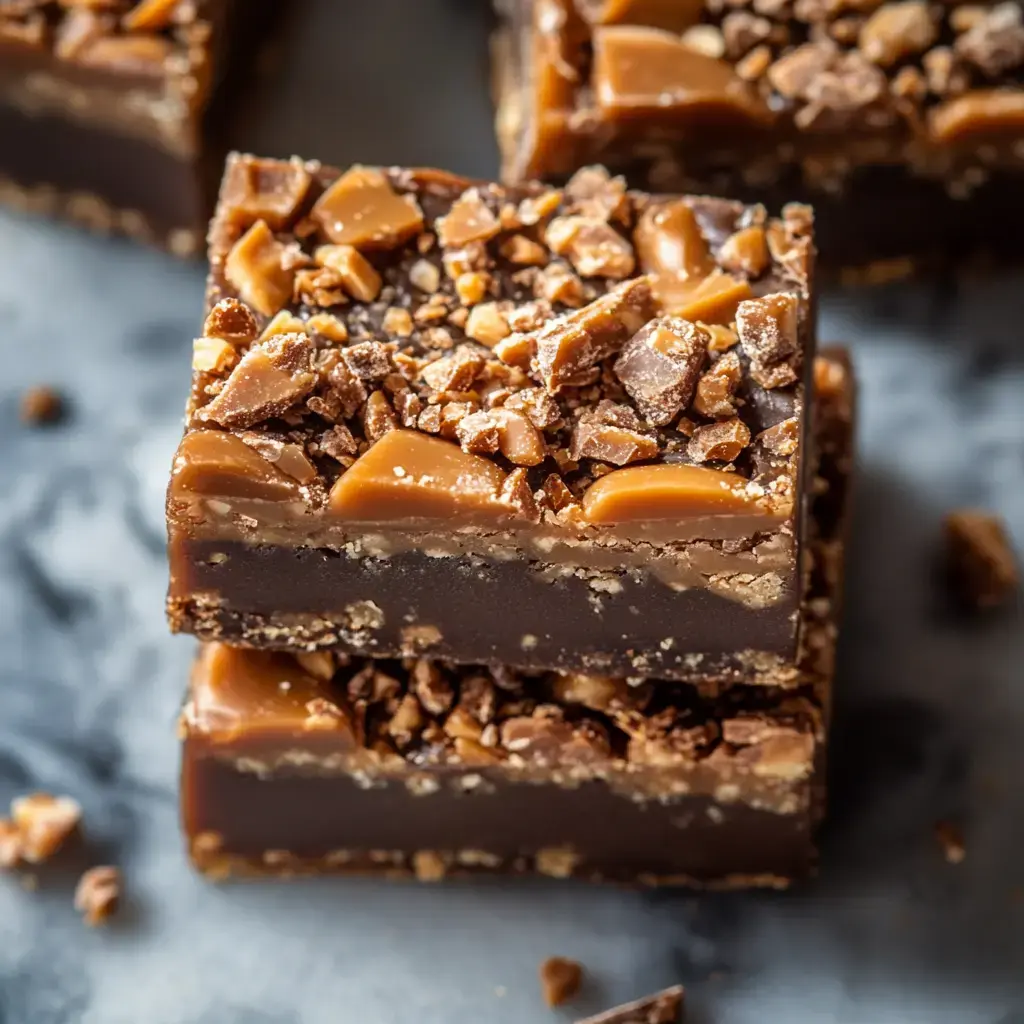
- Mixing caramel with cream makes this wonderful sticky layer. Seeing it coat the warm base is like food art in motion! Then comes the fun part smashing those Butterfinger bars.
- Finishing With Flair
- That velvety chocolate layer is like wrapping up a gift. When you scatter those final Butterfinger pieces on top it looks absolutely stunning!
 Pin it
Nailing The Technique
Wanna know my tricks for amazing bars? Put parchment in your pan with extra hanging over the edges for easy lifting! Don't try to speed up cooling time that's the key to smooth slices. And my go-to trick cool your knife between cuts for the cleanest looking squares!
Ways To Enjoy Them
These bars work for any gathering! They're great for potlucks since they travel so well. At bake sales I wrap them one by one people can't resist seeing those lovely layers. Sometimes I'll add extra chocolate drizzle on top when I'm feeling fancy makes them look store-bought quality!
Plan Ahead Benefits
Here's a smart party idea these bars taste even better after sitting overnight! All the flavors have time to blend together perfectly. They stay fresh in the fridge for about a week if you can keep your hands off them that long. I often double the batch and tuck some away in the freezer for later though my family's gotten pretty good at finding my hiding spots!
Try New Twists
Feel free to switch things up! Sometimes I use milk chocolate instead of semi-sweet. My son who loves peanut butter thought of adding a PB layer totally brilliant! Once I swapped Butterfingers for Heath bars and it was fantastic too. That's the fun of baking finding your own perfect twist!
 Pin it
The Story Behind The Bars
These bars have become our family's go-to celebration treat! There's something really fulfilling about making something that brings instant smiles. My kids are learning to bake by helping smash cookies and stack ingredients watching simple stuff turn into something amazing.
The greatest joy isn't just how tasty they are it's watching everyone's reaction with that first bite! Whether you're whipping them up for a birthday party fundraiser or just because you're craving something sweet they always hit the spot. And seeing folks realize they can make treats better than anything from a store? That's what makes time in the kitchen so worthwhile!
Frequently Asked Questions
- → Can I make it days before?
- You can! They keep well at room temp for 5 days or stay fresh in the fridge for up to a week.
- → What's parchment paper for?
- The edges let you lift the bars out of the pan neatly, making them easier to slice.
- → Are other candy bars okay?
- Definitely! You can swap in Skor, Heath, or other favorites for a new twist.
- → How do I slice them neatly?
- Use a hot knife—dip it in warm water and wipe between slices for clean edges.